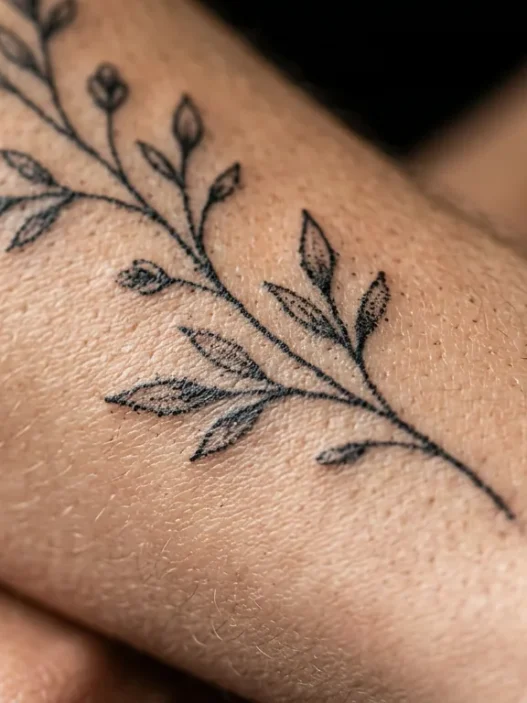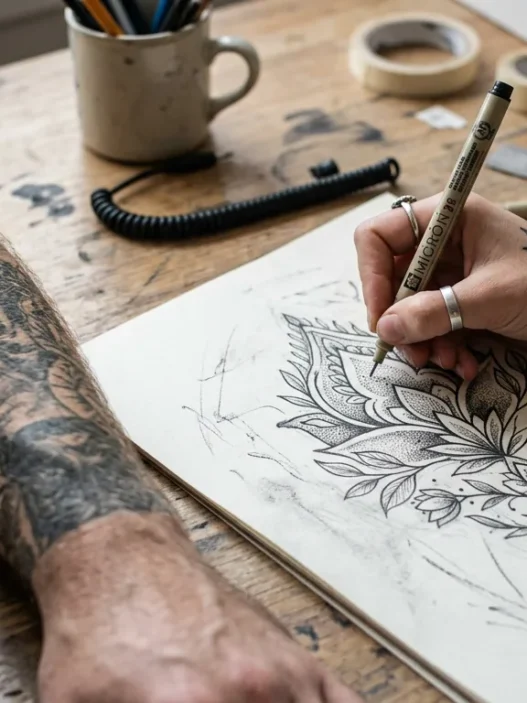






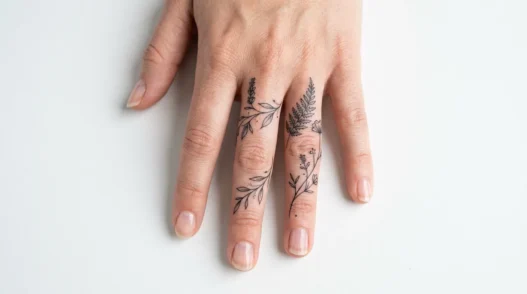
I put off getting my finger tattoo for almost two years because every guide I found either skipped the practical stuff entirely or assumed I already knew which artist to look for. When I finally got my first aesthetic finger tattoo — a tiny single-needle floral wrap on my ring finger — the whole experience could have gone sideways at three different points. It didn’t, but only because I’d done obsessive prep. So I wrote this down. Consider it the guide I wish had existed when I was starting.
Estimate about 2–3 weeks from start to healed result if you follow this in order. The appointment itself is fast — usually 30–60 minutes — but the steps before and after are what determine whether you love it for years or watch it fade into a blurry ghost by month three.
Your Roadmap to the Perfect Finger Tattoo
What You’ll Need Before You Start
Nothing you need to buy yet — this is more of a checklist of things to gather, research, and have ready before you walk into a studio. Finger tattoos are deceptively high-maintenance compared to most placements, and going in prepared is half the battle.
- A saved folder of reference images (Instagram, Pinterest, artist portfolios)
- A shortlist of 2–3 fine-line tattoo artists in your area or willing to travel to
- Unscented, fragrance-free hand lotion (start moisturizing now, weeks before)
- A clear idea of which finger and which part of it — side, top, wrap-around
- Aquaphor or a tattoo-specific healing balm for aftercare
- Comfortable, loose clothing for the day (you’ll want your hands free)
- A realistic budget — quality fine-line finger work starts around $100–$200 even for small pieces
- About 30 minutes for an honest conversation with your artist before committing
I’d also add: mental preparation for the fact that finger tattoos fade faster than anywhere else on your body. That’s not a dealbreaker — it just means touch-ups are part of the deal. More on that in Step 6.
Step 1: Define Your Design Brief
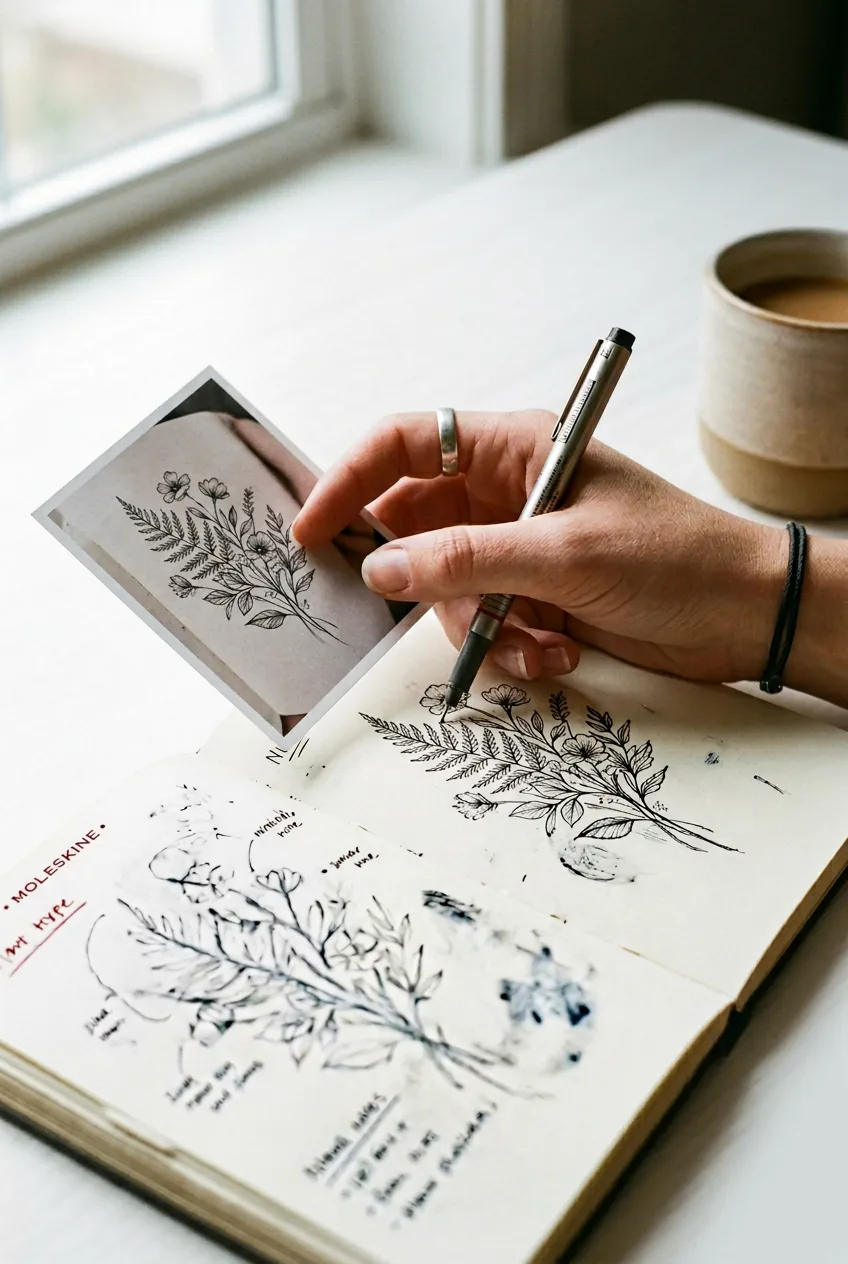
Before you even open Instagram to start saving references, sit down and actually think about what you want this tattoo to do for you. Is it part of a bigger hand composition you’re building? A standalone piece? Does it need to coordinate with rings you wear daily? These questions sound obvious but most people skip them and end up in a consultation with a vague “something delicate and floral?” energy, which makes it hard for even a great artist to give you something perfect.
Write down three things: the general motif (botanical, geometric, celestial, script — pick one lane), the placement on the finger (top of the finger facing up, the side, or wrapping fully around), and the mood. “Minimal and quiet” hits differently than “delicate but detailed.” I kept a notes app folder for two weeks before my consultation and by the end I had a clear brief: single-line botanical wrap on the outer side of my ring finger, referencing vintage botanical illustration line work.
For deeper inspiration on placement logic — like why a side-finger design reads completely differently from a top-knuckle piece — this placement guide for pretty hand tattoos is genuinely useful for mapping out how a design will sit on your hand as a whole.
Step 2: Find the Right Fine-Line Artist
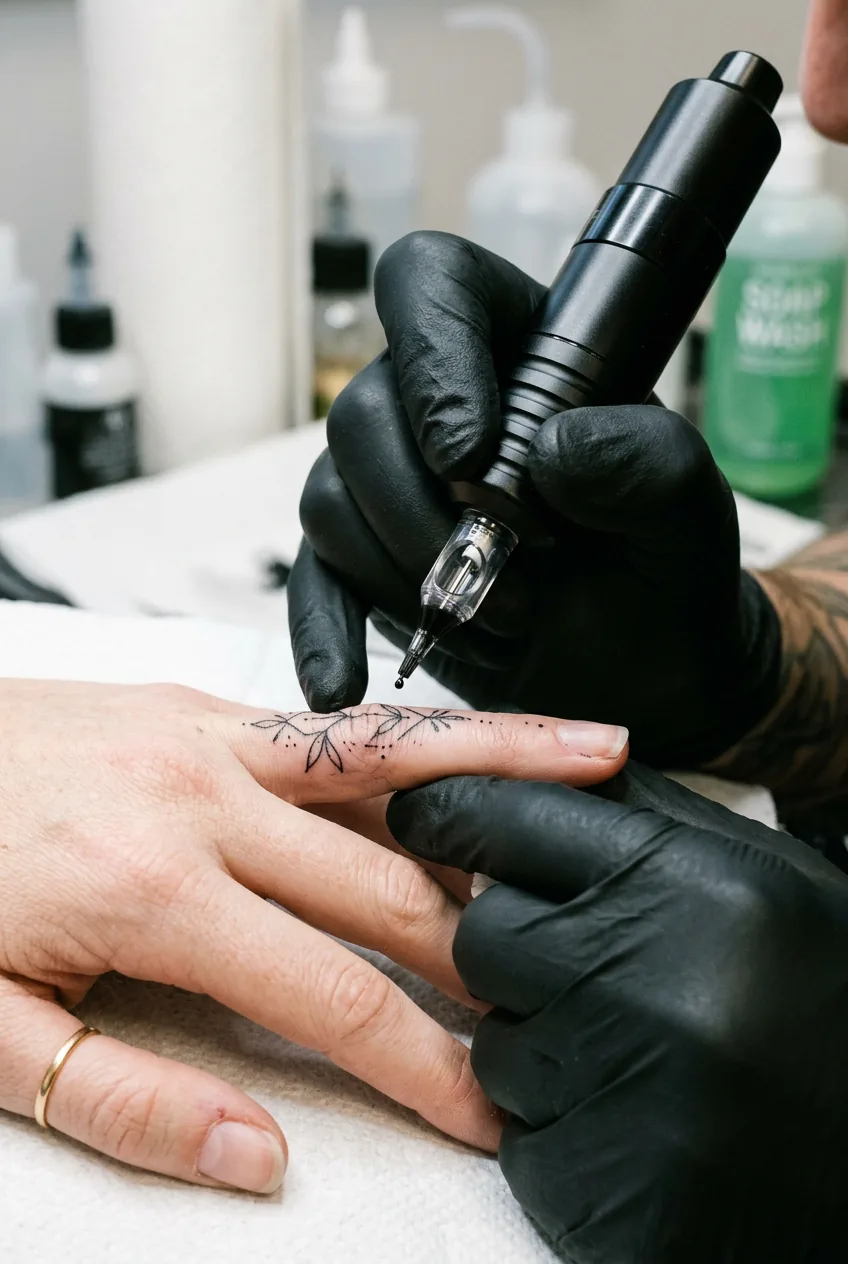
This is where most people go wrong. Not every tattoo artist — even a talented one — is equipped to do aesthetic fine-line finger work well. The skin on fingers is thin, sits over bone and joint, and behaves completely differently to the skin on your forearm or shoulder. You need someone who specifically has experience with single-needle or fine-line work on hands and fingers. Look at their healed results, not just the fresh ones.
Fresh tattoos always look crisp. The real test is a photo taken 6–12 months later. When you’re scrolling an artist’s portfolio, look for photos labeled “healed” — if an artist doesn’t post healed work at all, that’s a yellow flag. For finger tattoos specifically, choosing a fine-line specialist can make or break your long-term results.
I went through about eight Instagram portfolios before I found my artist. The differentiator wasn’t just their line quality — it was that they had healed finger tattoo examples in their highlights, and the lines were still clean at six months. That’s rare and worth waiting (and possibly traveling) for. For a wider overview of what to look for — including how finger skin ages ink differently — the complete guide to finger tattoos breaks it down without sugarcoating the challenges.
Step 3: Book and Communicate Your Vision
Once you’ve identified your artist, reach out with your brief — not just a vague “I want a finger tattoo.” Send your reference folder. Describe the placement, the size, and the mood you articulated in Step 1. Good artists appreciate clients who’ve done their homework, and it means the design they come back to you with will actually reflect what you want.
Most fine-line artists require a deposit to hold your booking — usually $50–$100 that comes off the final price. That’s standard and totally fine. What you want to make sure happens before you pay: a brief back-and-forth about the design concept. You don’t always see the final drawing until the day of your appointment (some artists work that way), but at minimum you should feel confident they understood your brief.
A mistake I made: I sent my artist a reference image I loved without mentioning which specific element I was drawn to. She assumed I wanted the full composition replicated. I actually only wanted the style of the line work, not the specific florals. We caught it at the appointment, but it delayed the start by 20 minutes while we redesigned on the spot. Be specific. Tell them what you love and what you’d change.
Also: ask about their touch-up policy at this stage, not after. Many fine-line artists offer one free touch-up within 3–4 months of your appointment because finger tattoos are notoriously prone to minor fading during the first heal. Knowing this upfront is reassuring and helps you plan your timeline. You can read about the full booking-to-healed process in this 7-step method for aesthetic finger tattoos — it has solid detail on the consultation phase specifically.
Step 4: Prep Your Finger Skin Properly
This step surprises most people because it starts at least a week — ideally two weeks — before your appointment. Finger skin takes ink differently depending on how hydrated and healthy it is. Dry, cracked, or calloused skin is harder to work with and leads to patchy ink saturation. So: moisturize obsessively.
I used a fragrance-free hand cream morning and night for two full weeks before my appointment. By the day of the tattoo, my skin was visibly softer and my artist actually commented on it — she said it made a real difference to how the needle moved through the skin and how evenly the ink settled. Also: don’t exfoliate aggressively in the days before. You want the skin calm, not freshly scrubbed and sensitized.
On the day itself — no alcohol the night before, stay hydrated, eat a proper meal before you go. Blood sugar crashes mid-tattoo are not fun and can cause lightheadedness even with a small piece. Wear flat shoes you can slip off easily (some people get vagal responses to tattoo pain; not common, but being comfortable matters). And absolutely do not apply lotion or any product to your fingers the morning of — your artist needs clean, dry skin to work on.
Step 5: Get Through the Appointment Like a Pro
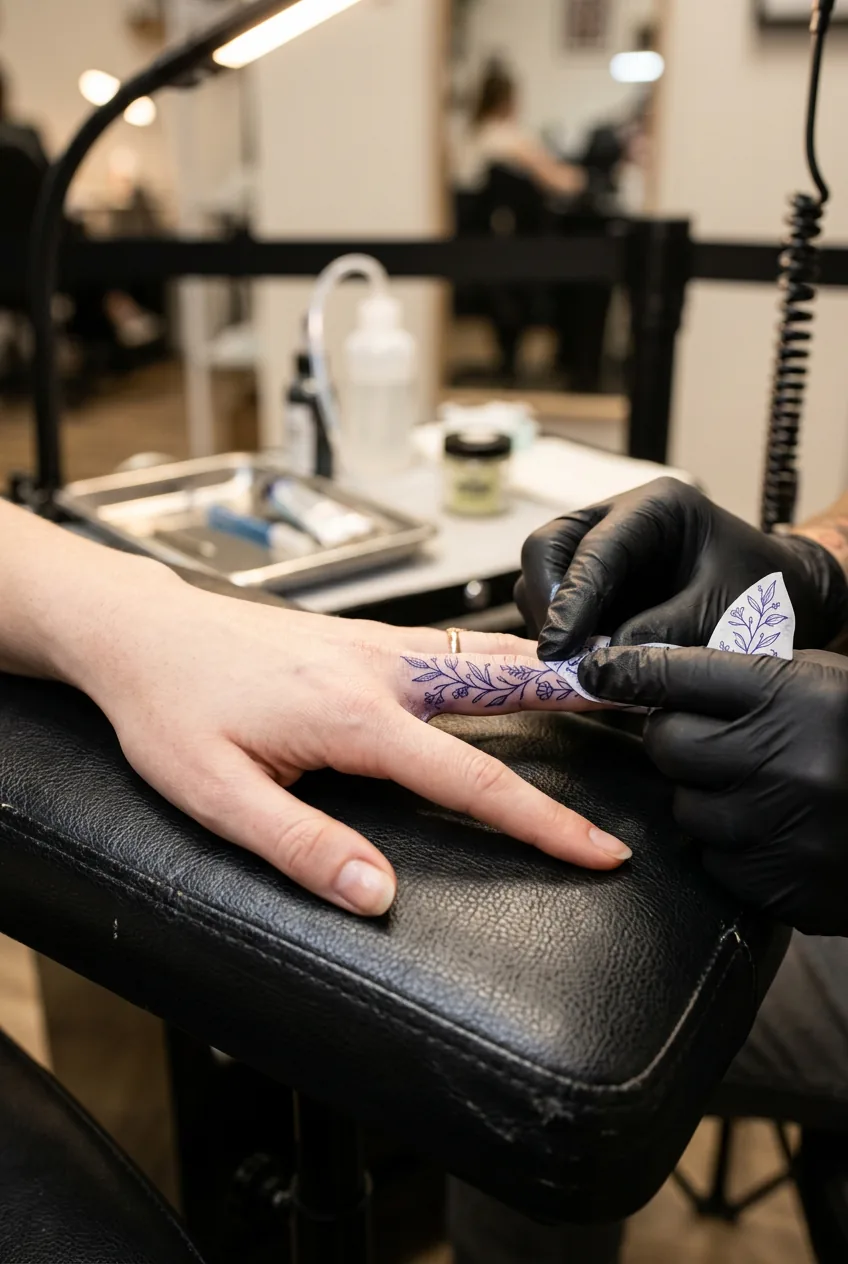
You’re in the chair. Here’s what actually happens — and what to do at each moment. Your artist will clean the area, transfer the stencil, and ask you to confirm placement. This is your moment to look carefully. A stencil on skin looks different from a design on paper, especially on a curved surface like a finger. Rotate your hand. Look at it from all angles. Ask to adjust if something feels off. Once the needle starts, adjustments are impossible.
As for pain — yes, finger tattoos hurt more than most placements. The skin is thin over bone and joint, and there’s not much cushioning. It’s not unbearable (most people describe it as a sharp scratching sensation), but it’s more intense than an inner arm piece. The good news is that aesthetic finger designs are usually small and relatively quick — 20–45 minutes for most fine-line work.
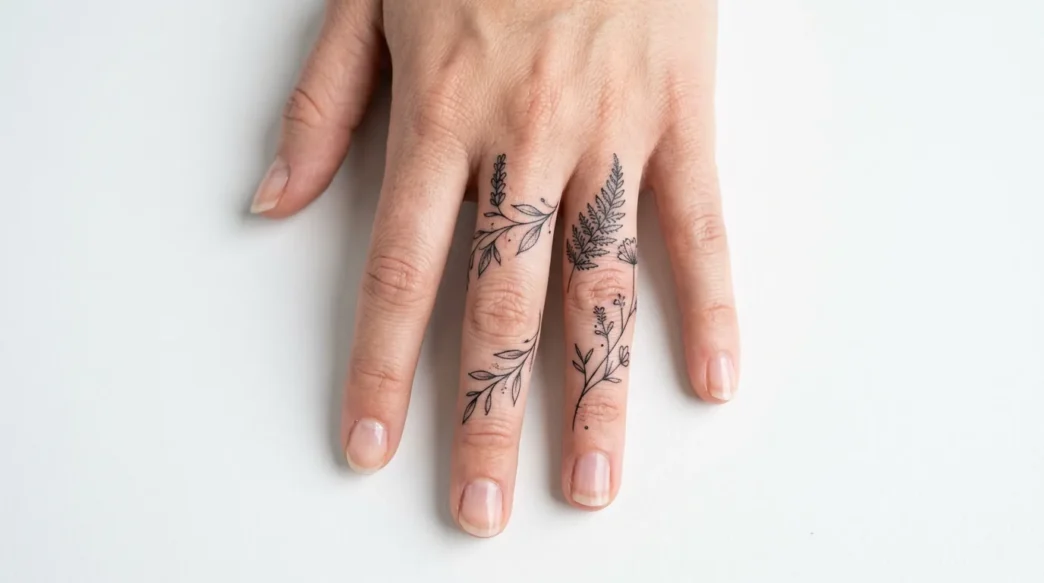
Stay as still as possible. I know that sounds obvious, but even micro-flinches affect line quality on fine-line work. Focus on breathing slowly. If you need a break, just say so — any good artist will pause without question. Look at the photo below — she’s completely relaxed and letting her hand sit naturally, which is exactly the right approach. That stillness is what allows those hair-thin lines to stay precise.
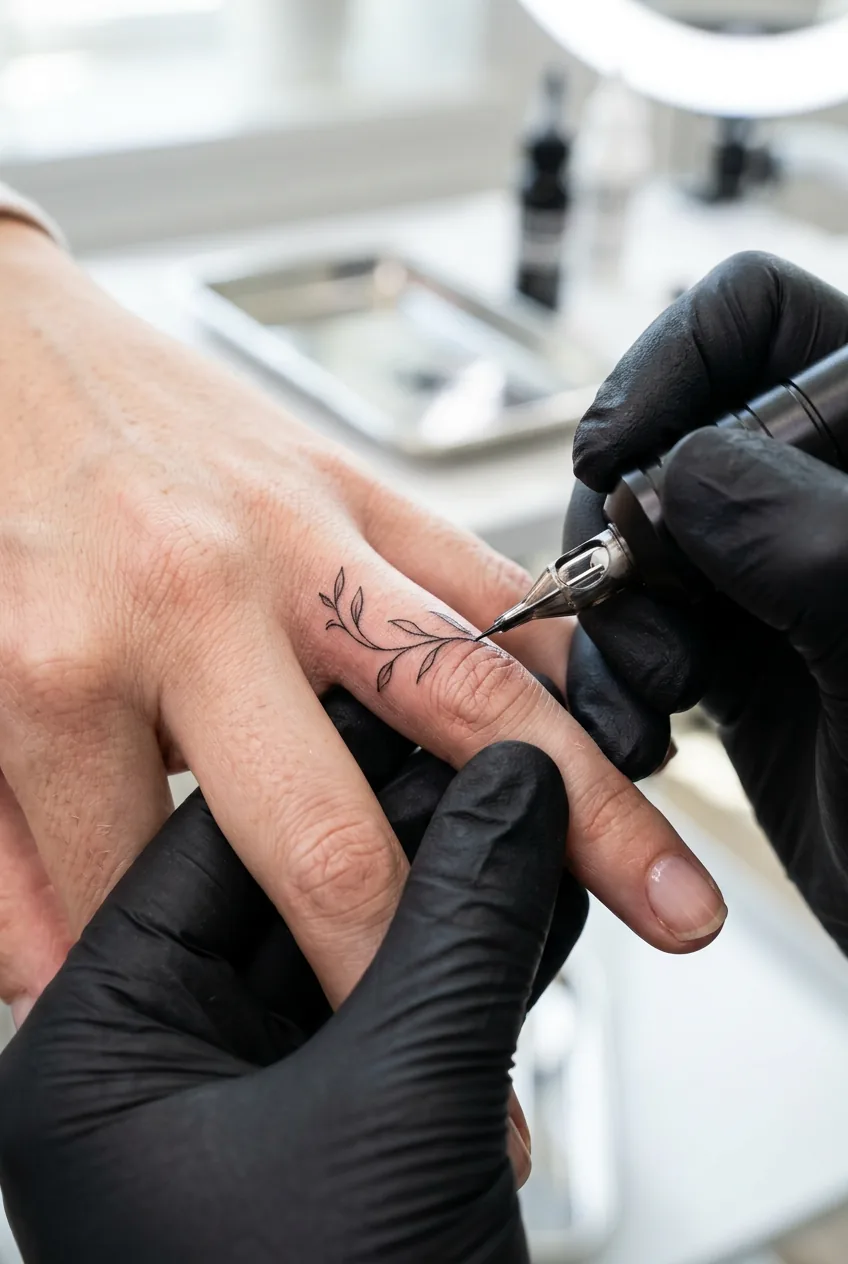
When it’s done, your artist will photograph it (ask for a copy), clean it, and apply a thin layer of ointment before wrapping or covering. Follow their specific aftercare instructions from this point — and if they say something different from what you’ve read online, trust them. They know how their technique heals.
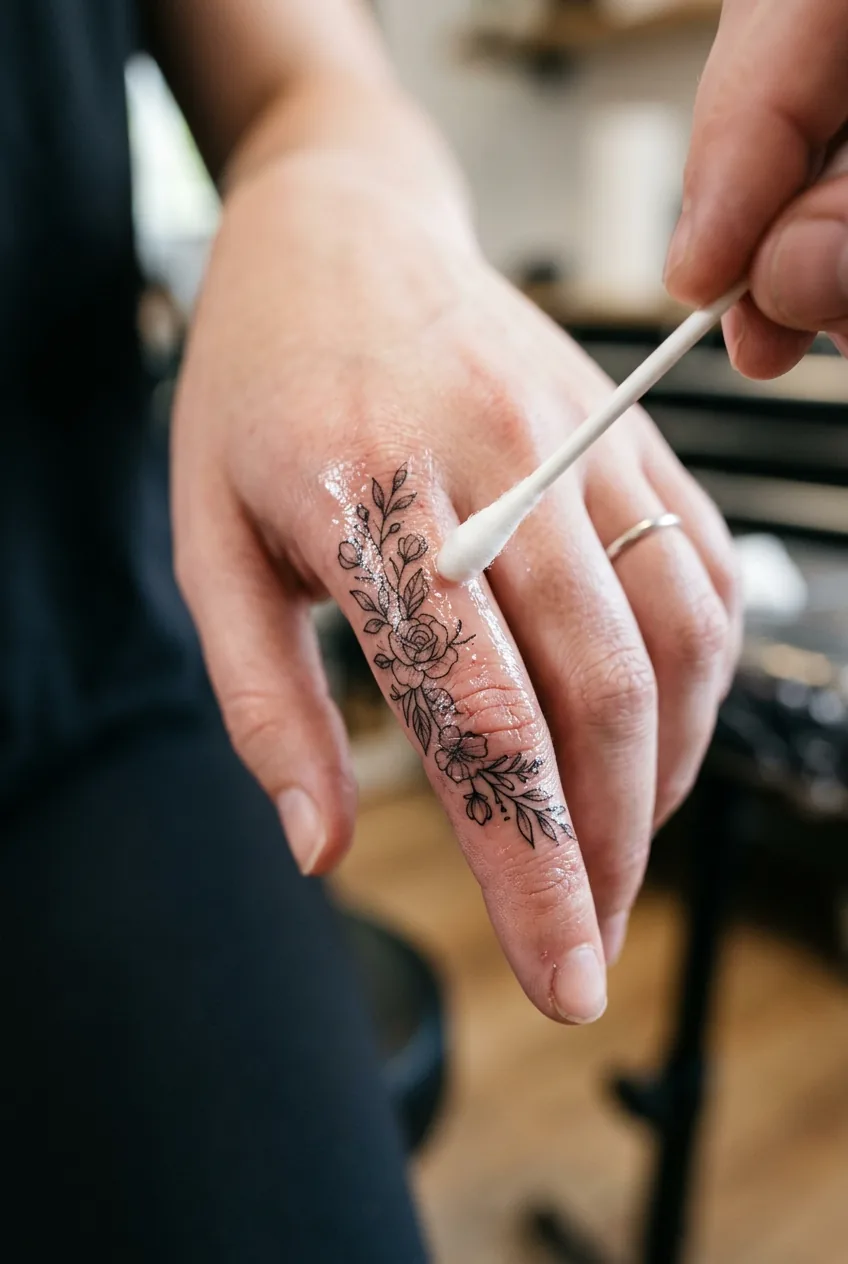
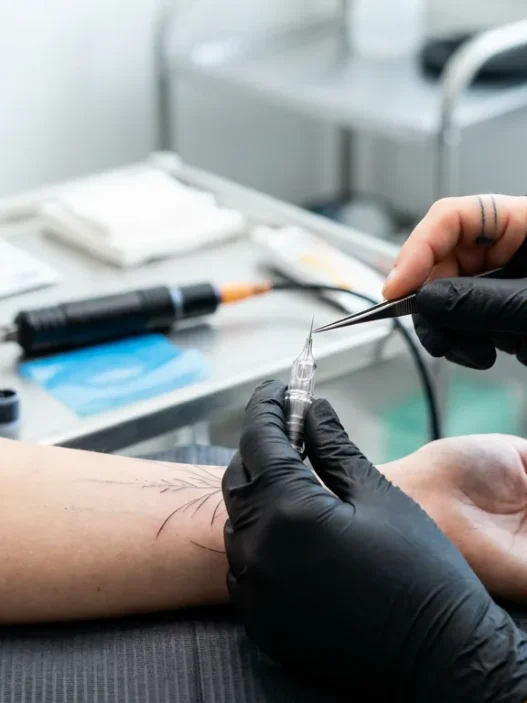
See a Fine-Line Finger Tattoo Unfold in Real Time
Step 6: Lock In Your Aftercare Routine
Finger tattoos have a reputation for fading fast, and honestly — it’s earned. But a significant chunk of that fade happens because people treat finger tattoos exactly like they’d treat a bicep tattoo, which they’re not. Your fingers are in contact with everything: water, cleaning products, friction from other surfaces, sun exposure. The aftercare window (the first 2–3 weeks) is when you have real influence over the long-term result.
For the first week: keep it clean and moisturized with unscented Aquaphor or your artist’s recommended balm, applied in a very thin layer 2–3 times a day. Don’t submerge it in water — dishes in gloves, no long baths. Avoid direct sun. Don’t pick at flaking skin. The second week: switch to a fragrance-free lotion and continue keeping it out of harsh products and prolonged sun. Tattoo healing stages are worth understanding so you’re not panicking when it starts looking cloudy or dull around day 5 — that’s normal peeling, not a problem.
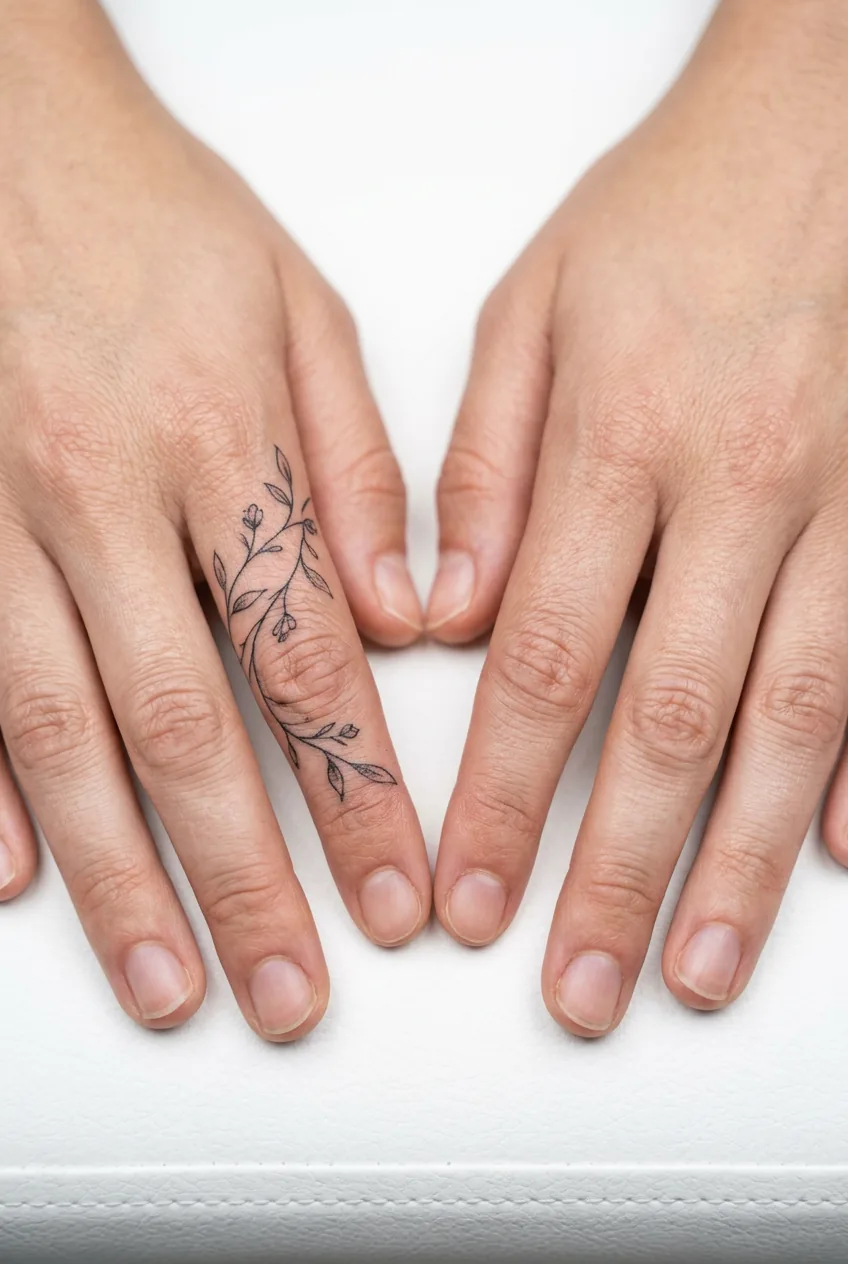
After it’s healed, apply SPF to your hands daily. I know, it sounds like too much, but UV exposure is the number one accelerator of fine-line fading on hands. A quick swipe of a hand lotion with SPF 30 takes three seconds and genuinely extends how long your tattoo looks sharp. And plan for a touch-up at the 3–4 month mark — this isn’t failure, it’s just the reality of finger placement. Most aesthetic fine-line artists factor this in. For a full rundown of what hands-and-fingers aftercare looks like compared to other placements, the complete guide to hand tattoos for women is really thorough on this.
One thing I didn’t expect: how much the healing process would test my patience. Around days 4–6, my tattoo looked almost completely faded — the skin was peeling and it looked patchy and dull. I genuinely panicked. Then at the two-week mark, once the top layer had fully shed, the lines came back into clarity. Not identical to day-one crisp, but clean and beautiful. That’s normal. Trust the process.
Questions I Get About This
How long do aesthetic finger tattoos actually last before needing a touch-up?
Realistically, most fine-line finger tattoos start showing visible fading between 3–6 months. This varies based on your skin type, how much sun your hands get, and how diligently you moisturize and use SPF. A touch-up at 3–4 months keeps them looking sharp — after that, many people go 12–18 months between refreshes.
Can I get a finger tattoo if I work with my hands a lot?
You can, but you’ll need to be more diligent during healing (gloves for wet work, avoiding harsh chemicals) and you’ll likely need touch-ups more frequently. Trades workers, nurses, and people who frequently wash their hands report faster fading. It’s not a dealbreaker — just go in with realistic expectations and budget for more maintenance.
Does placement on the finger (side vs. top vs. knuckle) affect how well it holds?
Yes, significantly. The tops of fingers and knuckles flex constantly and tend to fade the fastest. Side-finger placement sits over less mobile skin and often holds better. Inner finger (palm-side) is very trendy but notoriously difficult to heal well — many artists won’t do it, or will warn you upfront that retention is low. The hand tattoo placement guide has a great breakdown of exactly this.
Is henna a good way to test out a finger tattoo design before committing?
Honestly, yes — it’s one of the best ways to wear a design placement for a week or two before committing to ink. The color and finish are completely different, but the placement and scale will give you a real sense of how it reads on your specific finger and hand. Check out this guide on easy DIY henna designs for tattoo prep — it’s genuinely practical for this purpose.
My end result after following all six steps? A single-needle botanical wrap that’s still one of my favorite things I’ve ever done to my body. It’s subtle enough that people notice it in conversation rather than across the room — which is exactly what I wanted. The process taught me that finger tattoos reward preparation more than almost any other placement. You put in the work before the appointment, you choose your artist carefully, you follow aftercare without shortcuts, and you get something that genuinely lasts. Skip any of those steps and you’re rolling dice.