


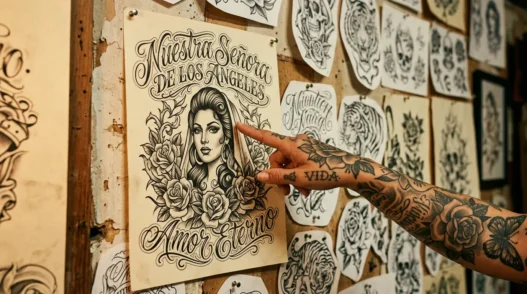
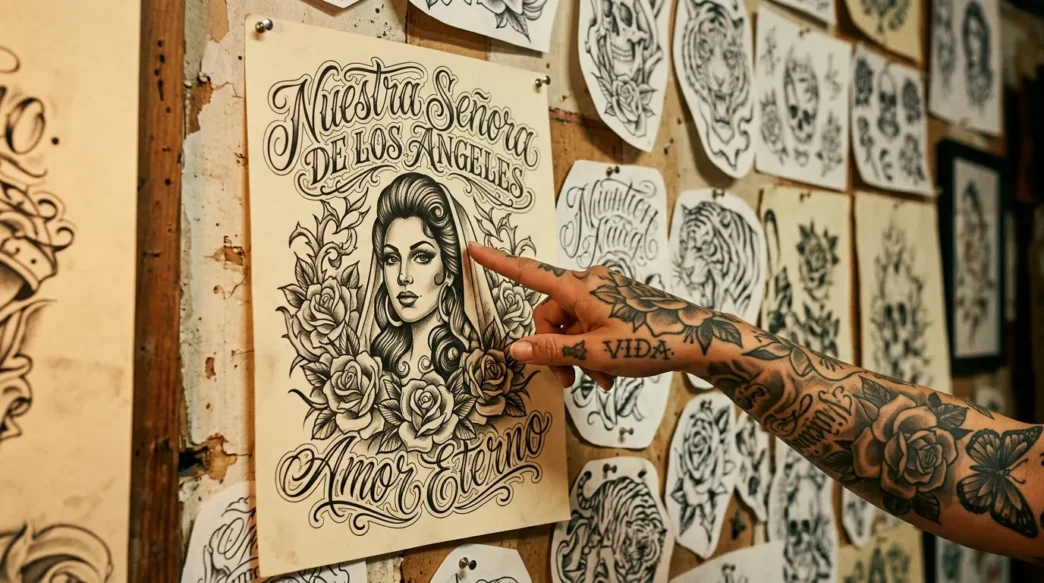
I spent almost three years trying to figure out why my chicano tattoo looked flat compared to the ones I kept seeing on studio walls and in artist portfolios. Same subject matter. Similar placement. Completely different energy. It was genuinely maddening. Eventually I started asking questions — like, actually sitting down with artists and asking uncomfortable things — and what I learned changed everything about how I approach getting tattooed. This guide is what I wish someone had handed me before I walked into that first appointment.
Your Roadmap Into Chicano Ink
- What Separates Pro Chicano Work from the Rest
- What You’ll Need Before You Even Book
- Step 1: Understand the Visual Language
- Step 2: Choose Your Composition Style
- Step 3: Select the Right Placement
- Step 4: Nail the Reference Process
- Step 5: The Consultation — What to Actually Say
- Step 6: Skin Prep the Pro Way
- Step 7: Aftercare That Protects the Grey Work
- Questions I Get About This
What Separates Pro Chicano Work from the Rest
The chicano tattoo tradition is one of the most technically demanding styles in the entire industry. I don’t say that to be dramatic — I say it because most people, myself included for years, treated it like any other black-and-grey request. Walk in, point at something, hope for the best. Professionals who specialize in this style will tell you the same thing: the client’s preparation matters almost as much as the artist’s skill.
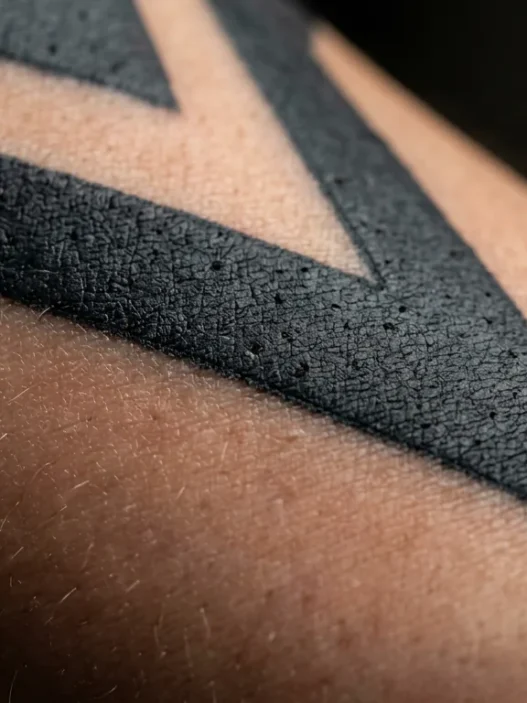
What makes professional chicano work so immediately recognizable is the depth of the grey scale. Not just light-to-dark — actual luminosity. Real studio-quality chicano tattooing uses a technique called whip shading combined with extremely controlled ink dilution ratios. The artist is essentially painting with smoke. And that’s not something you can replicate by booking whoever has an opening next Tuesday.
If you want to explore how this style fits into the broader landscape of tattooing, the collection of work under traditional tattoos gives great context for understanding where chicano ink sits historically. It borrows from American traditional but evolved its own visual identity — bolder emotion, more portraiture, that unmistakable softness in the shading.
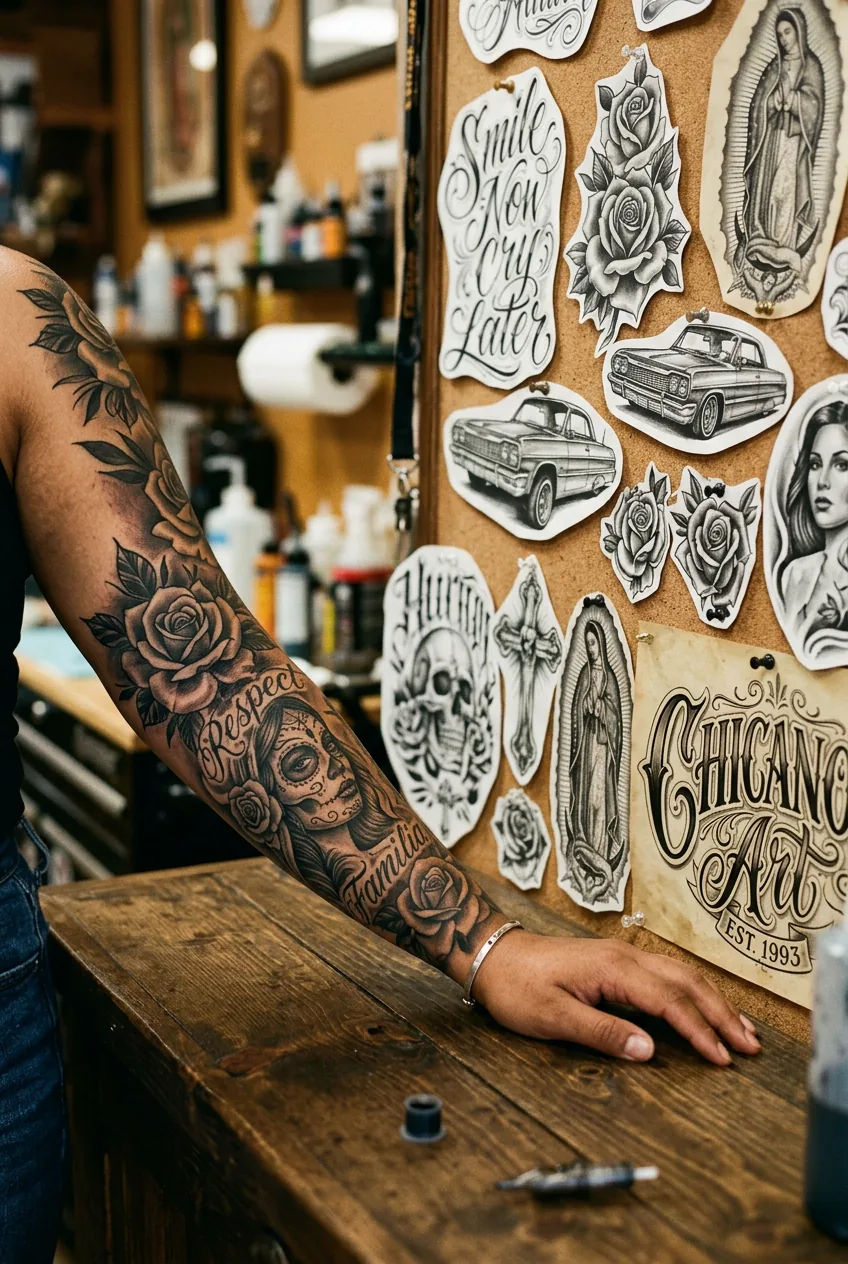
See the Grey Wash Technique Up Close
What You’ll Need Before You Even Book
This isn’t a supply list for doing anything yourself — chicano tattooing is very much a “leave it to the professional” situation. But there are things you genuinely need to show up with, and most first-timers don’t have them.
- A curated reference folder — at least 8–12 images, ideally from multiple artists, showing the specific mood you want (not just a Pinterest dump)
- Knowledge of your skin tone — chicano black-and-grey reacts differently on deeper skin, and you need to be able to discuss this
- A clear placement idea — even a rough one; “somewhere on my arm” isn’t enough
- Budget awareness — quality chicano work runs higher than average; expect custom pricing
- A healed skin baseline — no sunburn, no active breakouts near the area, no recent self-tanners
- A list of 2–3 specific questions for your consultation (I’ll give you the exact ones below)
- Patience for the booking waitlist — the best specialists are booked out. That’s a good sign, not a deterrent.
Step 1: Understand the Visual Language
Before you can have a real conversation with your artist, you need to understand what you’re actually asking for. Chicano tattooing has a specific visual vocabulary — and it’s not interchangeable with other black-and-grey styles. Fine line isn’t chicano. Realism isn’t chicano. They overlap in places, but a chicano tattoo carries specific cultural and aesthetic codes.
The core motifs: portrait subjects (especially women, loved ones, religious figures), roses with deep petal shadows, script lettering in Old English or cursive, playing cards, clocks, and the characteristic use of negative space as a design element. The white highlights aren’t just accents — they’re structural. They’re where the magic lives.
Spend real time on this. Look at the cultural roots of this style before you even open Instagram. Understanding where it comes from makes you a better client and honestly leads to more meaningful ink.
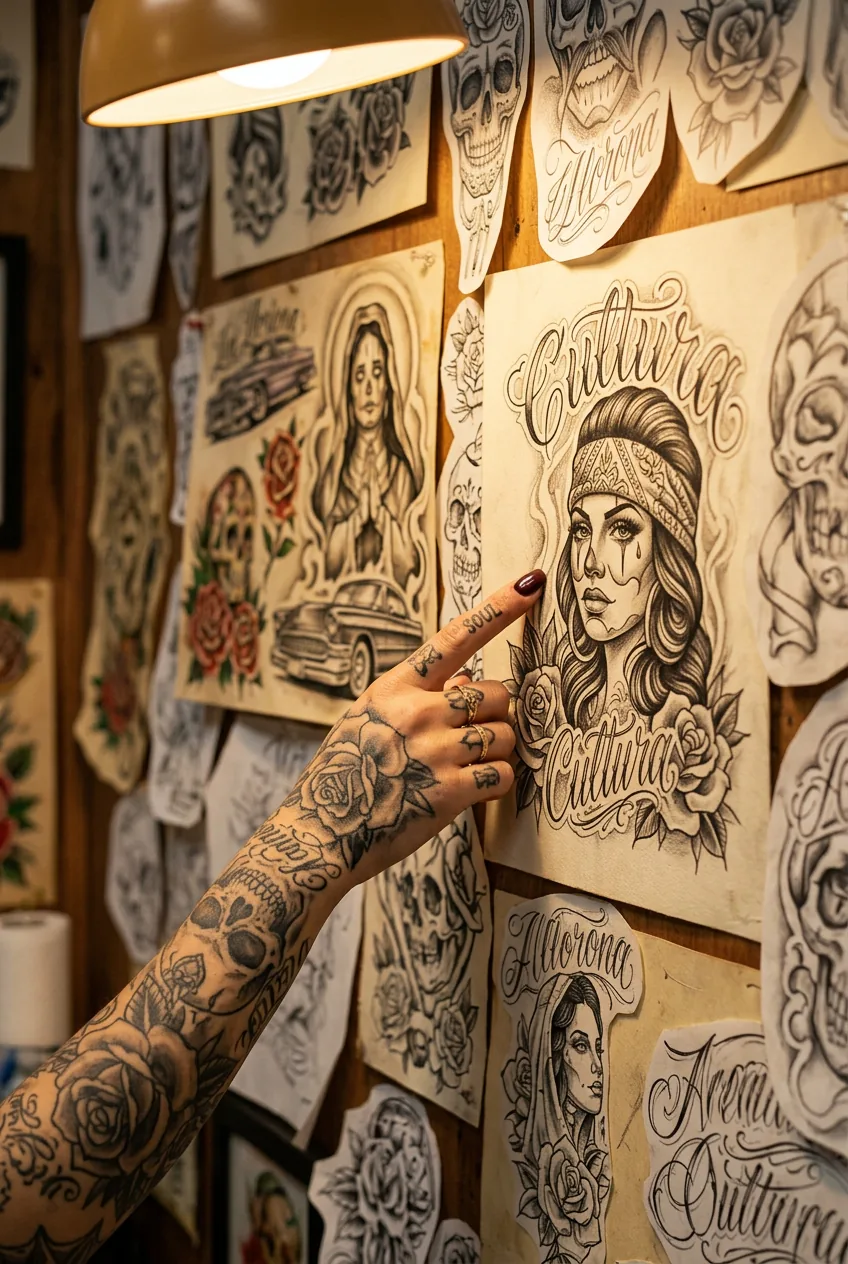
Step 2: Choose Your Composition Style
This is the step most people skip entirely, and it’s where things go sideways. Chicano work has two major compositional approaches, and which one you choose shapes everything downstream — placement, sizing, your artist’s process, even the healing timeline.
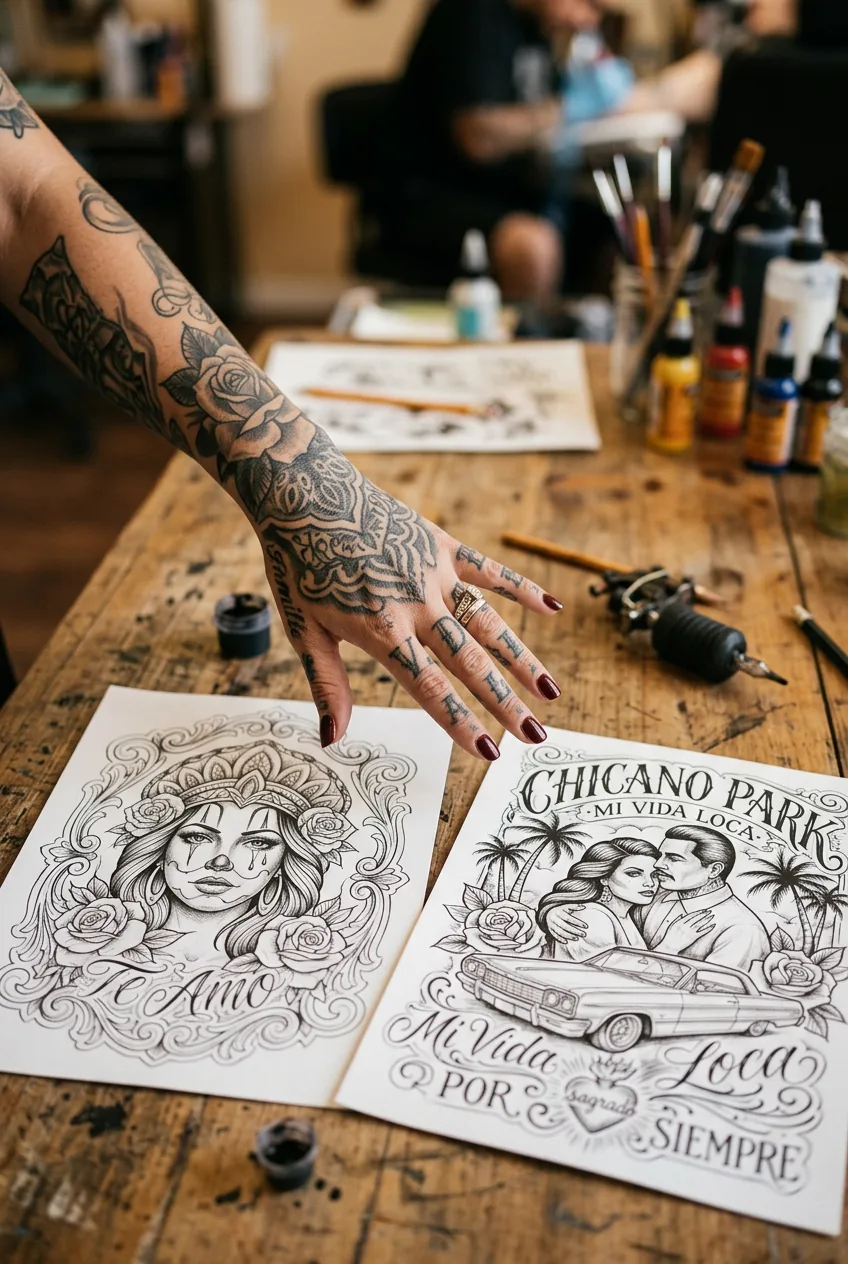
Portrait-centered compositions build outward from a face or figure. The subject has weight, presence, and usually fills at least 60% of the piece. Surrounding elements (roses, banners, clouds) serve the focal subject. This style is typically larger and works best on flat, wide real estate — thigh, upper arm, back panels.
Scene-based or decorative compositions are more symmetrical, more architectural. Think a full chest piece with a central diamond flanked by roses and script, or a sleeve that flows around the arm in a continuous design. These are harder to plan but stunning when executed well.
Pick one direction before your consultation. Your artist will have opinions — and you should welcome them — but walking in with a compositional preference shows you’ve thought seriously about what you want. Check what’s trending in tattoos right now for inspiration, but don’t let trends override your instinct about what feels right for your body.
Step 3: Select the Right Placement
Placement is where the “insider knowledge” gap is widest. Clients pick spots based on what they think looks cute. Professionals pick spots based on skin behavior, muscle movement, and how the design will read in five, ten, twenty years.
The thigh is the single most forgiving surface for large chicano portrait work. Flat, relatively stable skin, excellent surface area, and it’s one of the less painful placements for extended sessions — which chicano work often requires. The forearm is classic for script and smaller compositions. The calf is underrated and underused; the curvature actually complements the flowing lines that chicano art is built on. If you’re considering it, the calf tattoo placement options available right now are genuinely beautiful.
What to avoid: fingers, the side of the hand, and the inner lip of the wrist for anything detailed. These areas fade brutally fast with this style. Anywhere that folds or flexes heavily will compress the fine shading over time. Your artist will tell you this too — but now you can walk in already knowing it.
Step 4: Nail the Reference Process
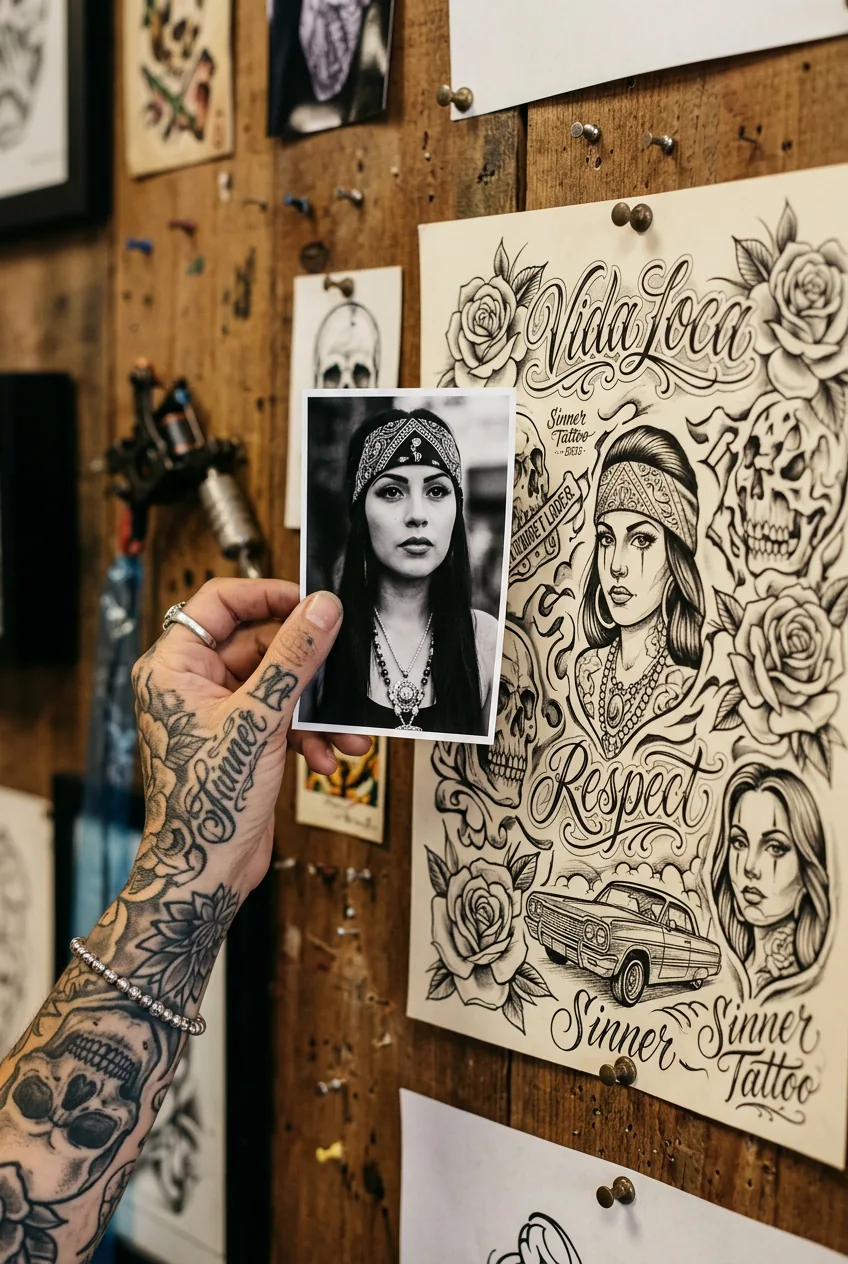
Here’s where I made my biggest mistake. I showed up to my first chicano consultation with a folder of finished tattoos I loved — other artists’ work, other people’s bodies, other skin tones — and basically said “I want this.” My artist was patient about it but explained afterward that a reference folder isn’t a wishlist. It’s a communication tool.
I brought 20 photos of finished pieces and zero photos of the subject matter I actually wanted. My artist had no idea what I was emotionally attached to — she only knew what other artists had done. We spent the whole consultation untangling that instead of actually designing. Don’t be me. Bring images of the subject separately from images of the style you love.
Split your reference folder into two clear categories. Category one: style references — pieces that show the shading depth, line weight, and overall mood you’re after. Category two: subject references — photos of the actual thing you want tattooed (a loved one’s face, a specific rose variety, a particular religious icon). Professionals piece these together into something original. That’s the whole point of a custom design.
Step 5: The Consultation — What to Actually Say
Most people treat the consultation like a quick formality. Artists I’ve spoken to — genuinely talented ones who specialize in this work — will tell you the consultation is where the tattoo either succeeds or fails. It’s where your artist figures out if they can actually give you what you want. And it’s where you figure out if this is the right artist for you.
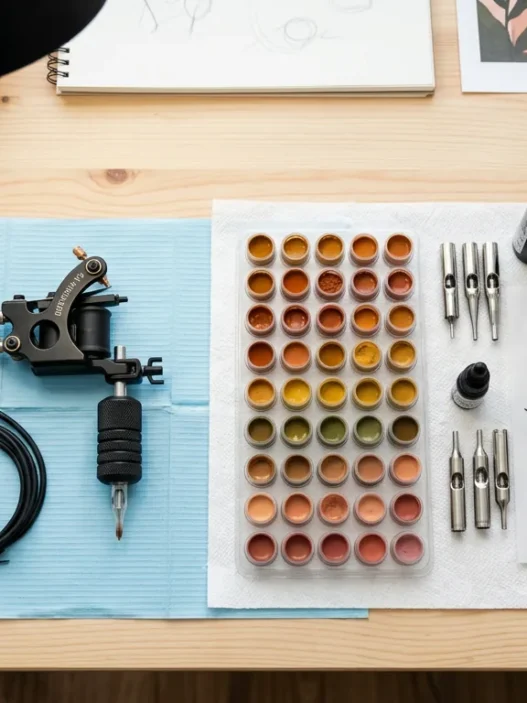
Ask these specific questions. First: “How do you handle skin tone variation in your grey wash?” Any artist worth booking will have an immediate, detailed answer. Second: “What’s your preferred needle configuration for the shading on a piece this size?” You don’t need to understand the technical answer — you’re listening for confidence and specificity. Third: “Can I see healed examples of your chicano work, not just fresh?” Fresh tattoos always look good. Healed ones tell the truth.
And if you’re not sure which type of artist to look for, browsing profiles of specialized tattoo artists who focus on this style is a genuinely useful starting point. Look for consistency across their healed work. That’s the only thing that matters.
Step 6: Skin Prep the Pro Way
This is the step the industry doesn’t talk about loudly enough, and it directly affects how your chicano tattoo heals. Because this style depends so heavily on subtle grey gradients and hair-thin white highlights, the condition of your skin going in is unusually important.
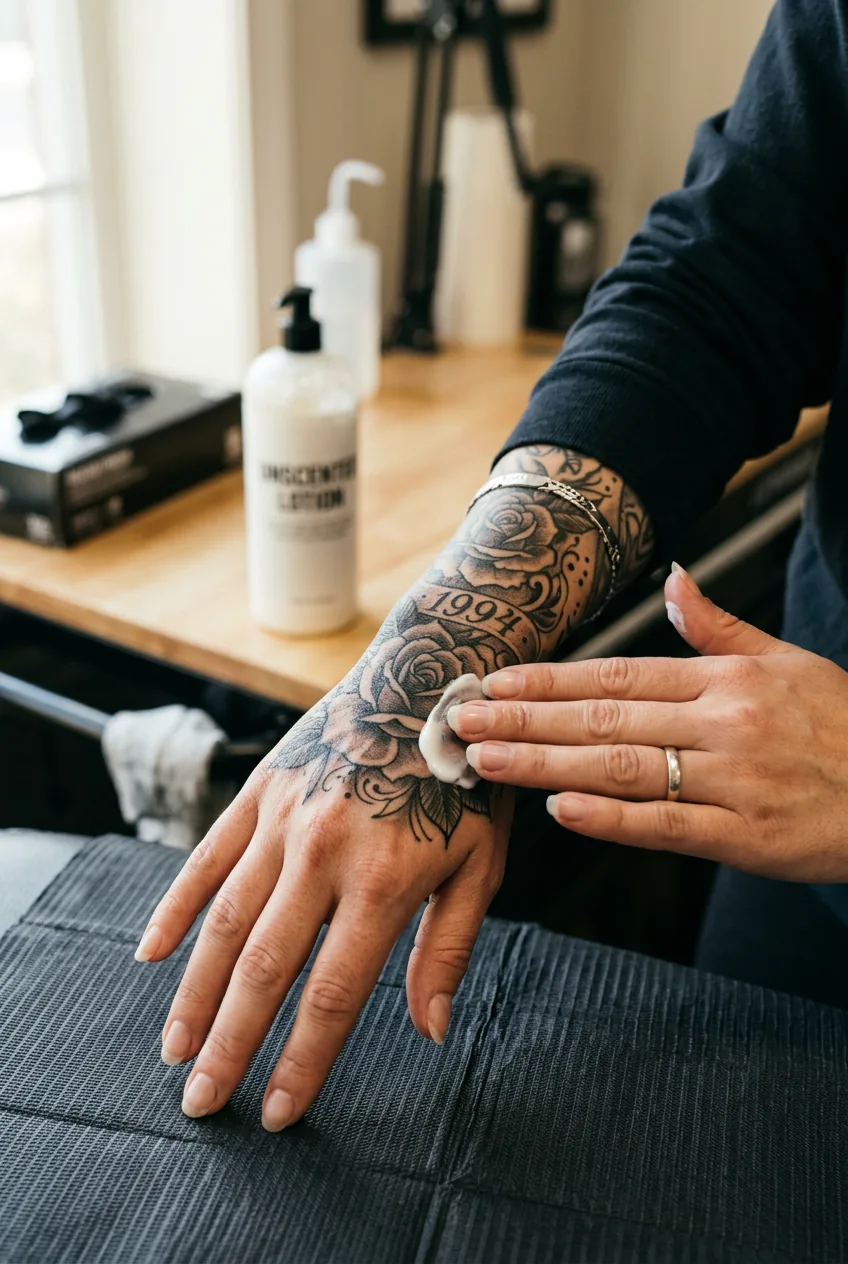
Start two weeks out. Moisturize the placement area twice daily — morning and night — with an unscented lotion. I use a basic ceramide formula. Nothing with active exfoliants, nothing with retinol or acids near the area. Well-hydrated skin takes ink more evenly and the artist has an easier time achieving smooth gradients. It’s a small thing that makes a real difference.
Three days before your appointment: stop alcohol, and get serious about water intake. Alcohol thins blood and affects how skin responds to trauma — your artist will work harder and the result can look slightly blown-out. Day before: eat a real meal, get actual sleep, avoid any anti-inflammatory meds that thin blood (aspirin, ibuprofen). Morning of: eat breakfast. This is non-negotiable for long sessions.
You can also look at how preparing your skin before a tattoo session to find a reliable routine that works for multiple skin types.
Step 7: Aftercare That Protects the Grey Work
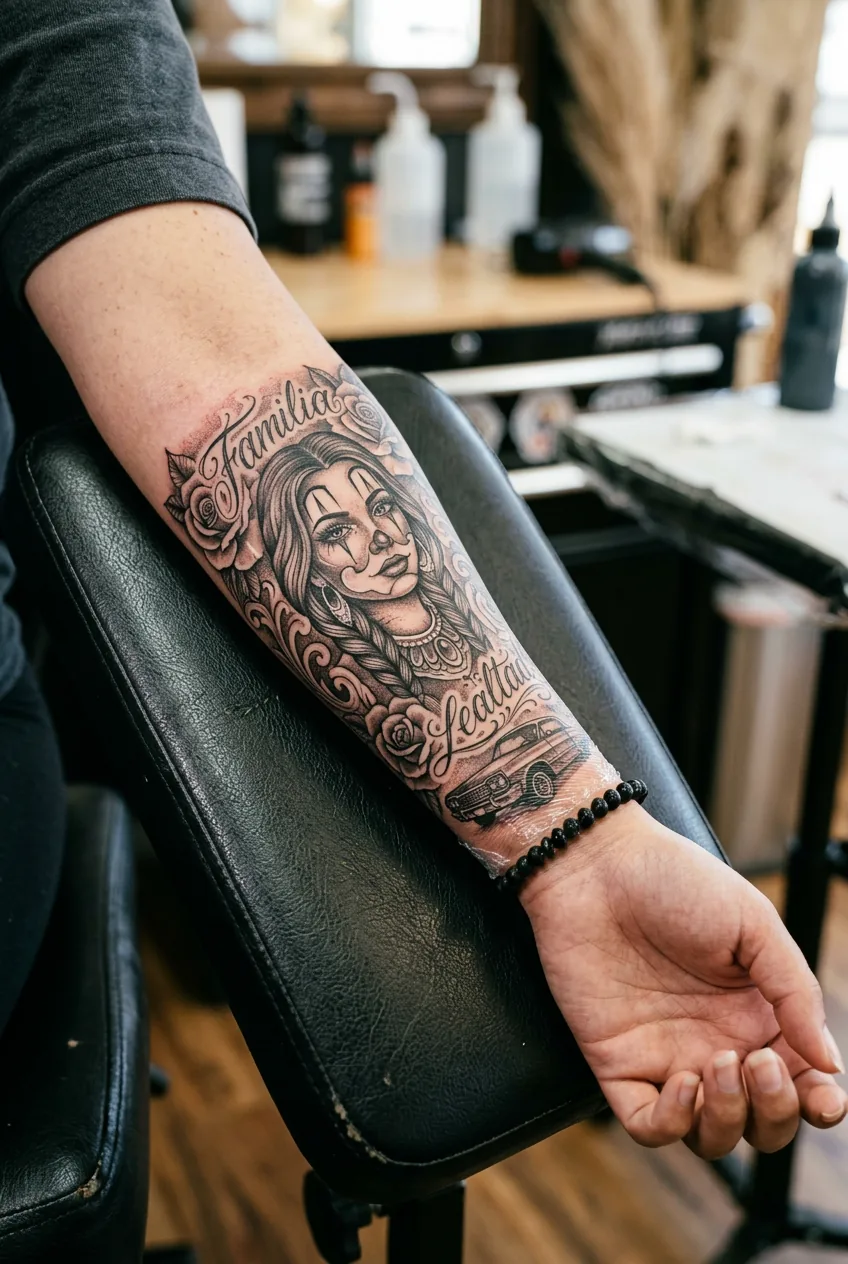
Chicano tattoos are uniquely vulnerable during healing — more so than, say, fine line tattoos or solid blackwork. The reason is the grey wash itself. Those delicate mid-tones and the luminous white highlights can muddy or disappear if you don’t protect them correctly during the healing window.
The first 72 hours are critical. If your artist uses a second-skin bandage (most specialists do), leave it on for the full recommended time — usually 3–5 days. Don’t peel early because it looks gross under there. It’s working. When you do remove it, wash gently with unscented antibacterial soap, pat dry, and apply a thin layer of unscented lotion or a tattoo-specific aftercare balm. Thin. Not a thick coat. You’re not sealing it — you’re maintaining moisture.
For weeks two through four: keep it out of direct sunlight completely. Sun is the single biggest enemy of black-and-grey work. Once fully healed, a broad-spectrum SPF 50 on the area every single day extends the vibrancy of the grey scale by years. That’s not a suggestion — it’s the difference between ink that looks stunning at five years and ink that looks faded at two. Professional artists will tell you this every time. Proper tattoo healing aftercare is worth reading in full if you’ve never gone through a longer session before.
Questions I Get About This
Is chicano tattooing appropriate for women, or is it traditionally a men’s style?
Absolutely for women — and it’s been that way for decades. The style originated in communities where women were just as tattooed as men, often with the same motifs. In 2026, some of the most celebrated artists in the chicano tradition are women, and the feminine adaptation of the style is stunning. If anything, the way the softer shading reads on women’s skin is breathtaking.
How do I know if an artist actually specializes in chicano work versus just listing it as a style they offer?
Ask to see a healed portfolio — specifically healed pieces, not fresh work. Any artist can make a fresh tattoo look good in a photograph. The grey wash in chicano work will either hold its depth and tonal range after healing or it won’t. Also look for consistency across multiple pieces. One good tattoo isn’t enough evidence of specialization.
Will a chicano tattoo work on darker skin tones?
Yes, but it requires an artist who genuinely has experience tattooing deeper skin tones — this is non-negotiable. The grey wash behaves differently, the white highlights read differently, and the contrast ratios need to be adjusted. It can look absolutely stunning on deeper skin when done by someone who knows what they’re doing. This is one of the most important questions to ask directly during your consultation.
How long does a chicano tattoo typically take to complete?
Depends heavily on size and complexity. A single-subject portrait piece might take 4–6 hours. A half-sleeve with multiple elements can be split across two or three sessions. Most artists prefer not to rush the shading — the patience required is part of what produces that velvet-soft grey quality. Plan for at least one longer session, possibly more.
Can I request a chicano tattoo as flash art, or does it need to be custom?
Some artists do offer chicano-style flash, and it can be gorgeous — especially for classic motifs like roses or sugar skulls. But the style really shines in custom work, where the design is built around your specific body, placement, and subject matter. If you have a personal story or a specific person or image you want represented, go custom. The result is worth the extra planning time.
After going through this process properly — really properly, with the reference folder split correctly and the right questions asked — my second chicano piece came out exactly as I’d imagined it. Actually better. The artist said I was one of the most prepared clients she’d had that month, which felt like the best compliment I’ve ever received. The grey work is still holding beautifully. I’m already planning the next one.