




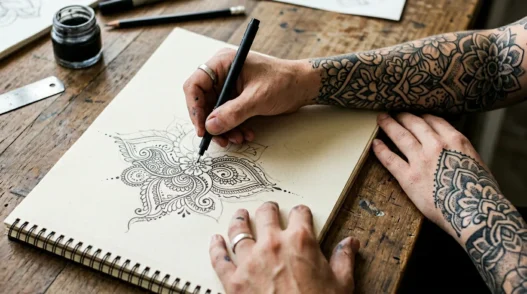
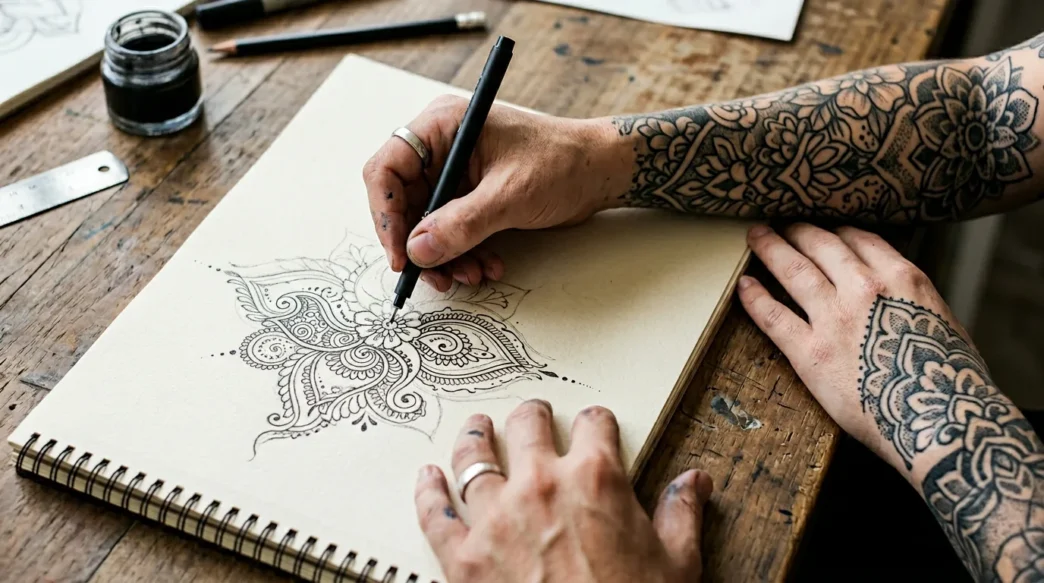
I’ll be honest — I put off getting my first henna style tattoo for months because I convinced myself I’d somehow mess it up. Ridiculous, right? But that’s what anxiety does. It took my friend dragging me to her artist’s studio to realize how gentle and approachable the whole process actually is.
Whether you’re drawn to traditional henna patterns or modern interpretations, the process doesn’t have to feel overwhelming. I’m walking you through exactly how I approached my first session — and the mistakes I made so you don’t have to.
Your Step-by-Step Roadmap
- First Things First — You’re Not Going to Mess This Up
- What You’ll Need (Nothing Scary)
- Step 1: Research Your Design Without Overwhelm
- Step 2: Find Your Artist (Yes, Even for This)
- Step 3: Prep Your Skin the Right Way
- Step 4: During Your Session — What to Actually Expect
- Step 5: Aftercare That Actually Works
- You Did It — And It Probably Went Better Than Expected
First Things First — You’re Not Going to Mess This Up
Let me start with the thing I wish someone had told me: henna style tattoos are incredibly forgiving. Unlike traditional tattoos where one wrong move is permanent, these designs work with your natural movements and skin texture.
The beauty of henna-inspired tattoos lies in their organic flow. Even if you move slightly during the process or if a line isn’t perfectly straight, it adds to the authentic, hand-drawn charm. I spent weeks worrying about sitting perfectly still, only to discover that the slight imperfections made my design look more genuine.
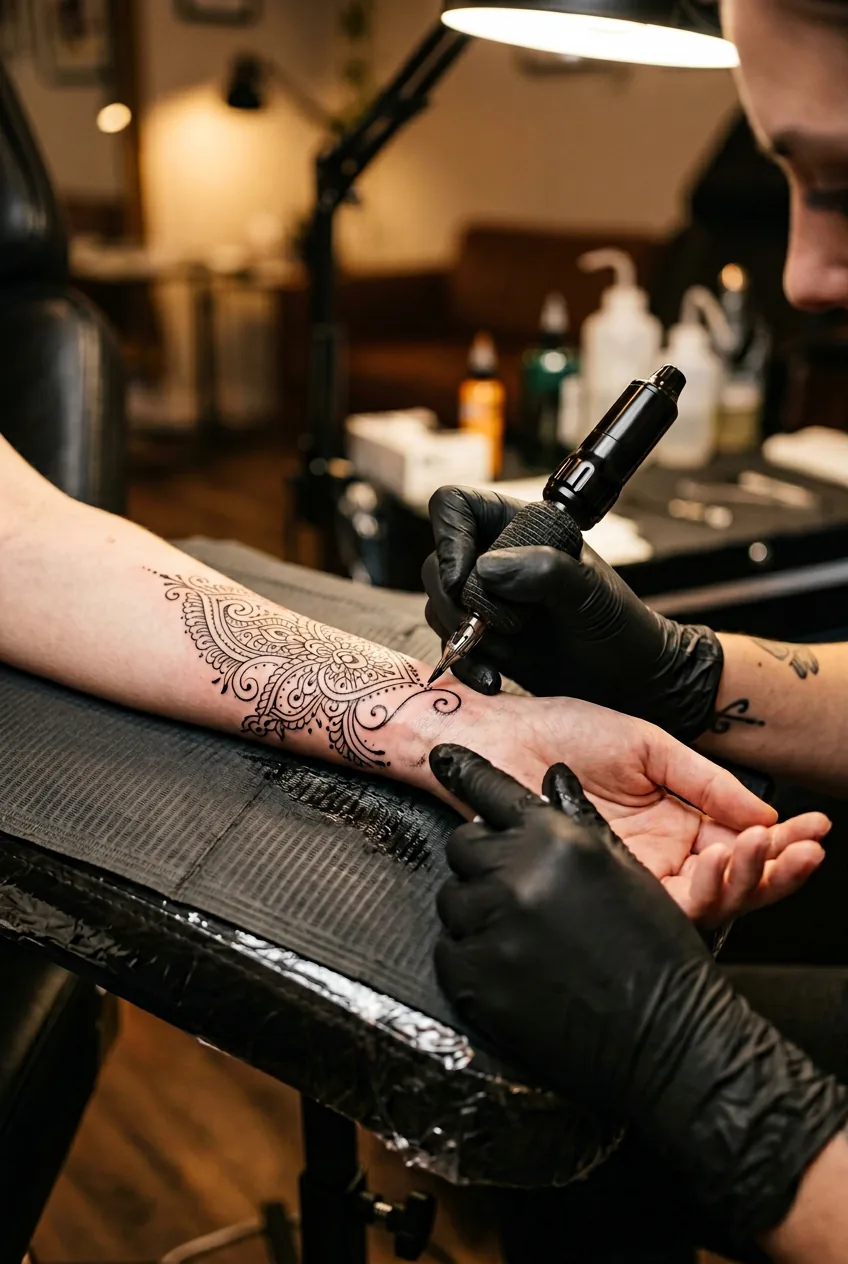
Most henna style tattoos fall into the fine line or dotwork categories, which means they’re typically less intense than bold traditional pieces. The process is gentler, the healing is easier, and honestly? The whole experience feels more like meditation than anything scary.
What You’ll Need (Nothing Scary)
Here’s what I gathered before my appointment — and trust me, it’s way less complicated than I initially thought:
- Reference images (3-5 photos max — more gets confusing)
- A good moisturizer (unscented, for the weeks leading up)
- Loose, comfortable clothing that won’t rub against your chosen area
- A water bottle and small snack (sessions can take 1-3 hours)
- Your ID and payment method
- A friend for moral support (optional but recommended)
That’s it. No special creams, no weird prep rituals, no expensive aftercare kits. I over-researched this part and ended up buying products I never used.
Step 1: Research Your Design Without Overwhelm
This is where I made my biggest mistake initially — I saved about fifty different henna designs to my phone and showed up expecting my artist to somehow blend them all together. Don’t do this.
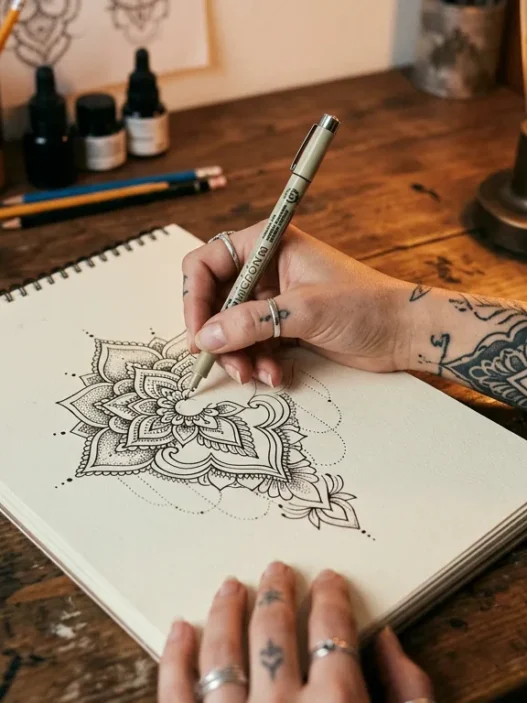
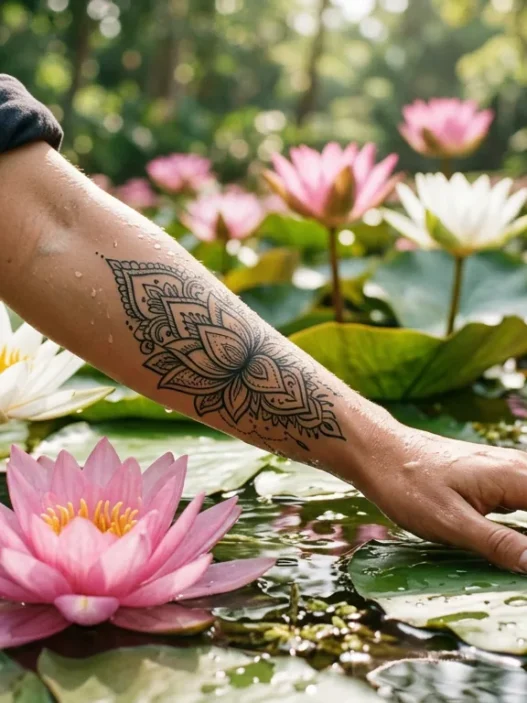
Instead, pick one main design that speaks to you. Maybe it’s traditional paisley patterns that feel grounding, or modern geometric interpretations that match your aesthetic. Focus on the overall feeling you want rather than specific tiny details.
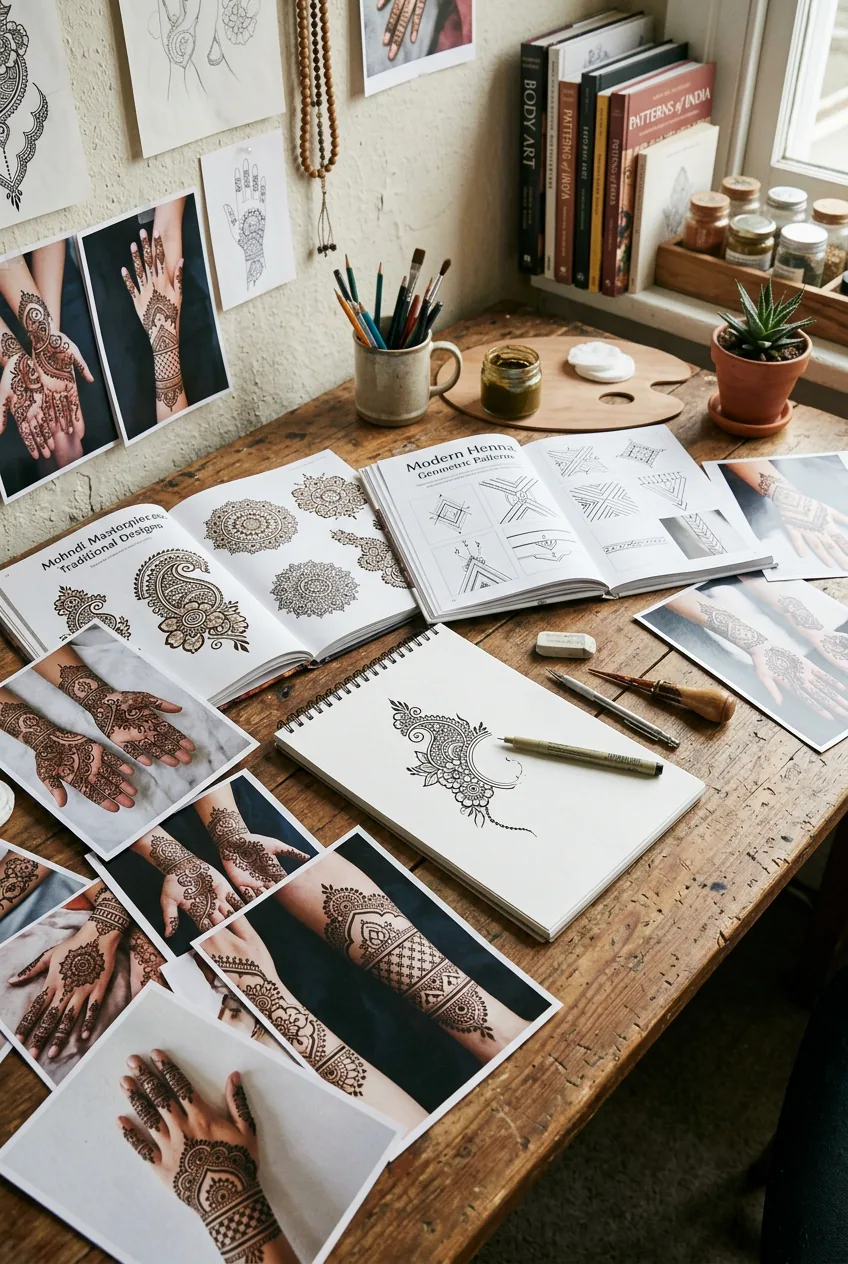
I recommend starting with placement first. Wrist and forearm pieces are beginner-friendly because they’re easy to care for and the skin there handles henna-style work beautifully. Avoid areas that stretch frequently (like inner elbows) for your first piece.
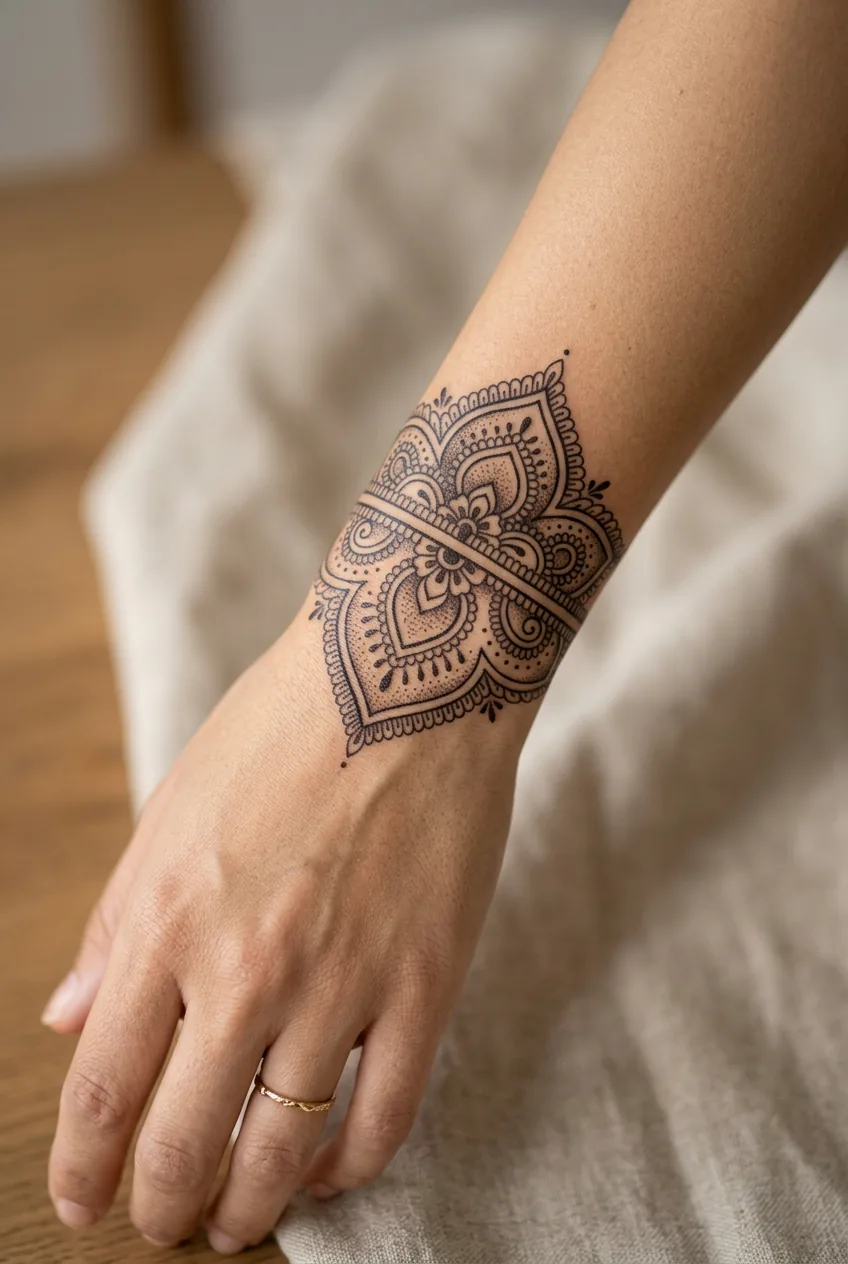
I initially wanted a full sleeve design for my first tattoo because I’d seen gorgeous examples online. My artist gently suggested starting with a bracelet-style piece around my wrist instead. She was so right — it let me experience the process without committing to hours in the chair, and now I’m planning to build up from there.
Spend time looking at henna symbolism to understand what different elements represent. This isn’t just about aesthetics — understanding the meaning behind your chosen elements makes the whole experience more intentional.
Step 2: Find Your Artist (Yes, Even for This)
Not every tattoo artist specializes in henna-inspired work, and that’s totally fine. You want someone who understands the delicate linework and flowing patterns that make these designs special.
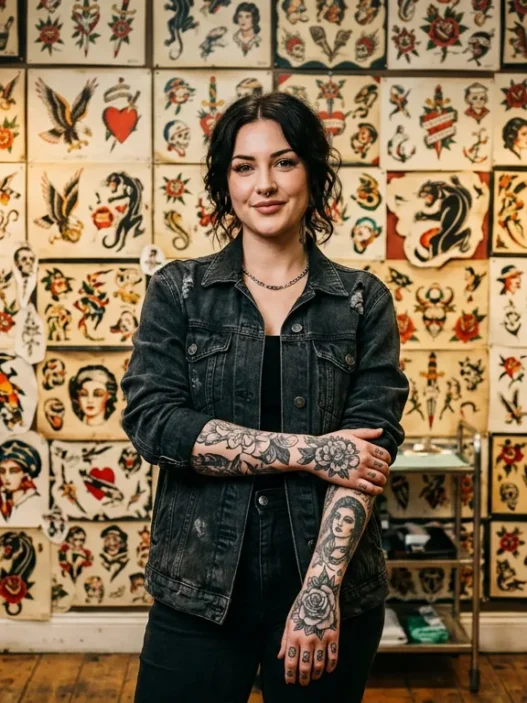
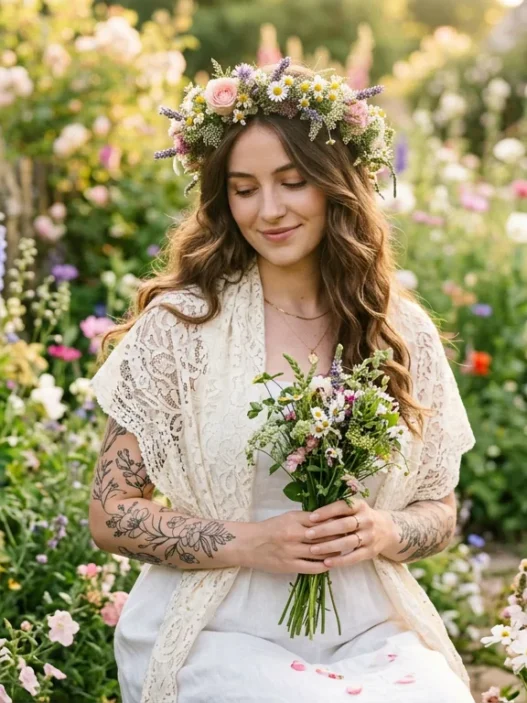
Look for artists whose portfolios show fine line work, dotwork, or specifically mention henna or mandala styles. Check their healed photos — fresh tattoos always look crisp, but you want to see how their delicate work ages.
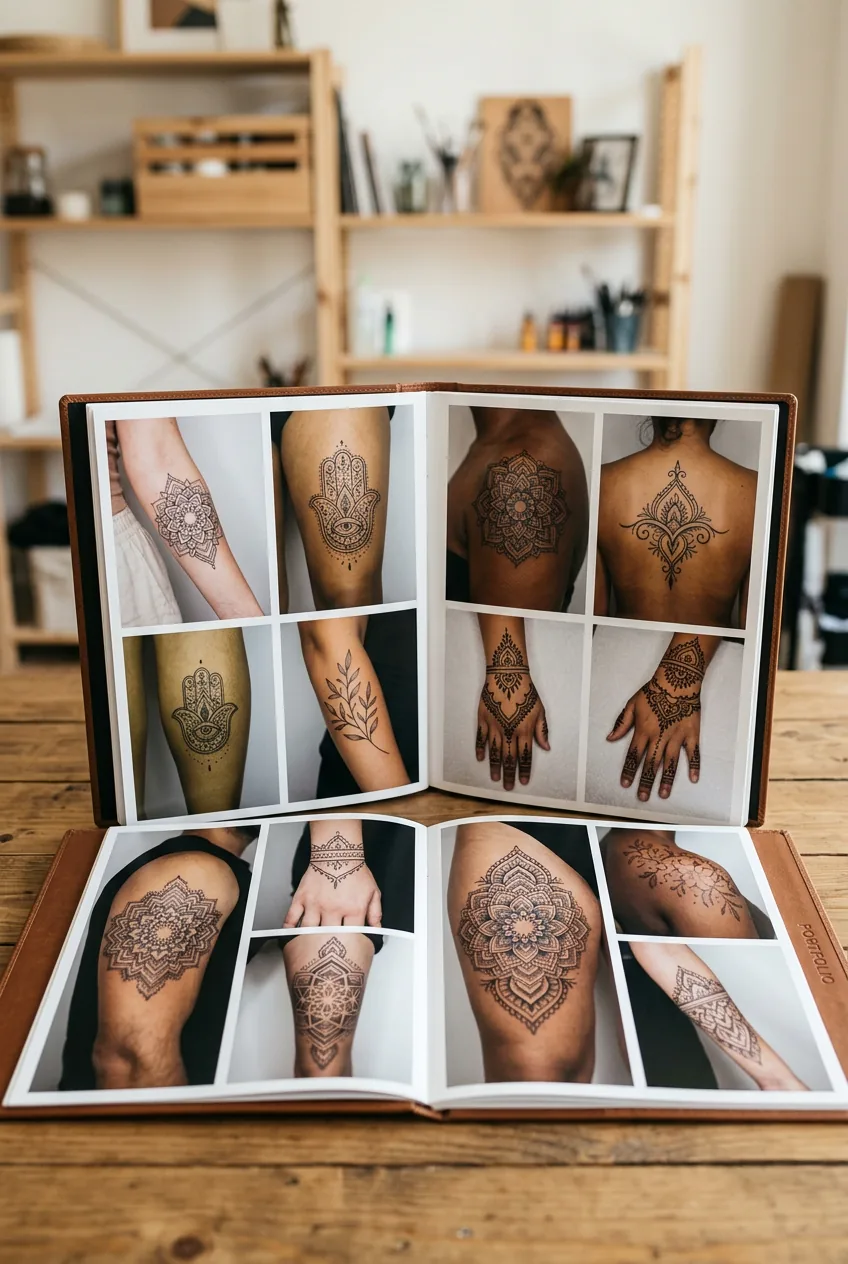
During your consultation (and yes, do a consultation even for smaller pieces), ask about their experience with henna-style designs. A good artist will ask about your lifestyle, pain tolerance, and long-term vision. They should also explain how henna-inspired tattoos differ from their other work.
Trust your gut about the vibe. I interviewed three artists and chose the one who made me feel heard rather than rushed. She spent twenty minutes just talking through my nervousness, which told me everything I needed to know about how the actual session would go.
Step 3: Prep Your Skin the Right Way
Here’s what surprised me most: skin prep for henna style tattoos is actually simpler than what I’d read online. You’re not preparing for major trauma — you’re preparing for detailed work that needs a smooth, healthy canvas.
Two weeks before your appointment, start moisturizing the area daily with unscented lotion. Don’t exfoliate aggressively or use anything harsh. The goal is healthy, hydrated skin that will hold ink well and heal cleanly.
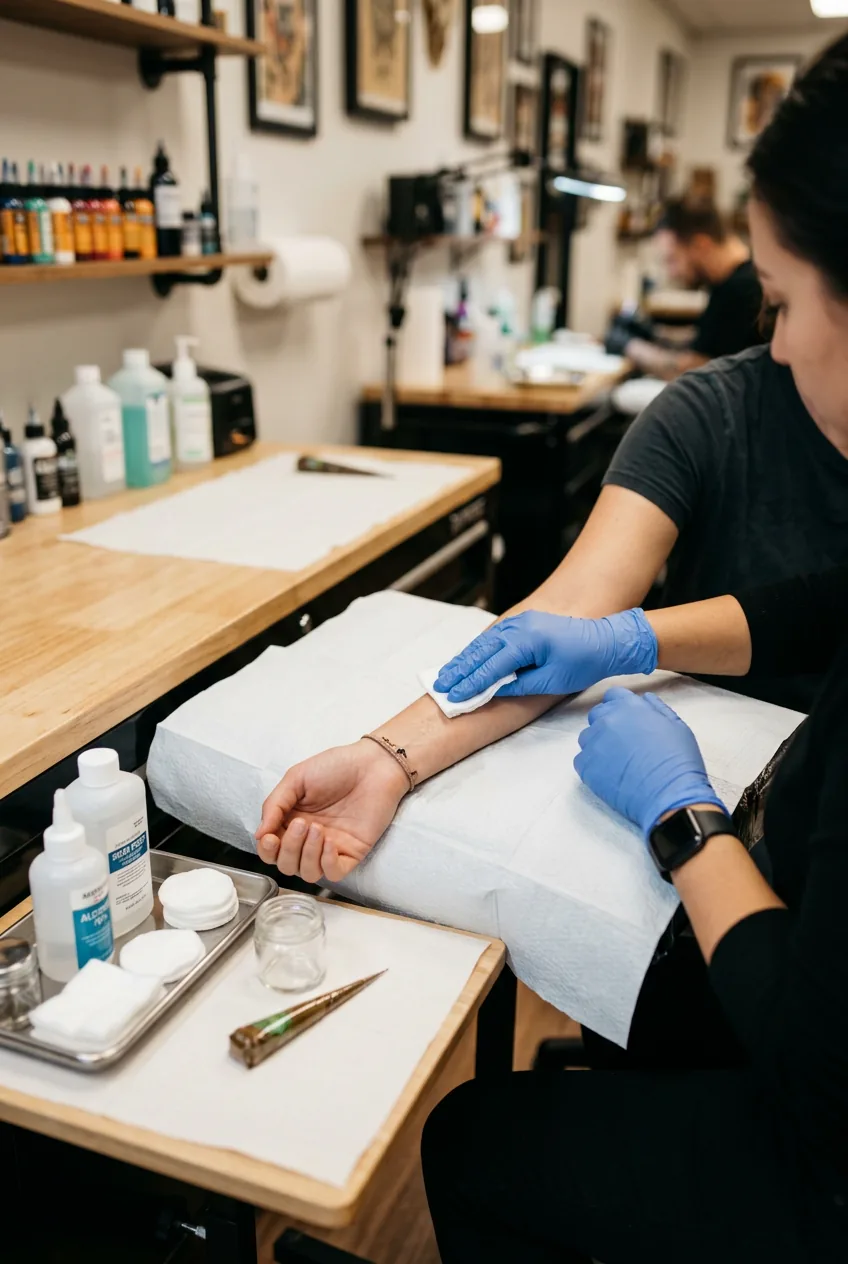
The day before, take a normal shower and gently wash the area. Don’t apply lotion that evening — you want clean, slightly dry skin for the session. Avoid alcohol, excessive caffeine, and blood thinners if possible (check with your doctor about any medications).
Morning of your appointment, eat a good breakfast and drink water. Wear clothes that give your artist easy access to the area without you having to undress uncomfortably. I wore a loose tank top for my wrist piece and felt so much more relaxed than I expected.
Step 4: During Your Session — What to Actually Expect
The actual tattooing process for henna-inspired designs feels different than you might expect. The fine lines and dotwork require a lighter touch than bold traditional work, which often means less intensity overall.
My artist started with the main outline, working in sections so I could get used to the sensation. Henna style tattoos often involve a lot of detailed work, so expect your artist to take breaks and check in frequently. This isn’t rushing — it’s precision.
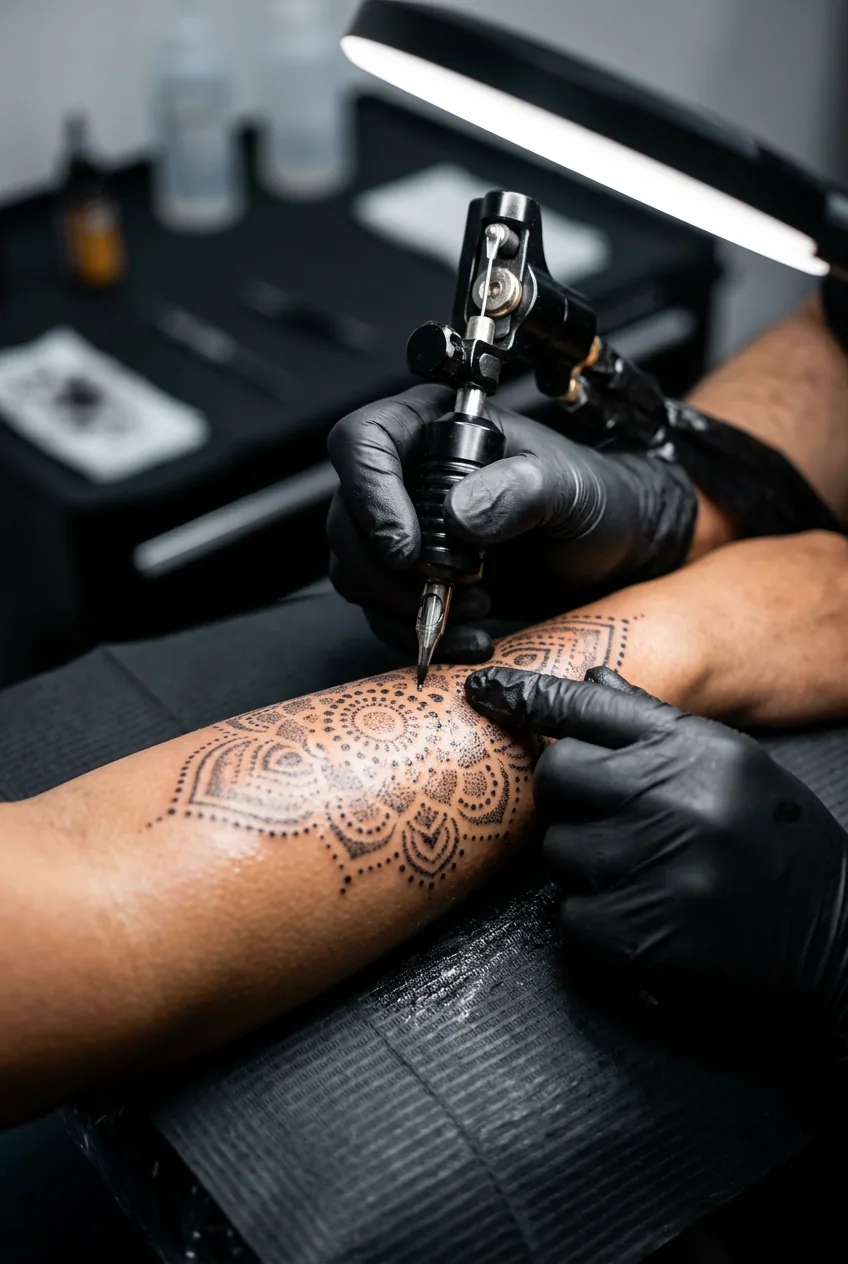
Don’t panic if you need to move or stretch. Good henna-style artists expect this because the detailed work takes time. Just communicate. I thought I was being “difficult” when I asked for a stretch break after an hour, but my artist said most clients need breaks for intricate work like this.
The pain level varies by placement, but most people find fine line henna work more tolerable than heavy shading. It’s more of a scratching sensation than deep pressure. I was shocked at how manageable my wrist piece felt compared to what I’d psyched myself up for.
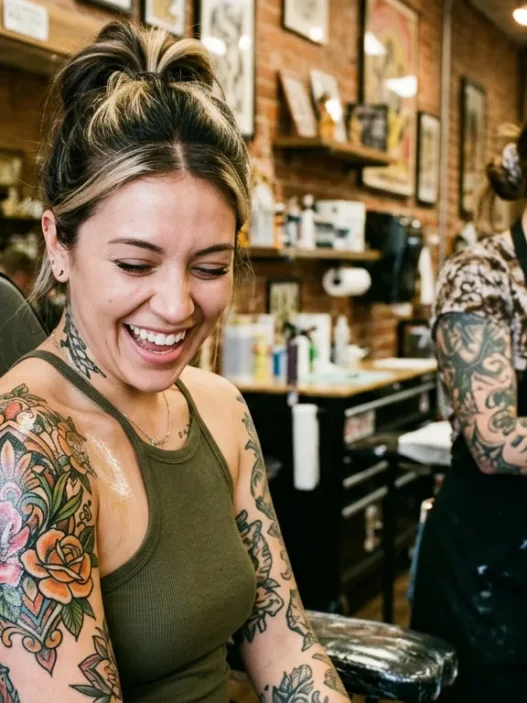
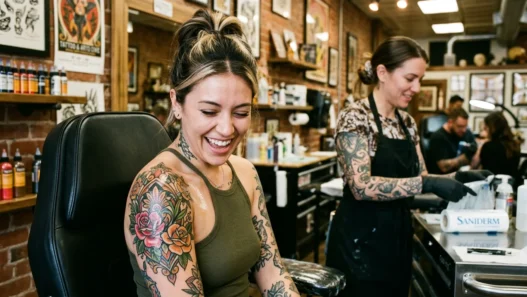
Watch your artist work if that helps you stay calm. Professional tattoo sessions have a rhythm, and seeing the design come together in real time is actually pretty amazing. Some people prefer to look away, and that’s fine too.
See the Gentle Technique in Action
Step 5: Aftercare That Actually Works
Henna style tattoos often heal faster than heavy traditional work because the needle work is typically lighter. But the delicate lines need gentle, consistent care to heal crisp and clear.
For the first 24 hours, keep the bandage on that your artist applied. When you remove it, gently wash with unscented antibacterial soap and pat dry. Don’t rub. Apply a thin layer of the aftercare product your artist recommended — usually a gentle, unscented lotion or specialized tattoo balm.
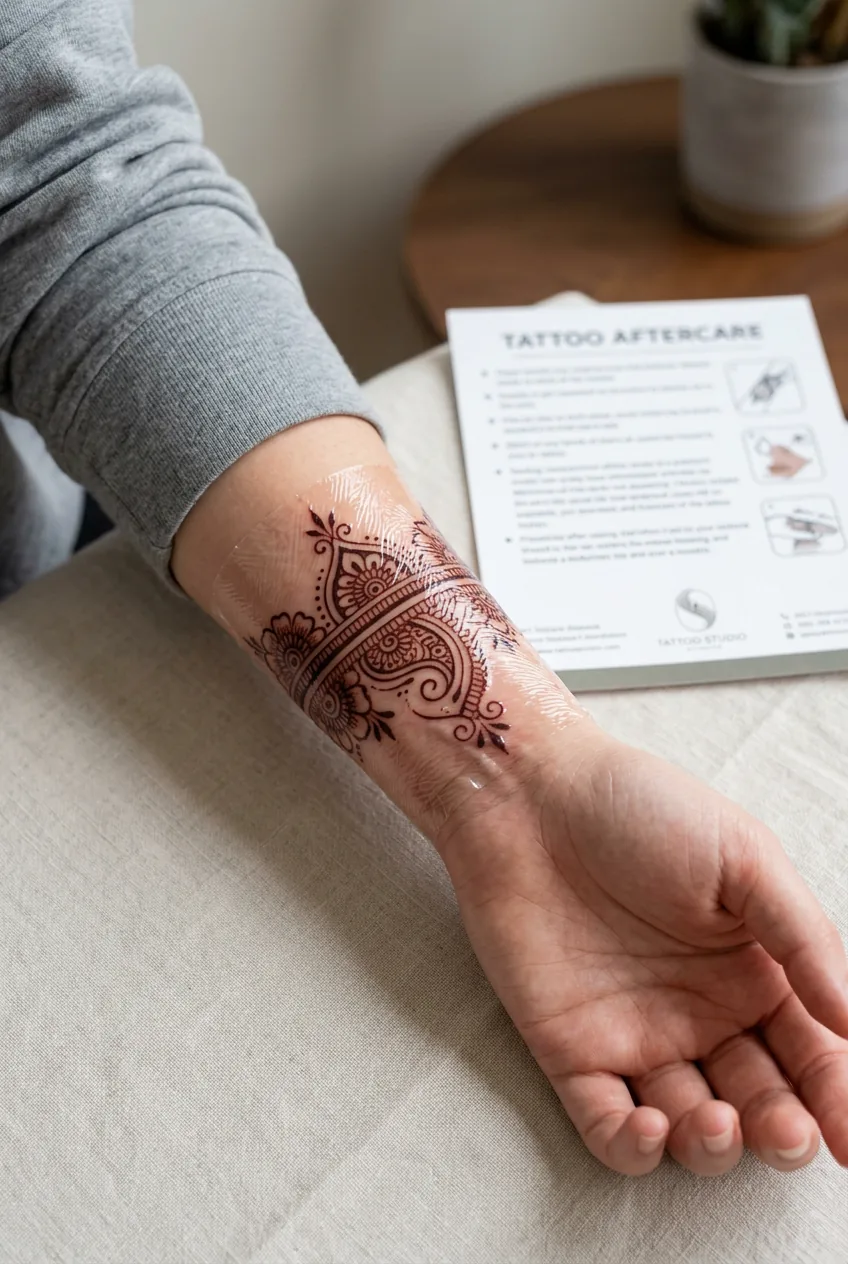
The detailed linework in henna-inspired designs can look alarming when it starts peeling around day 3-4. This is completely normal. Resist picking at peeling skin, even if it looks like it’s taking ink with it. Trust the process.
I panicked when my delicate dotwork started flaking on day four. Some dots looked patchy and I was convinced I’d ruined it somehow. But by week two, when the healing was complete, every single dot was perfectly intact. The anxiety was totally unnecessary.
Keep the area out of direct sunlight and avoid soaking in water (quick showers are fine) for the first two weeks. The fine details in henna-style work can blur if exposed to too much moisture during healing.
Moisturize gently twice daily once the initial healing starts (usually after day 3-4). Don’t over-do it — too much moisture can actually slow healing. I used a tiny amount of unscented lotion and that was perfect.
You Did It — And It Probably Went Better Than Expected
Looking back, I can’t believe how much mental energy I spent worrying about my first henna style tattoo. The actual experience was so much gentler and more collaborative than I’d imagined.
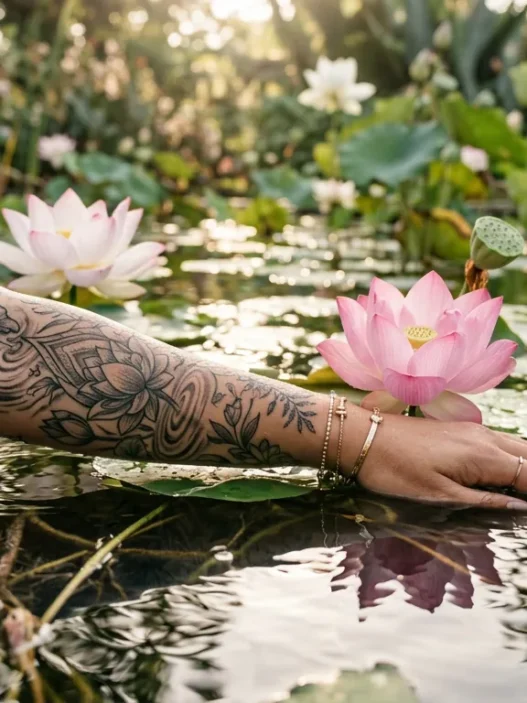
My delicate wrist piece healed beautifully and still makes me smile every time I catch sight of it. The flowing lines feel like they belong on my skin in a way that surprised me. I’m already planning my next piece — maybe something on my forearm that connects to this one.
If you’re reading this because you’re nervous about taking the plunge, trust me when I say the anticipation is way worse than the reality. Henna-inspired tattoos are a gorgeous way to ease into body art, and the artists who specialize in them tend to be incredibly patient with nervous first-timers.
Questions I Get About This
Does henna style tattooing hurt more because of all the detail work?
Actually, it often hurts less than bold traditional work because the needle technique is lighter. The detailed work takes longer, which can be tiring, but the actual sensation per line is usually more tolerable. Most of my clients are surprised by how manageable it feels.
Can I get a henna style tattoo if I have sensitive skin?
Yes, but definitely discuss this with your artist during consultation. The lighter needle work is often better for sensitive skin than heavy shading. Make sure to do a patch test if you have severe sensitivities, and choose an artist experienced with delicate skin types.
How long do the fine details in henna style tattoos actually last?
With proper aftercare and touch-ups when needed, the delicate linework holds up beautifully for years. The key is choosing an experienced artist and protecting it from sun exposure long-term. Some softening over time is normal and often adds to the organic feel of the design.
Should I start with a small piece or go bigger for my first henna style tattoo?
I always recommend starting smaller to get used to the process and see how you like the style on your skin. You can always add to it or plan a larger piece later. A bracelet or small mandala is perfect for testing the waters without a huge time or financial commitment.