





I booked myself for a henna session last summer and then completely forgot about it until the morning of. No prep, no research, no idea what I wanted. So I grabbed a cone from the craft store shelf, Googled “easy DIY henna designs” on the way, and just… figured it out. And honestly? It came out fine. More than fine. That experience basically became this guide.
If you’ve been sitting on the idea of trying henna at home because it feels intimidating or like you need to be some kind of artist — you really, really don’t. This is the method for people who want something beautiful without a twelve-step plan and a ring light.
Your Lazy-Girl Henna Roadmap
The 30-Second Brief
Here’s what this is: a six-step process to get a henna design on your hand or arm that looks deliberate and pretty, using stuff you can buy at most beauty supply shops or online, without scheduling a “henna afternoon” or watching fifteen tutorials first. One cone, one design idea, a couple of hours of Netflix, and you’re done. That’s the whole pitch.
Henna has genuinely rich cultural roots — if you’re curious about the symbolism behind different patterns, henna tattoo designs and their meanings is a brilliant rabbit hole to fall into after you’ve had your first go. But right now? We’re just getting you started.
What You Actually Need
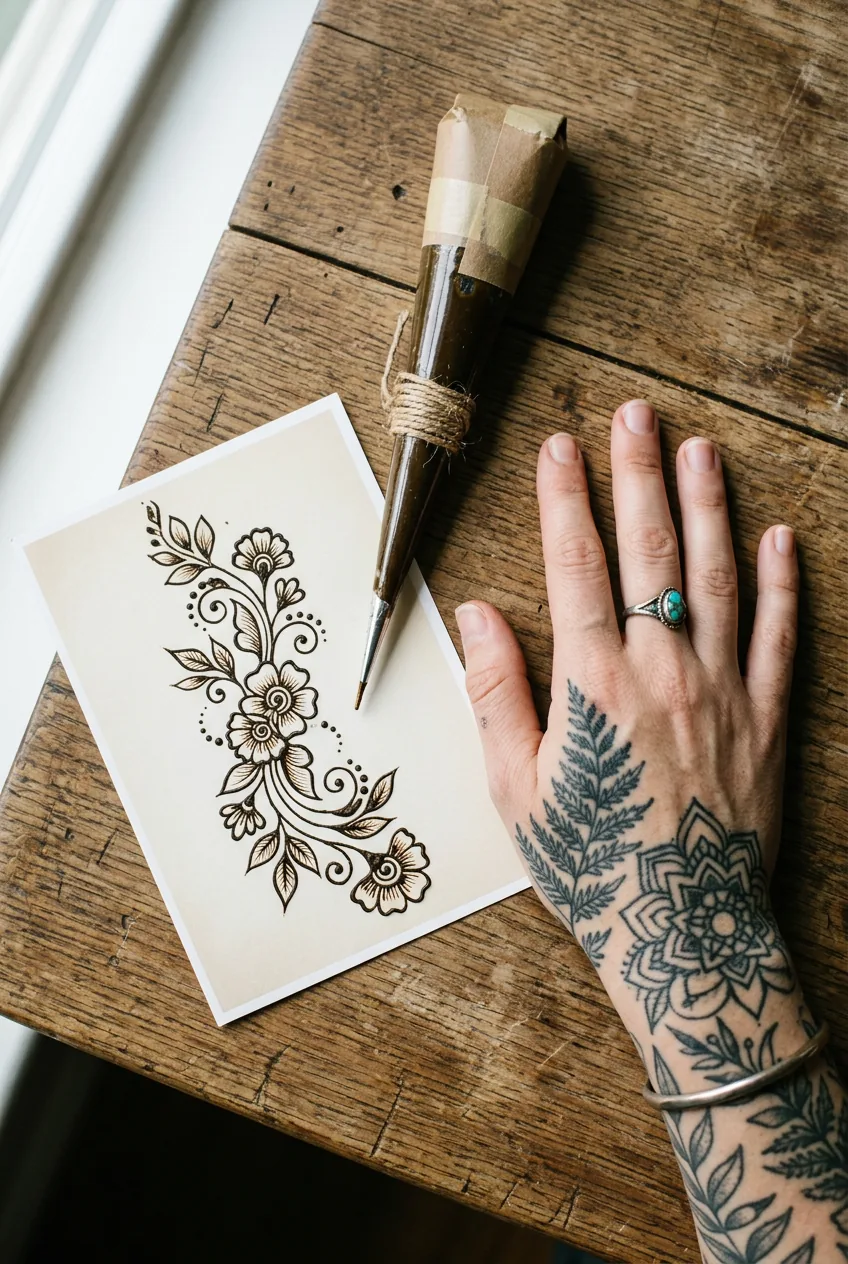
No, you don’t need a full kit. This is what I actually used:
- One pre-mixed henna cone (natural, not black — black henna can cause reactions and we’re not doing that)
- A piece of scrap paper for practice squiggles
- Rubbing alcohol or a gentle toner on a cotton pad
- Sugar-lemon sealer (you can buy this or mix it yourself — one part lemon juice, one part sugar, microwave for 20 seconds)
- A cotton ball for the sealer
- Your hand and approximately zero artistic credentials
That’s genuinely it. You do not need a light box. You do not need calligraphy training. Good enough alternatives exist at every stage of this process and I will point them out as we go.
Step 1: Pick One Design (Just One)
The biggest mistake beginners make — including past me — is trying to design a full hand piece before they’ve even picked up the cone. One design. That’s the rule.
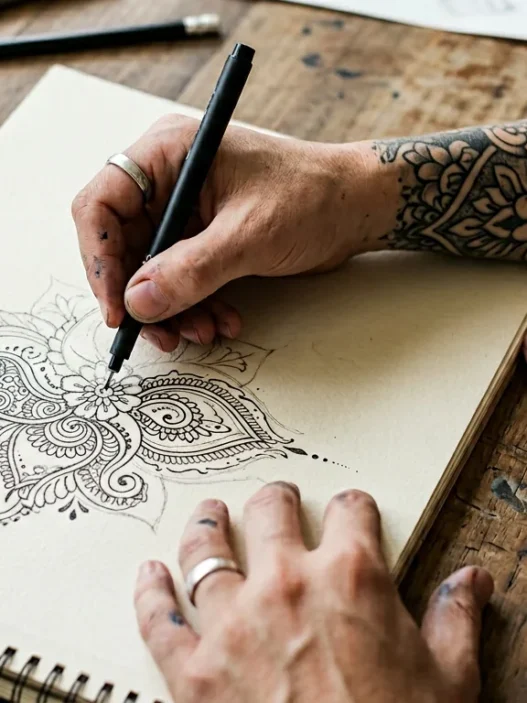
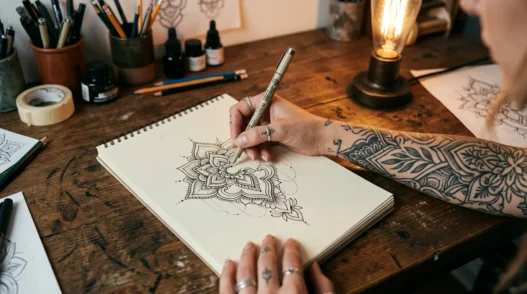
For a first attempt, I’d go with a simple floral vine along one finger and across the back of the hand, or a single mandala dot on the wrist. Both look intentional. Both are actually achievable. If you want ideas with a bit more meaning behind them, henna style tattoos and their symbolism for women has some genuinely beautiful options laid out clearly.
Save the screenshot to your phone. Don’t try to memorize it. Just glance at it while you work. This isn’t an exam.
Step 2: Prep Your Skin Without Overthinking It
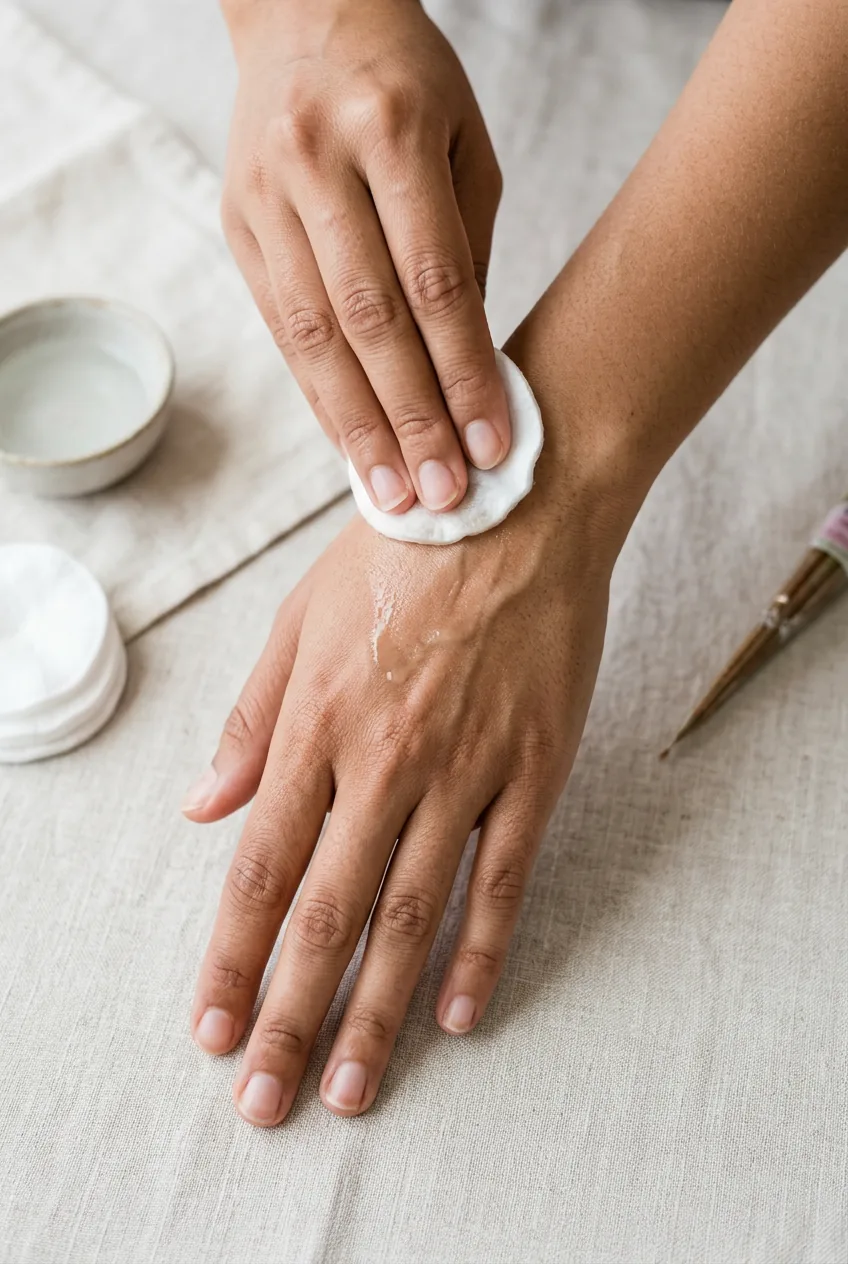
Wipe the area you’re going to decorate with rubbing alcohol or toner on a cotton pad. That’s it. This removes the surface oils that stop the henna from staining properly. You don’t need to exfoliate the day before. You don’t need to moisturize for a week leading up to it (though if your skin is very dry, a bit of extra moisture in the days before does help the colour develop).
Let your skin dry fully before you start drawing — about a minute is plenty. If you’re doing this on your hand, keep that hand relaxed and flat on a table while you work. Don’t try to do it in the air like a surgeon. Resting it gives you actual control.
Step 3: Map the Design Loosely
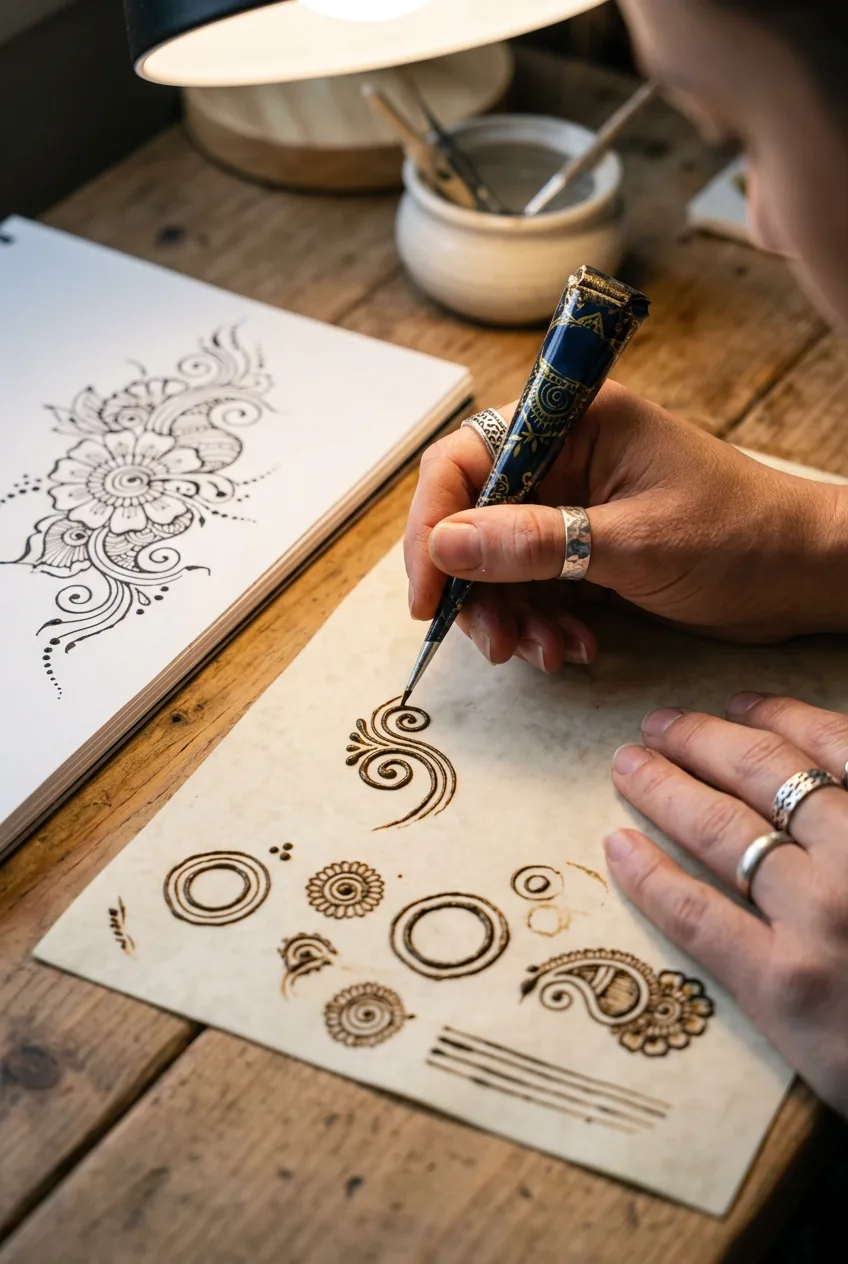
Before any henna touches your skin, do a practice run on paper. Squeeze out a line, some dots, a little loop. Get a feel for the pressure needed. The cone works like a piping bag — consistent light pressure gives you a clean line, anything more and it blobs.
Then, with the actual design, do the main stem or central shape first. Think of it as the spine of the design. Everything else is decoration around it. beginner henna pattern techniques are worth a quick look if you’re going floral — there are some really smart tricks for making petals look balanced.
First time I tried this, I started with the tiny details — the little dots and fillers — and completely ran out of space for the actual main motif. The whole thing ended up looking like a smudged fingerprint. Start big, add small. Not the other way around.
Step 4: Apply the Henna Paste
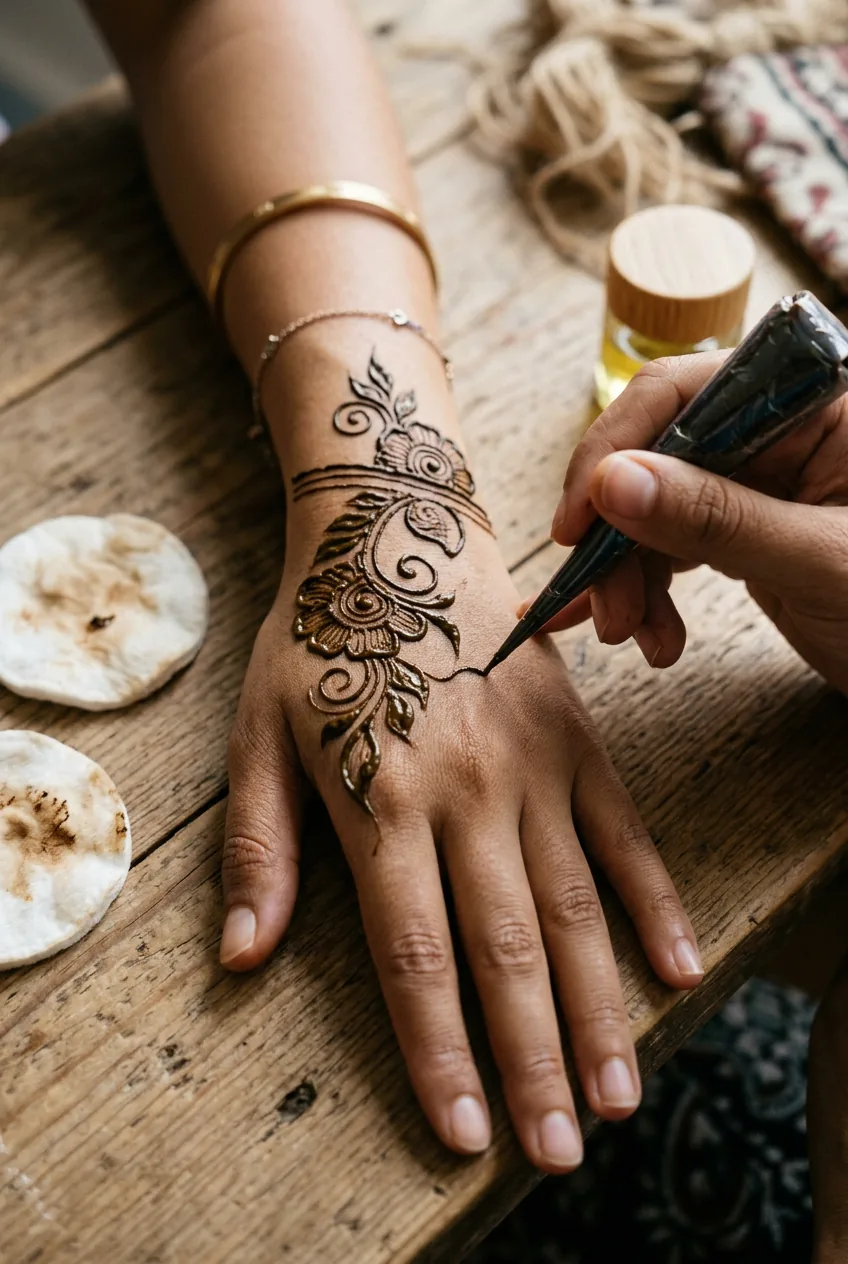
This is the step that actually matters, and it’s also the one that’s most forgiving. Hold the cone like a pen, tip almost touching your skin, and draw in one slow continuous motion where you can. Dots are your best friend — they look intentional at any size, cover wobbles, and add fullness fast.
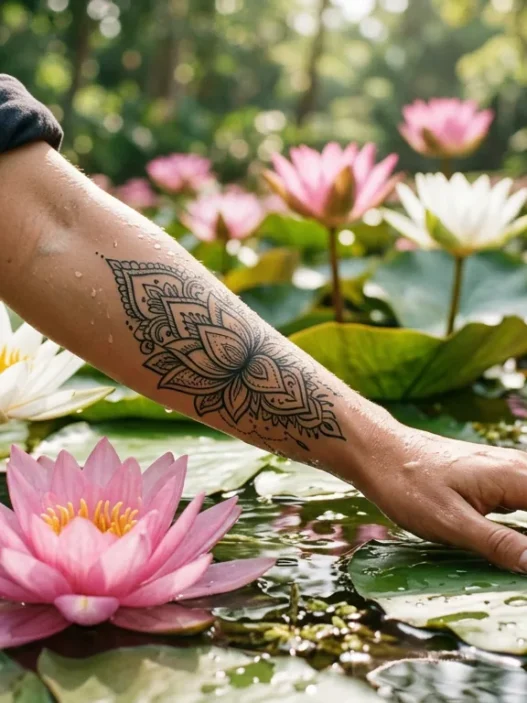
If a line goes wrong, leave it. Seriously. Don’t wipe it — wet henna smears badly and takes the whole section with it. Wait until it dries slightly (about ten minutes) and then you can gently flake off small mistakes. Most wobbles just look like organic variation once the whole thing is done. The woman in this photo has a gorgeous vine-and-dot pattern on her forearm — look at the slight irregularity in the loops. That’s what makes it look handmade rather than stencilled.
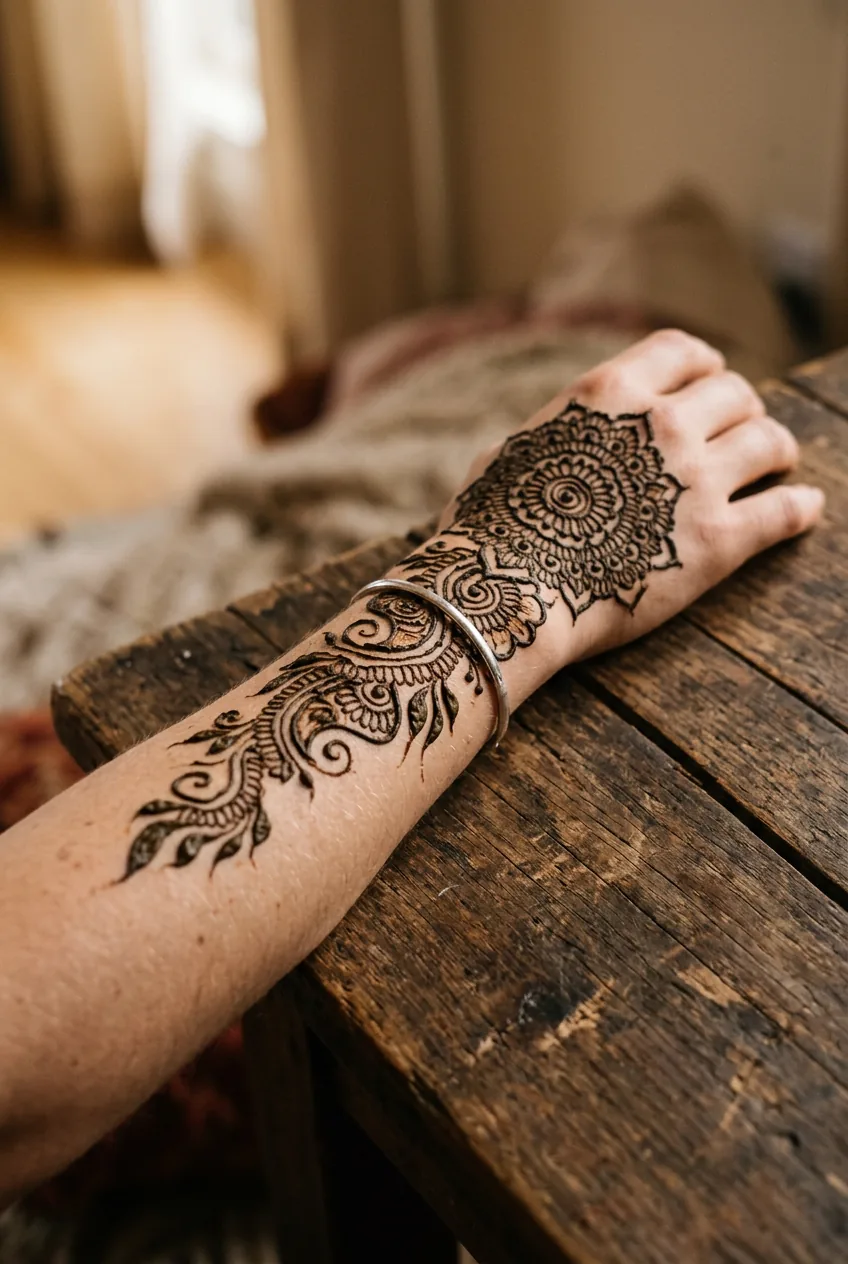
Work from the inside of your design outward, and from the top of the area to the bottom, so you’re not dragging your hand over wet paste. If you’re doing your own hand, this is slightly awkward — just go slow and it’s fine. If you’re doing someone else’s, it’s genuinely easy.
For inspiration on how traditional meets modern in henna-style work, choosing between traditional and modern henna-inspired styles is a genuinely useful read — especially if you want your design to have a bit more of a considered aesthetic rather than just “cute squiggles” (though cute squiggles are valid).
Step 5: The Waiting Game (This Is Where You Watch TV)
Leave the paste on for at least two hours. Four is better. Overnight if you can manage it without smearing it all over your bedsheets. The longer the paste stays on, the deeper the stain develops. This is not a step where effort gets you more — it’s literally just time.
Keep the area warm. Cold slows the dye release. If you’re doing this in an air-conditioned room, sit near something warm or loosely wrap a sock around the area (don’t cover it tightly — it needs airflow). Warm tea next to your hand on the couch counts. You’re basically babysitting a very low-maintenance toddler for a couple of hours.
Making henna stain darker — this is worth bookmarking for next time if you want a richer colour without any extra products.
Step 6: Seal and Reveal
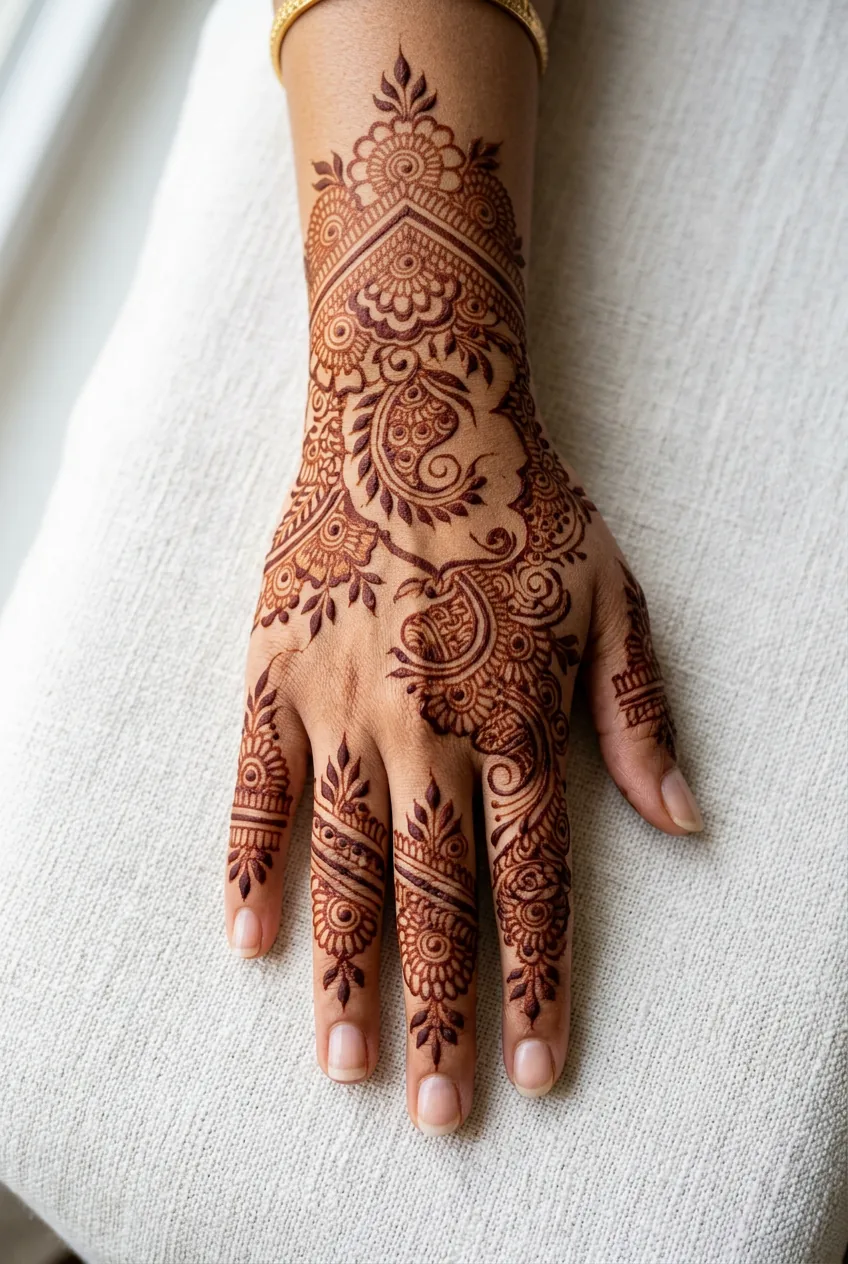
Once the paste has dried fully — it’ll crack and flake on its own — dab the sugar-lemon sealer over the design with your cotton ball. This keeps the paste moist at the surface a little longer and helps lock in the stain. Don’t soak it, just a light touch. Let that dry too, then leave it another thirty minutes if you can.
When you’re ready: scrape or flake off the dried paste gently with your fingernail or the back of a spoon. Don’t wash it off with water — that stops the stain developing. The colour underneath will look orange at first. That’s correct. Over the next twelve to twenty-four hours it oxidises to a rich reddish-brown. Don’t panic in hour one.
Avoid water on the area for at least six hours after removing the paste. When you do wash, use oil (coconut, olive, whatever) rather than soap to clean around it — soap strips the stain faster. The design typically lasts one to three weeks depending on placement and how much you wash that spot.
And that’s actually it. If you’re now wondering whether you might want something more permanent in a similar style, what to expect from your first henna-style tattoo is a great next read — no pressure, just useful. There are also some really stunning tattoo ideas across minimalist, boho, and bold styles if you want to see where the henna aesthetic goes when it goes permanent.
Quick Answers Before You Start
Can I use black henna from the market stalls?
I’d strongly avoid it. Black henna often contains PPD (para-phenylenediamine), which can cause severe skin reactions and scarring — and it’s especially risky on sensitive skin. Natural henna is always the safer choice, even if the colour is less dramatic at first.
What if my lines come out wobbly?
Honestly, they probably will the first time — mine did — and they still look good. Henna is an organic, handmade art form and imperfections read as character, not mistakes. Add a few extra dots wherever a line looks thin and it suddenly looks very intentional.
How do I make the stain last longer?
Keep it moisturised with oil (not lotion) and avoid prolonged soaking in water. The stain fades fastest on palms and anywhere that gets a lot of friction. Placement matters — wrist and forearm designs tend to last noticeably longer than finger designs.
Can I do henna on my feet or legs?
Absolutely — feet actually stain really deeply and the designs look gorgeous. Just know that the skin there can be drier, so prep well and leave the paste on as long as possible. Bridal foot henna is a whole thing, and for good reason.
Is henna safe during pregnancy?
Natural henna on the skin is generally considered low-risk, but it’s always worth checking with your midwife or doctor first — especially if your skin has been more sensitive than usual. Avoid essential oils in henna blends during pregnancy, as some can be problematic.
My first proper solo attempt took about forty minutes to apply and two hours of sitting on the sofa with a cup of tea. The result was a small floral vine on the back of my hand that I got approximately seventeen compliments on over the following week. Not bad for zero prep and a five-dollar cone. You’ve got this — and the bar for “success” here is genuinely lower than you think.