




I won’t lie to you — getting a foot tattoo was one of the more humbling experiences of my tattoo journey so far. I’d had work done on my arm and back before, so I figured I knew what to expect. Reader, I did not. The foot is bony, thin-skinned, and absolutely full of nerve endings — and nobody quite told me how to prepare for that specific kind of discomfort. So after my session, I sat down and wrote everything I wish I’d known.
Your Survival Roadmap for a Foot Tattoo Session
- What You’ll Need Before You Even Book
- Before You Sit Down
- Step 1: Eat, Hydrate, and Sleep Like You Mean It
- Step 2: Numbing Cream — When Helpful, When Not
- Step 3: Breathing Techniques That Actually Work
- Step 4: When to Ask for a Break
- Step 5: Getting Through the Final Push
- Step 6: Post-Session Recovery That Speeds Healing
- Questions I Get About This
What You’ll Need Before You Even Book
These are the things I wish I had sorted out before I ever walked into the studio. Some of them seem obvious in hindsight. They were not obvious to me at 7am on appointment day.
- A good meal — something with protein and complex carbs, at least two hours before your session
- A big water bottle — aim for well-hydrated the whole day before, not just that morning
- Loose, open footwear — flip flops or slides so nothing touches the fresh tattoo after
- Snacks for mid-session — glucose drops fast when you’re in pain; a small chocolate bar or some fruit in your bag is a lifesaver
- Headphones and a downloaded playlist or podcast — streaming cuts out at the worst moments
- Numbing cream (optional) — more on this in Step 2, because it’s genuinely complicated
- A trusted studio and artist — this matters more than any product on this list
- A friend who can drive you home — bonus if they’ll also bring you food after
Before You Sit Down
There’s a version of this where you show up half-asleep, having eaten nothing but a coffee, and just wing it. I’ve seen people do it. I’ve done it once myself with a smaller piece on my calf. But the foot is different. The foot does not forgive casual preparation.
The physical state you arrive in will directly affect how much you feel. That’s not motivational fluff — it’s basic physiology. Blood sugar, hydration, sleep, and stress all alter your pain threshold in measurable ways. Your artist is doing the same job either way. You’re the variable here.
So before I walk you through the steps, I just want to say: give yourself the best possible starting point. You’ll thank yourself approximately forty minutes in.
Step 1: Eat, Hydrate, and Sleep Like You Mean It
I know this gets repeated everywhere but it gets repeated because people keep ignoring it and then going grey in the chair. Your body needs resources to handle sustained pain, and those resources come from sleep, food, and water. Not complicated. Genuinely hard to actually do the night before an exciting tattoo appointment, but necessary.
The night before: eat a proper dinner, stop drinking alcohol entirely (it thins the blood and makes you bleed more during the session, which can push ink and frustrate your artist), and get to bed at a reasonable hour. I know you’ll be buzzing. Put on something boring on TV and be in bed by 11pm.
The morning of: breakfast matters enormously. Something with slow-release energy — oats, eggs, whole grain toast. Not just a banana. Drink a full glass of water when you wake up, and keep sipping throughout the day. By the time you’re in the chair, your blood sugar should be stable and your skin should be well-hydrated. Well-hydrated skin actually takes ink better, which is a nice bonus on top of the pain management angle.

Mistake I made: I booked a 10am appointment and thought I’d eat breakfast “on the way.” I ended up with a petrol station sandwich in my bag, ate half of it while the artist was setting up, and felt dizzy by the 45-minute mark. Bring a real meal. Eat it at home. Do not replicate this.
Step 2: Numbing Cream — When Helpful, When Not
Okay, so this is the one people ask about the most and it’s the one with the most nuance. Numbing creams exist, they work to varying degrees, and they come with real trade-offs that your artist will have feelings about.
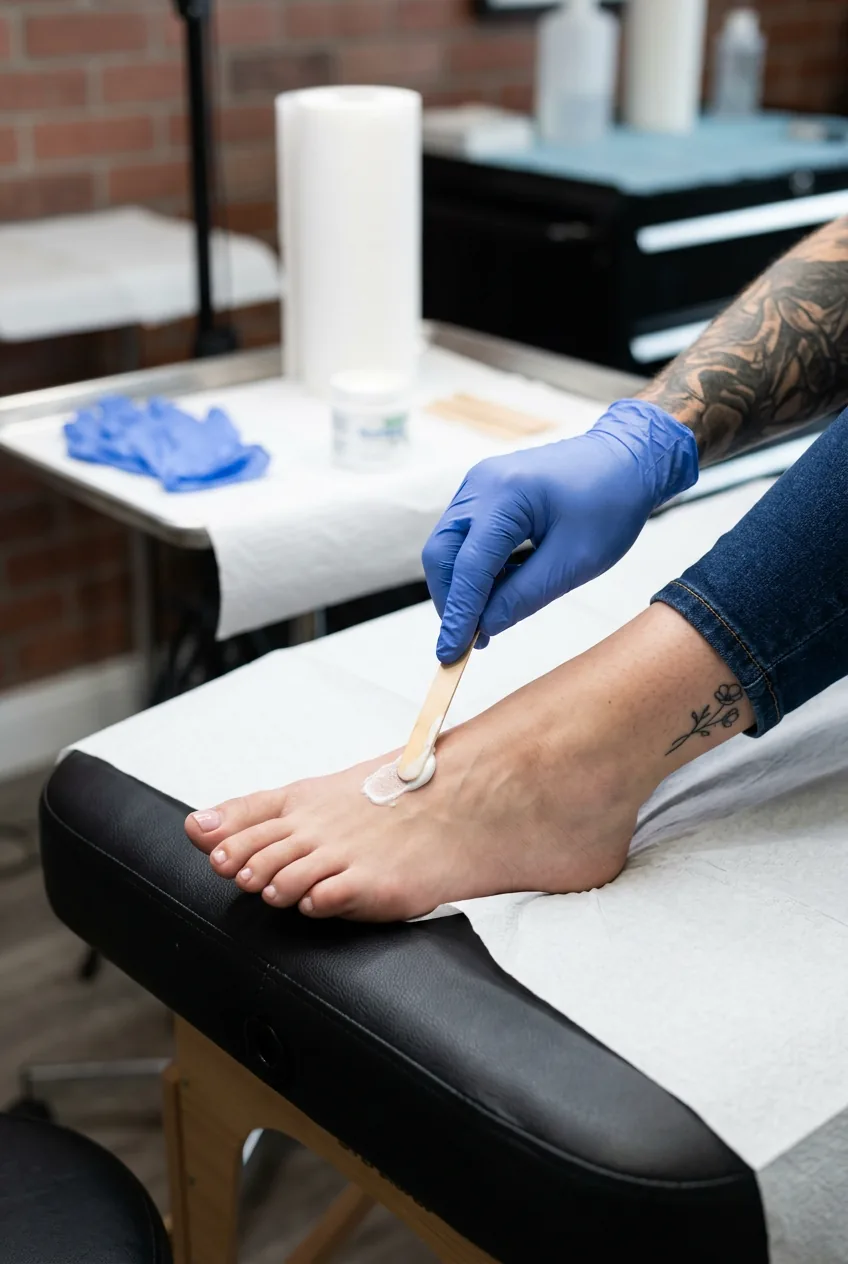
The honest version: a lidocaine-based topical numbing cream, applied properly about 45–60 minutes before your session under cling film, can take the edge off for the first hour. The keyword is edge. It’s not a general anaesthetic. For a foot tattoo, which already tends to be a shorter sitting than a large back piece, it can genuinely help you get through the most sensitive passes.
The catch is that some numbing creams can temporarily change the texture of the skin — making it swell very slightly or become harder to work into. Some artists find it affects how the ink sits. I’d always recommend checking what your artist thinks about numbing cream use before you apply anything. A good artist will tell you honestly whether they prefer you come in without it, or which product they’ve had the best results with. You can look at what numbing cream affects ink so you go into that conversation informed.
My personal experience: I used a numbing cream for part of my foot session (applied at home beforehand) and it helped noticeably for the first forty minutes. Once it wore off mid-session, the sensation came back sharply — which some people find harder to handle than if they’d just felt everything consistently from the start. Both approaches are valid. Just go in with your eyes open.
Step 3: Breathing Techniques That Actually Work
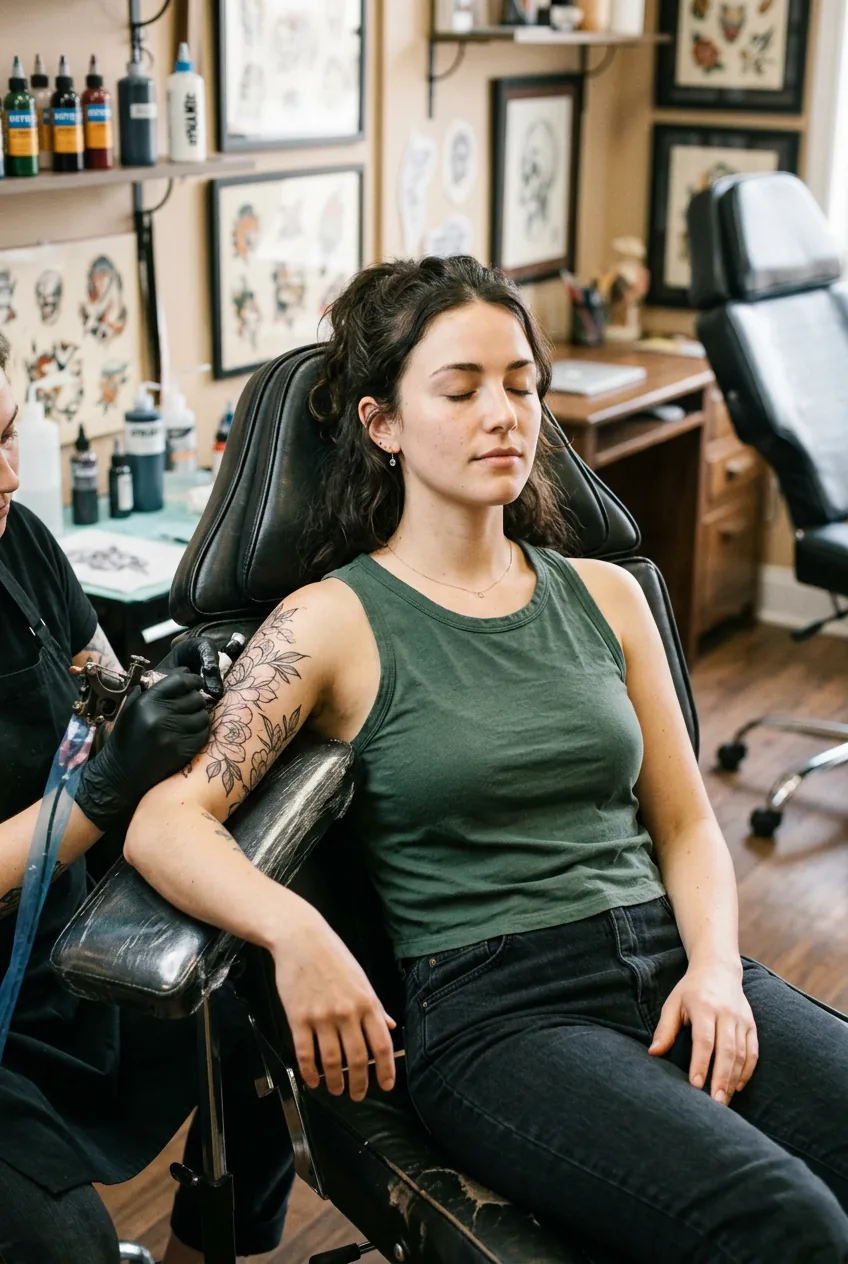
I used to think breathing techniques were something yoga instructors made up to fill time. Then I had a needle going over the top of my foot near the toes and I breathed my way through it like my life depended on it. Turns out it works.
The technique I use is simple: breathe in for four counts, hold for two, out for six. The longer exhale activates your parasympathetic nervous system — it physically calms your body’s stress response. Your pain perception drops measurably when your nervous system stops treating every needle pass as an emergency.
What you want to avoid is breath-holding. It’s the most natural response when something hurts — you tense up and stop breathing. That’s the worst thing you can do in the chair. Tensing concentrates the sensation, makes your muscles rigid, and extends the discomfort. Keep the breath moving.
Music or a podcast helps with this too, because it gives your breath something to pace itself against. I had a long playlist of familiar songs I’d heard enough times to drift with. Nothing new or exciting — you don’t want to be emotionally engaged with the audio, you want it as a gentle background rhythm.
A Breathing Demo That Actually Makes Sense
Step 4: When to Ask for a Break
I want to be very direct about this: you are allowed to ask for a break. Fully and completely allowed. Your artist knows this. A good artist actually expects it for more sensitive placements, and they’d rather pause for five minutes than have you flinch at a critical moment and ruin a clean line.
Signs you need a break before you need a break: you start feeling cold or clammy, your vision goes slightly odd at the edges, you feel nauseated, or you notice you’re holding every muscle in your body rigid. These are early signs of a vasovagal response — basically your nervous system deciding it’s had enough. At this point, speak up immediately. Don’t push through it hoping it’ll pass, because sometimes it doesn’t.
Just say: “Can we take five?” That’s it. Eat one of those snacks you brought. Drink some water. Lie flat for a few minutes if you need to. Most sessions on leg tattoos — foot included — have a natural pause point built in when the artist is switching needles or ink anyway. You can time your break request to coincide with one of those if you want to feel less conspicuous about it, but honestly, there’s no wrong time to ask.
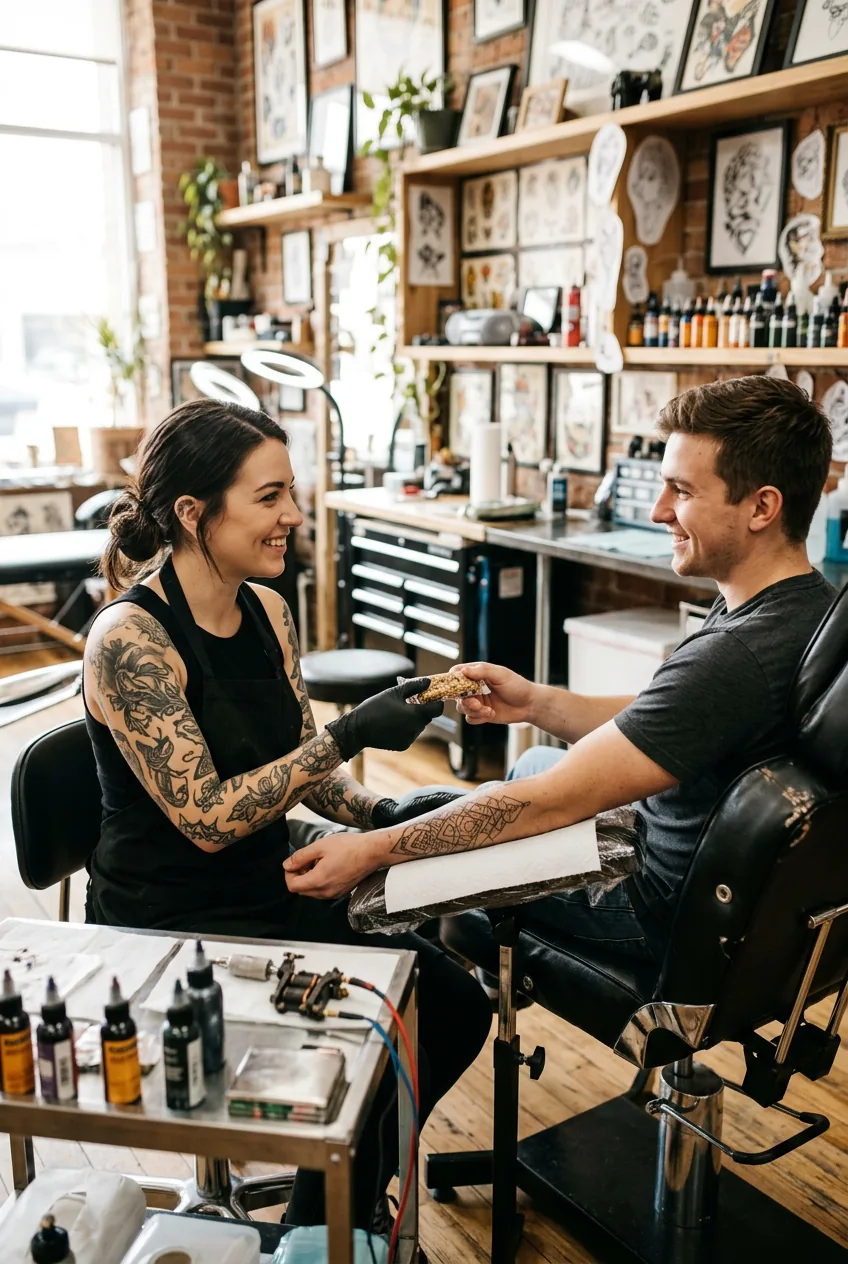
Mistake I made: I waited too long to ask for a break because I didn’t want to seem like I couldn’t handle it. I got increasingly lightheaded for about fifteen minutes before I said anything. My artist — who is excellent and could clearly tell — said “You should have said something twenty minutes ago” with complete kindness. Ask early. There’s no prize for suffering quietly.
Step 5: Getting Through the Final Push
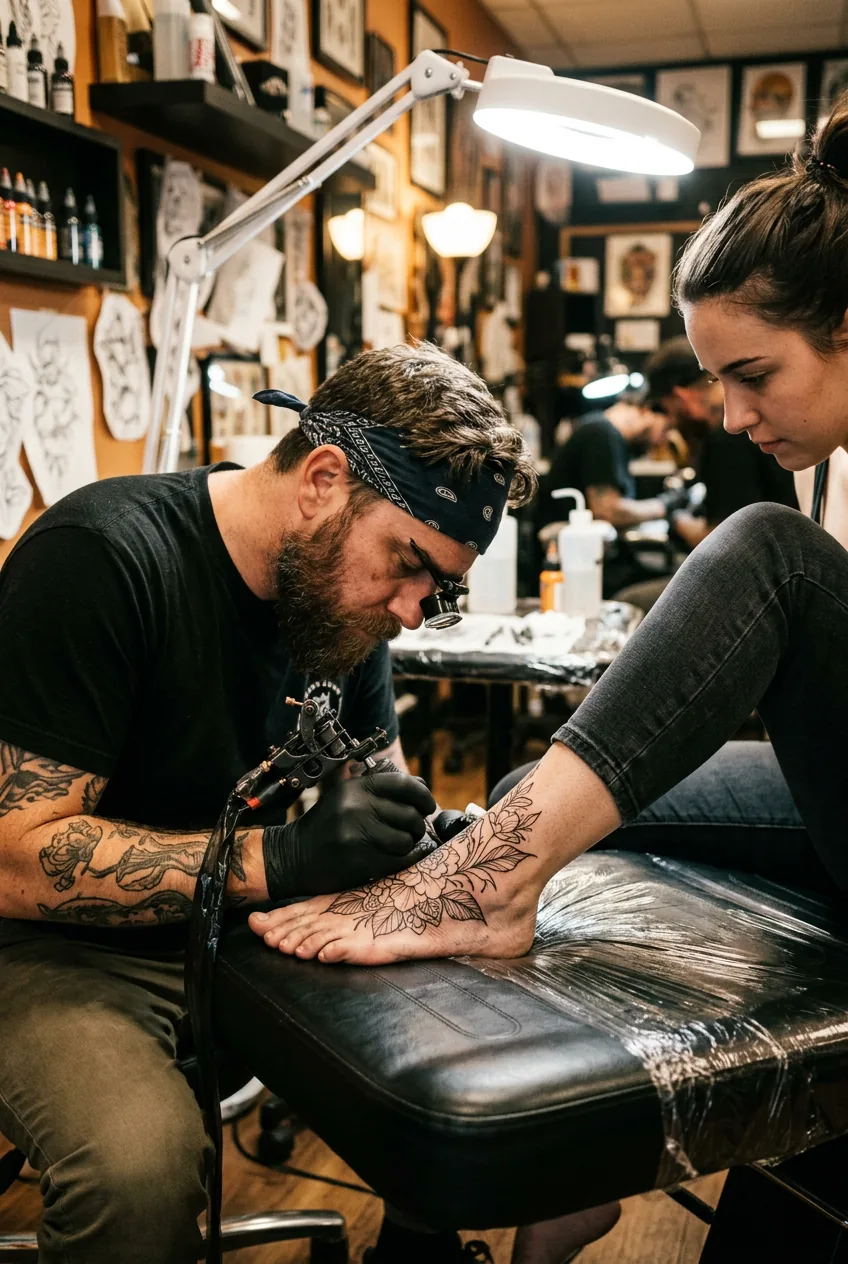
The last section of any tattoo session is often the hardest — and on the foot, it tends to be the shading or any detail work around the toes or heel, which are particularly sensitive spots. The problem is that your skin is also more worked-up by this point. It’s been stimulated for a while, the area is slightly inflamed, and the nerve endings are less patient than they were at the start.
Here’s what helps me during the final stretch: I shift my focus to the end result rather than the current sensation. I’ll sometimes ask my artist how much time is left — not obsessively, just once — so I have a concrete endpoint to aim for. “Fifteen more minutes” is a different psychological experience than an open-ended unknown amount of discomfort.
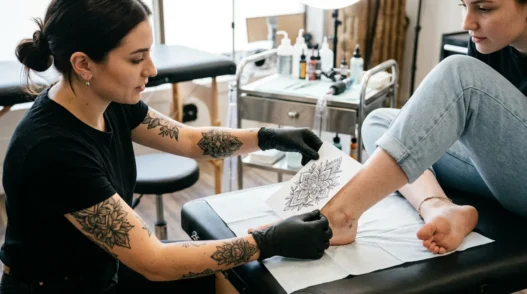
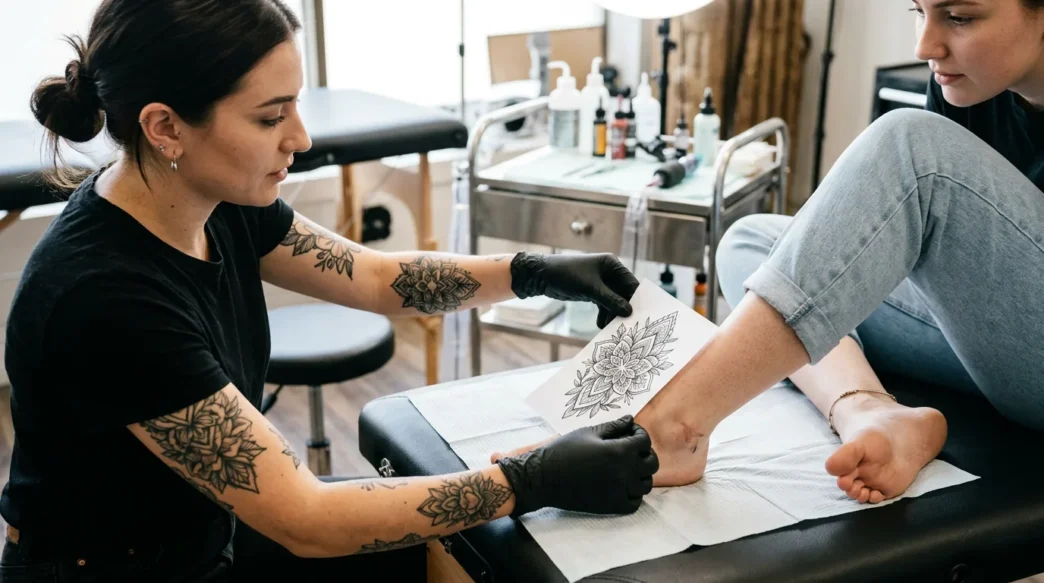
Conversation can also help, if your artist is up for it. Not intense conversation — nothing that requires your full attention — but a light, steady exchange is genuinely distracting. My artist talked me through the design while she was finishing it. I was so focused on understanding what she was describing that I stopped cataloguing the sensation as carefully. That’s the goal.
You can also look at the piece while it’s being completed. Watching it come together in real time is motivating in a way that’s hard to explain — it reframes the experience from “pain” to “progress.” This matters more than people think. You can find some useful context in how artists discuss foot tattoo experience so the whole process feels more familiar before you sit down.
Step 6: Post-Session Recovery That Speeds Healing
The foot is one of the trickier placements to heal well, and it’s worth taking this part seriously. The skin on the top of the foot moves constantly — every step you take flexes it — and it’s also exposed to friction from shoes in a way that, say, a small tattoo on the upper arm just isn’t.
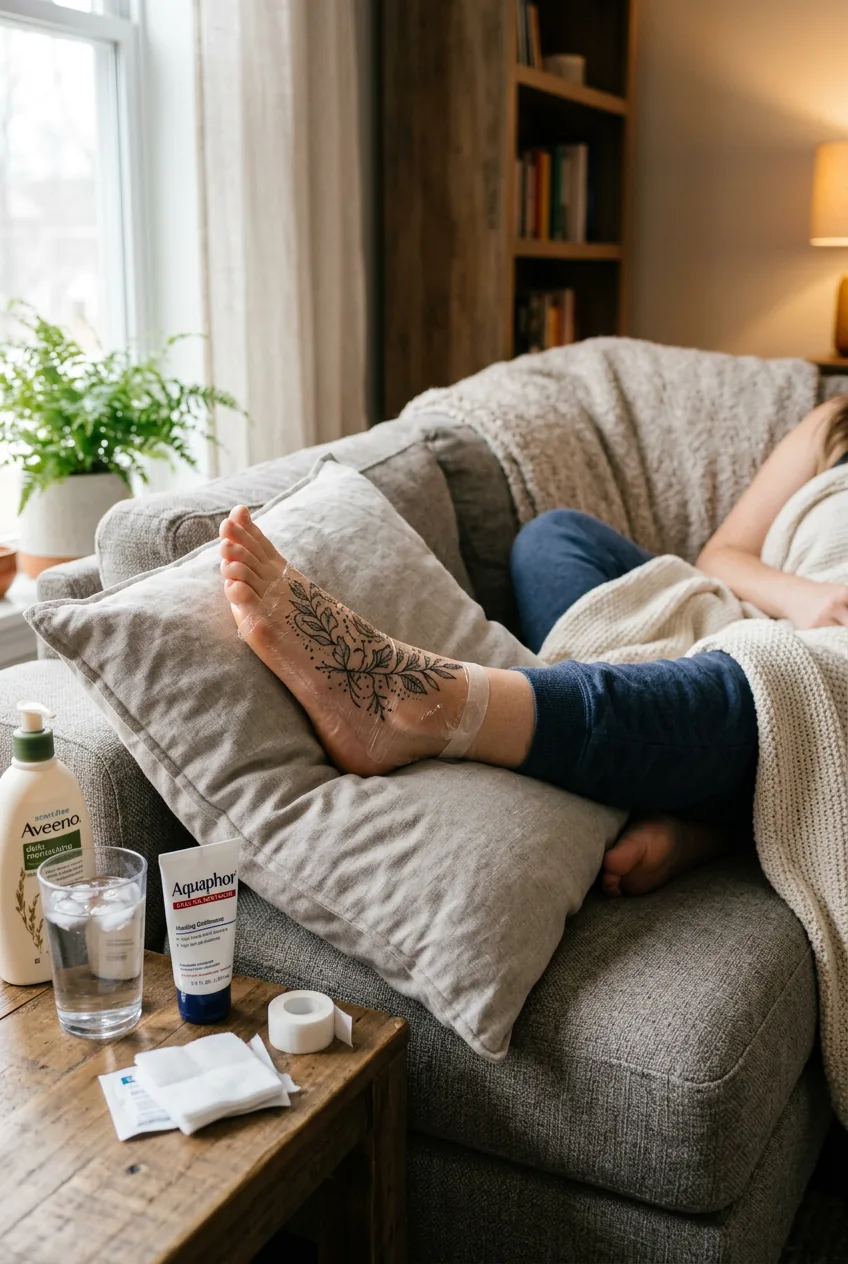
Immediately after: keep it elevated where possible. Go home, prop your foot up, and stay off it for the rest of the day. This reduces swelling dramatically. The more you walk on a fresh foot tattoo in the first 24 hours, the more swelling you get, and swelling pulls at healing skin in uncomfortable ways.
Footwear for the next two weeks: loose and breathable. No tight trainers, no socks that sit directly on the tattooed area until the surface has fully healed (usually 10–14 days for the outer layer). Some people go barefoot at home and wear loose slides to get around outside. That was my approach and it worked well.
Aftercare itself follows the standard rules — clean gently, moisturise lightly, no soaking in water (so no baths, no swimming, no prolonged rain exposure). The foot tattoo healing process does have a higher tendency toward ink patchiness and fading than other placements, simply because of that constant movement and friction. A touch-up at the six-week mark is more common for foot work than elsewhere, and a reputable artist will usually offer one. Ask about it during your session so you know what to expect and aren’t caught off guard if some detail needs refreshing. You can read more about foot tattoo healing and fading to understand what’s normal versus what needs attention.
Questions I Get About This
Is a foot tattoo really that much more painful than other placements?
Honestly, yes — for most people. The foot has very little padding between skin and bone, and there are several nerves running through it that make certain areas particularly sharp. That said, pain is personal, and some people sail through it. But it’s worth preparing for the more challenging end of the spectrum rather than assuming you’ll be fine.
How long does a foot tattoo session usually take?
It depends entirely on the design. A delicate small piece might take 45 minutes to an hour. Something with more detail or shading could run two to three hours. The top of the foot gives you more canvas than most people expect, but most artists recommend keeping foot sessions on the shorter side if you’re sensitive, and splitting larger designs across two appointments.
Will my foot tattoo fade faster than tattoos in other places?
Yes, faster than most placements — but not dramatically if you look after it properly. The constant movement and friction from footwear means ink can shift or lighten over time, especially fine line detail. Keeping skin moisturised long-term, using SPF on exposed areas, and doing touch-ups as needed keeps it looking clean. I think of foot tattoos as slightly higher-maintenance pieces, and I factor that into the design choice — simpler designs age more gracefully here.
Can I wear shoes straight after getting a foot tattoo?
Loose slides or flip flops, yes. Closed-toe shoes that put pressure on the design, no — not for the first week at minimum. I wore plastic slides for eleven days after mine and it was genuinely the best decision I made during the whole healing process. Plan your appointment around a period when you can be in loose footwear without it being impractical.
My foot tattoo healed beautifully — took about three weeks total for the outer skin, with one tiny touch-up four weeks later to crisp up a small section near my toes. The result was completely worth every difficult minute of it. It’s visible in summer sandals, it’s elegant in a way I find hard to describe, and every time I look down at it I feel like I earned it. Which, honestly, I did. You will too.