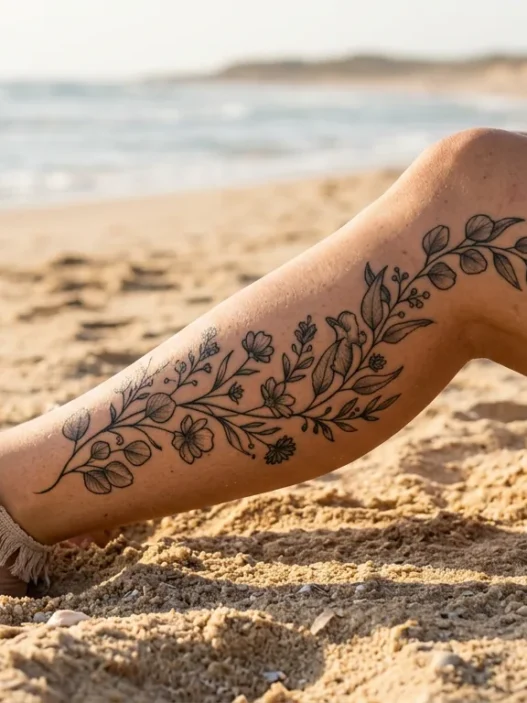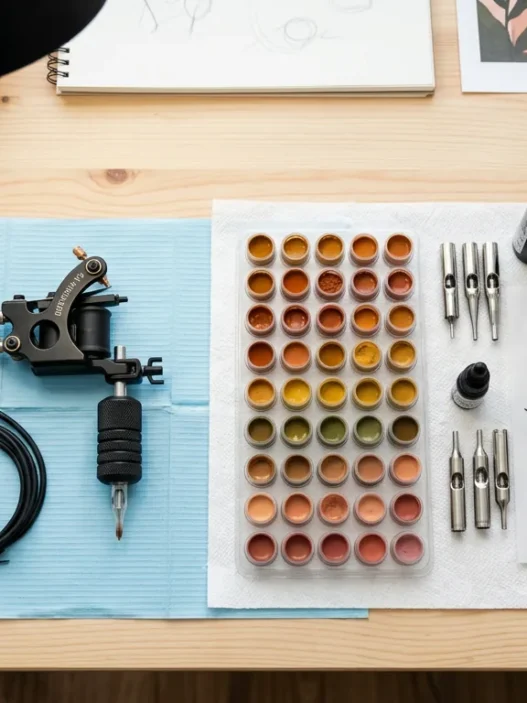



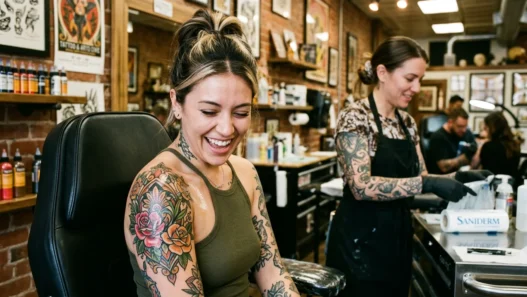




I got my first calf tattoo on a whim — seriously, I walked past a shop on vacation and an hour later I had a botanical wrap starting at my ankle. I didn’t research placement, I didn’t ask about sizing, I just sat down and trusted the artist. It turned out beautifully, but I also got lucky. Since then I’ve collected a lot of knowledge, made a few mistakes on subsequent pieces, and spent an embarrassing amount of time in tattoo forums. So here’s everything — the stuff I wish someone had told me at the start, the clever tricks I picked up mid-journey, and the things I’m genuinely still working out.
The Basics Nobody Teaches
Everyone jumps straight to “what design should I get?” and skips over the foundational stuff that actually determines whether you’ll love or regret your piece. Let me cover the things that most people only learn after their first calf tattoo is already done.
The calf is not one surface — it’s three. You’ve got the outer calf (the part that faces the world when you’re walking), the inner calf (softer, more hidden, more intimate), and the back of the calf (the thick muscle belly, incredibly visible in heels and sandals). These three zones each behave differently. The outer calf tends to have tighter skin and holds detail really well. The inner calf is softer and stretches with weight changes. The back of the calf is glorious for large-scale pieces but it heals in a weird arc because of how the muscle rounds.
Pain levels are wildly individual here. I hear people say the calf is “easy” and I think they must be built differently than me. The upper calf — close to the knee ditch — genuinely surprised me. The meaty mid-calf is fine, almost meditative. But that inner lower calf, near the ankle? It bites. Ask your artist where tattoos hurt most before booking a session and factor in your own pain history.
Shaving is not optional. I know that sounds obvious but I’ve watched people show up with hairy legs and then be surprised when the artist spends ten minutes sorting that out. Shave 24 hours before (not right before — fresh-shaved skin is more sensitive). And if you’re prone to ingrown hairs, use a good exfoliating scrub a couple of days out so the skin is clean and even.
Sitting vs. lying down. Different artists work differently. Some have you lie face-down for the back of the calf, which is comfy but means you can’t really watch. Others prop you on your side, or have you straddle the chair facing backwards. Know going in that you might be held in an awkward position for a while. For anything over two hours, I always ask ahead so I can mentally prepare.
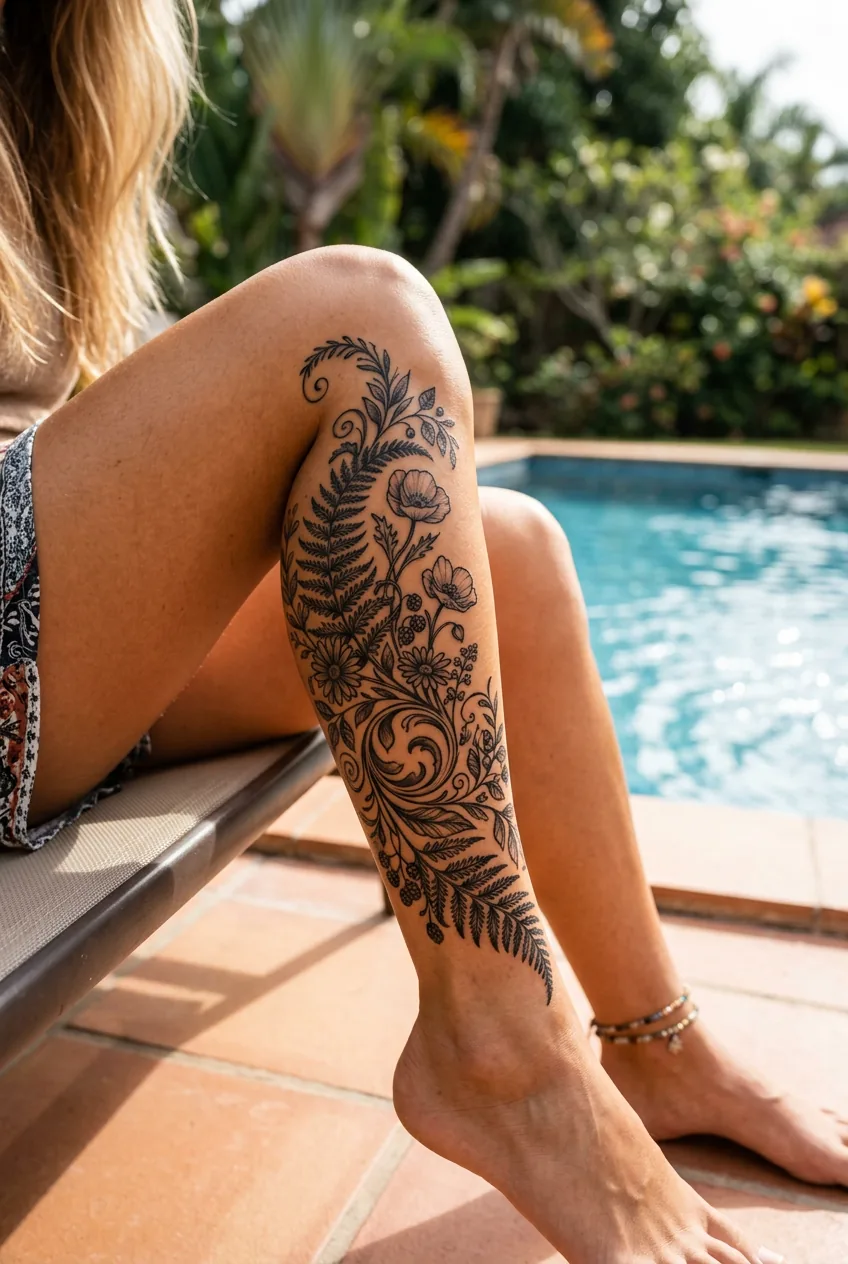
One more basic that trips people up: the calf swells during a session. Your foot might feel tight by the time you’re done. Wear loose shoes or sandals to your appointment. I once wore my favorite lace-up boots and spent the entire drive home gritting my teeth. Never again.
The Intermediate Tricks
Okay, you’ve got a calf piece already or you’ve done enough research to feel confident about the basics. This is where it gets interesting — the placement and design decisions that separate “nice tattoo” from “that tattoo is extraordinary.”
Design orientation matters more than people admit. Vertical designs (snakes, botanicals, feathers, scripts running down) work naturally with the leg’s line and elongate visually. Horizontal designs can bisect the calf and make the leg look shorter — not always, but it’s worth thinking about. That said, a bold horizontal band can look stunning on a muscular calf. Know your own leg’s proportions before you commit. If you’re unsure, print the design on paper and tape it roughly to your leg. Ridiculous? Yes. Useful? Incredibly.
The wrap-around is having a serious moment in 2026 and honestly it deserves it. A design that starts on the outer calf, dips behind the leg and comes around to the inner ankle creates a three-dimensional effect that’s spectacular when you move. The catch: it requires an artist who thinks spatially. Not all do. Look for portfolios that show wrapped pieces, not just flat-panel work. You can browse leg tattoos for some brilliant reference examples of how artists handle the wrap.
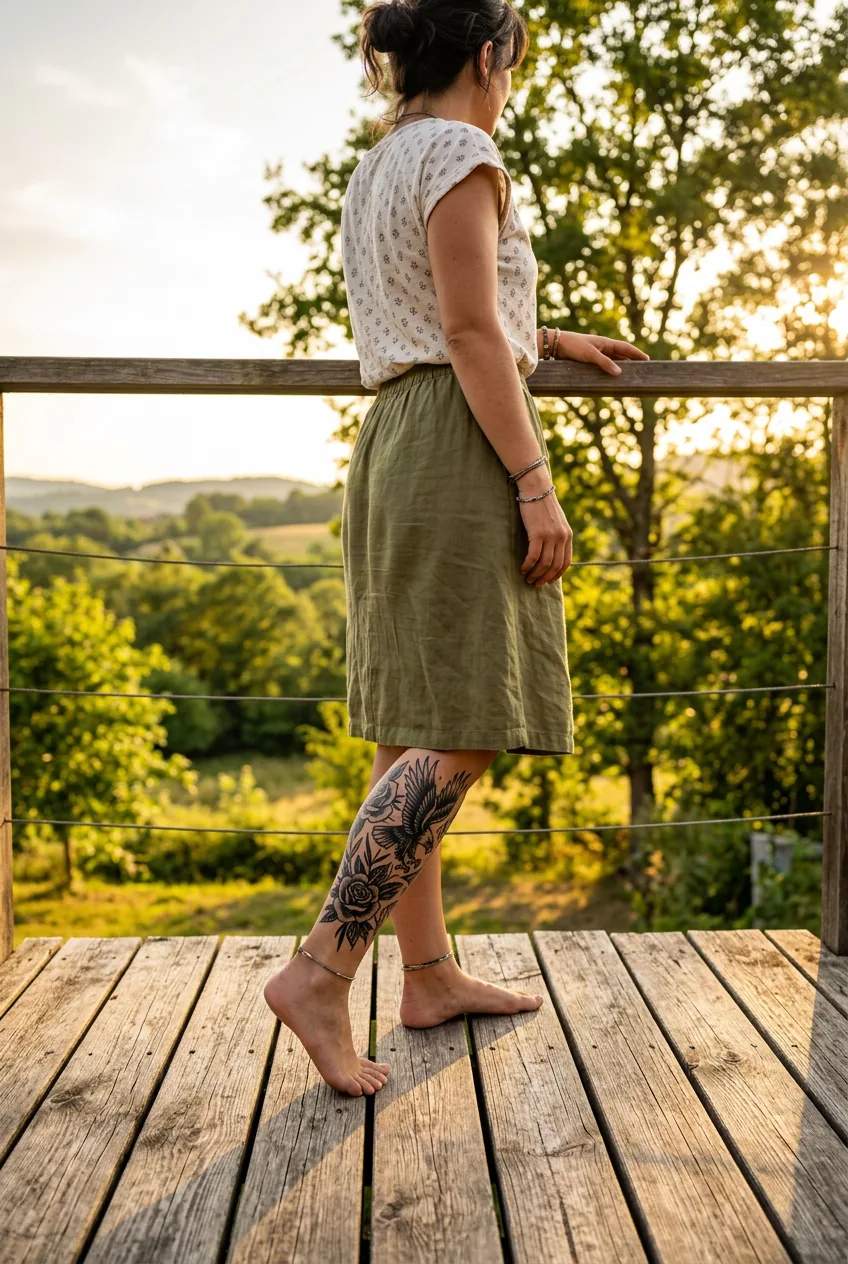
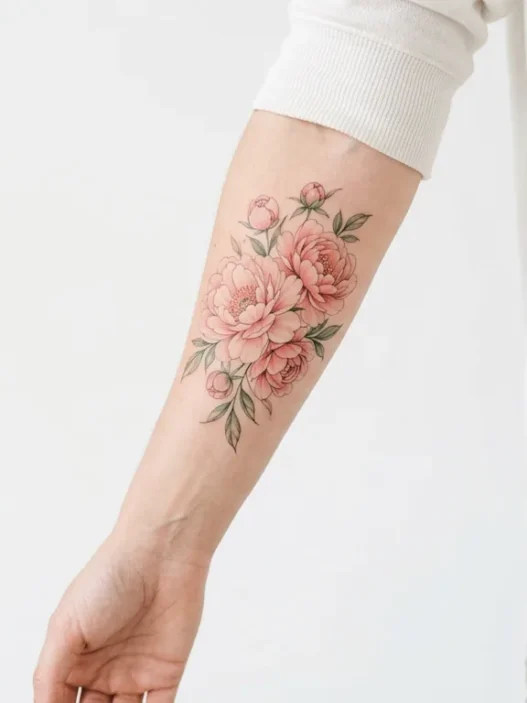
Contrast is your best friend on the calf. Because the muscle curves away from the viewer, high-contrast designs (crisp blacks, bold lines, strong negative space) read clearly from a distance. Soft, low-contrast work — delicate watercolor, very light pastels — can get visually lost on the rounded surface, especially once the piece is a few years old and has lost a little crispness. I love fine line work, but I’ve learned to ask artists specifically how their fine line pieces age on the leg. how fine lines age before you commit is genuinely worth your time to research.
Think about what you wear. This sounds shallow but it’s practical. If you wear dresses and skirts regularly, the back-of-calf placement is your prime real estate — it’s the view everyone behind you gets. If you’re in trousers most days and only show leg on weekends, the outer calf gives you more casual control over when it’s visible. I’ve got a piece high on my inner calf that feels almost secret. I love that about it.
Scale up more than you think. This is the advice I give everyone. The calf is a bigger canvas than your brain registers in the consultation. Designs almost always look smaller once they’re on the leg. My first calf piece was designed slightly larger than I originally wanted and it turned out to be exactly right. If you’re between two sizes, go bigger. You can always leave space for future work but you can’t un-shrink a design that ended up looking like a sticker.
A Placement Breakdown That Actually Helped Me
The Advanced Stuff
This is where I get into the stuff that took me years and multiple pieces to understand. If you’re planning something ambitious — a large-scale piece, a multi-session project, or something that has to work alongside existing tattoos — this section is for you.
Mapping the full leg as one composition. If you’re thinking long-term — eventually wanting a thigh piece, a knee piece, a calf piece, and an ankle piece that feel cohesive — you need to plan this before you start any single element. Even if you don’t execute all of it, knowing the rough intention changes how you place each piece. The gap between the knee and the calf, and the gap between the calf and the ankle, both need to feel intentional, not like you ran out of room. The brilliant spine, forearm, or calf placement guide talks through some of this spatial thinking in a way I found really useful early on.

Muscle tone changes the healed result. If you’re someone who trains legs intensively, your calf muscle can change shape over a few years — it fills out, the skin stretches differently, and designs that were perfectly proportioned can shift slightly. This isn’t a reason not to tattoo the calf. It’s a reason to factor it in when choosing between a design that has some natural flexibility (botanical, organic shapes, flowing forms) versus one that relies on geometric precision. Perfectly straight lines across a calf that grows significantly will eventually read as slightly curved. Not a disaster. Just something to know.
The calf heals weirdly, and here’s why. The back of the lower leg is in near-constant motion. Every time you walk, your calf flexes. That movement affects the healing skin. Flaking happens in stages that don’t always sync up across the whole piece. The inner calf, which tends to rub against your other leg while you sleep, can lose more of the initial pigment before the skin fully closes. I’ve had to do touch-ups on inner calf pieces that I didn’t need on outer calf work. Factor an extra session into your budget just in case. And check out the honest truth about leg tattoos — it covers healing realities that most artists don’t volunteer upfront.
Covering the work during healing is a real challenge. Opaque tights are your friend if you need to be professional-looking fast. Medical-grade tattoo film (like Saniderm or Dermalize) worn for the first few days reduces friction and keeps the tattoo moist without you having to fuss with it. I’ve become an evangelist for this stuff. It changed my healing process completely — fewer touch-ups, less scabbing, more vibrant healed color.
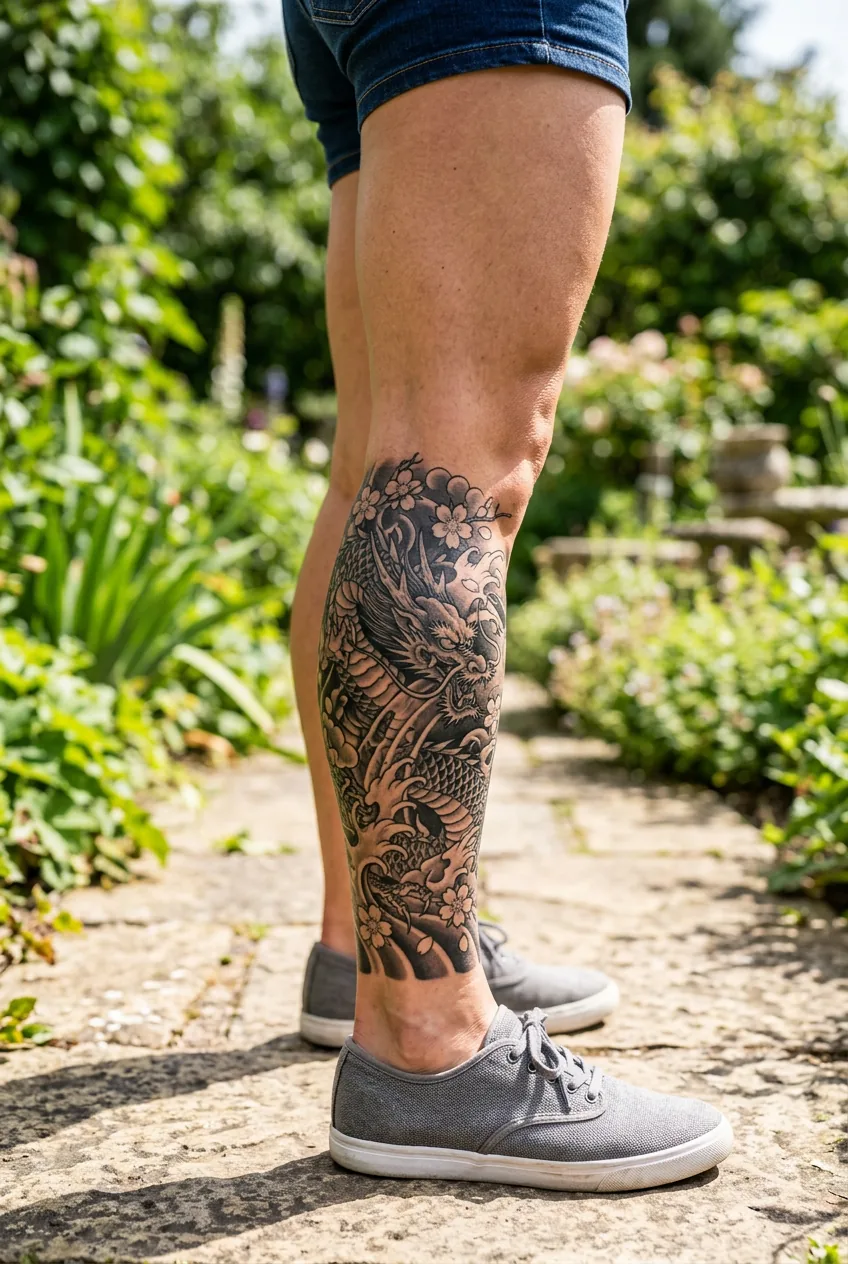
Hot take: the calf is actually underrated for complex black and grey work. Everybody defaults to the thigh for big detailed pieces, and I understand why — more flat surface, less curve distortion. But a well-executed black and grey realistic piece on the calf, placed on the outer panel so it sits on the flatter side of the muscle, can be extraordinary. The curve actually adds depth when it’s done right. Look at some Japanese dragon calf wraps and you’ll see exactly what I mean — the body of the dragon seems to move because the canvas itself curves.
The Things I’m Still Figuring Out
I want to be honest here because I think there’s a real problem in tattoo content where everyone performs certainty they don’t actually have. These are the things I genuinely haven’t resolved for myself.
The connection question. I’m still working out how I feel about connecting my calf piece to my thigh work. On paper I love the idea of a fully flowing leg sleeve. In practice, I keep hesitating because each piece I have already tells its own story and I’m not sure I want to visually merge them. There’s no right answer here — some people find the cohesion deeply satisfying, others prefer each piece to stand alone. I’ve been sitting with the question for over a year now. Maybe that’s the answer.

Color longevity on the calf specifically. I have a piece with some warm amber and terracotta tones that I absolutely love, but it’s faded more than I expected in three years. Partly sun exposure (I wear shorts and skirts a lot), partly just the nature of those pigments. I now apply SPF religiously on all my tattoos in summer, but I’m still figuring out whether I should have gone bolder on the color saturation from the start, knowing what I know now. If you’re considering color work, look at leg tattoo galleries specifically filtered by older healed pieces — not just fresh tattoo photos — so you can see how colors actually settle.
Combining styles on one leg. My calf has a botanical illustrative piece. My thigh has something much more abstract and geometric. They coexist without visually conflicting, but only barely, and I think I got lucky with the color palettes being similar. I don’t have a clean formula for making mixed-style leg work look intentional. I’ve seen it done beautifully and I’ve seen it look chaotic. I ask every artist I respect how they think about this, and I get different answers every time. Still learning.
And here’s the slightly controversial opinion I’ve landed on: I think matching sets of calf tattoos — identical designs on both legs — are usually a mistake. I know that’s not what you want to hear if you’re considering it. But symmetry on a body that isn’t actually symmetrical tends to highlight the asymmetry rather than hide it. One leg is almost always slightly more muscular than the other. The same design placed at the same height will read differently because your legs are different. I’ve seen beautiful matching-leg work, but it requires an artist who compensates for the natural differences. Most artists don’t. If you love the idea of bilateral leg tattoos, go for complementary rather than identical designs — pieces that talk to each other without being mirror images. For more ideas on how artists navigate pairing, the world of animal tattoos has some gorgeous complementary pairs that work well across two limbs.
Questions I Get About This
How long does a calf tattoo session typically take?
It really depends on the size and complexity, but a palm-sized detailed piece usually runs 2–4 hours. A full wrap-around or large-scale piece might be split across two sessions of 4–5 hours each. I always book a slightly longer slot than I think I need — rushing the end of a tattoo is where mistakes happen and where artists cut corners on detail. Build in buffer time and tip your artist generously for not watching the clock.
Can I work out after getting a calf tattoo?
Give it at least 48–72 hours before any lower-body exercise, and honestly a full week before anything that involves intense calf engagement — running, cycling, heavy leg press. Sweat irritates healing skin and the muscle flexion can pull at the fresh work. I’ve pushed this too soon before and always regretted it. The tattoo is there forever; the workout can wait a week.
Is the calf a good first tattoo placement?
Actually yes, for most people. The mid-outer calf is one of the lower-pain placements, it has great surface area for a meaningful first piece, and it’s easy to cover for professional settings while you’re still deciding how tattoo-visible you want to be in your life. Just avoid the inner calf and the area right at the ankle ditch for a first experience — those zones are genuinely more sensitive. Starting mid-calf outer panel is a solid move.
What size should my calf tattoo be?
As I said above — bigger than your gut tells you. But more practically: hold a piece of paper cut to your intended size against your leg and step back three feet. That’s roughly how it’ll read in real life. Most people go too small and end up wishing they’d sized up. If you’re torn between two sizes, pick the larger one. You can always leave space around it for future work, but a design that ends up looking like a postage stamp on your calf is disappointing.
That’s everything I’ve got — the practical, the personal, the stuff I’m proud of knowing and the stuff I’m still figuring out. Take whatever’s useful, leave what isn’t. If you’re weighing up where to put your next piece, the spine, forearm, or calf placement guide is genuinely worth reading alongside this. And if you’re building out a full leg concept, browsing arm tattoos for compositional ideas translates surprisingly well to leg placement thinking. Go get something beautiful. 🖤