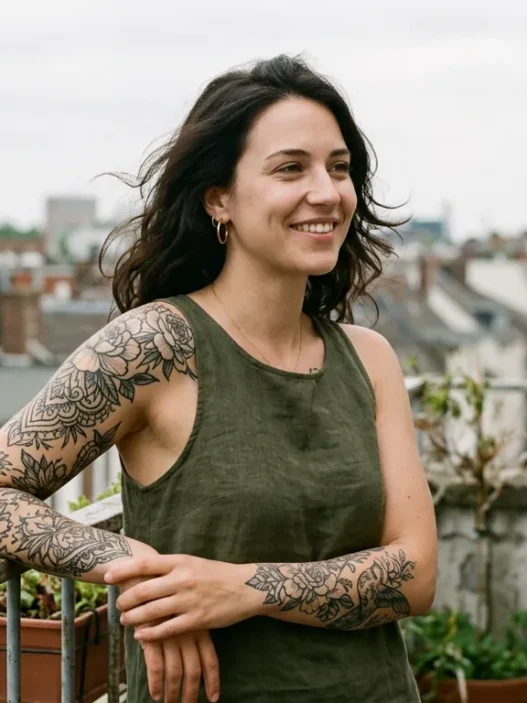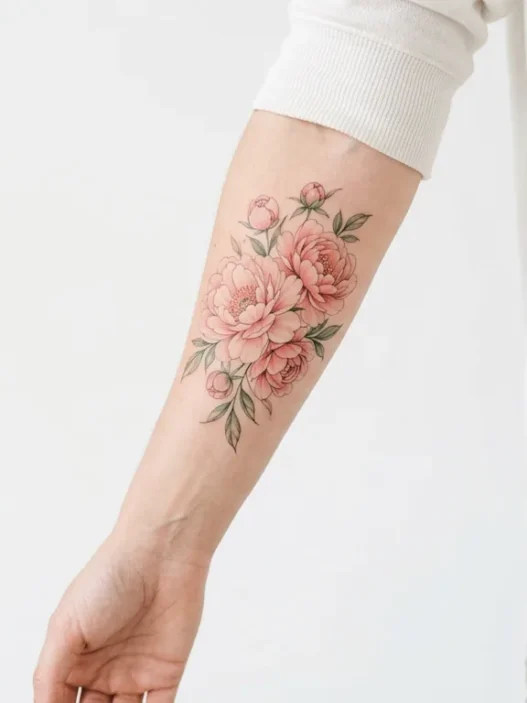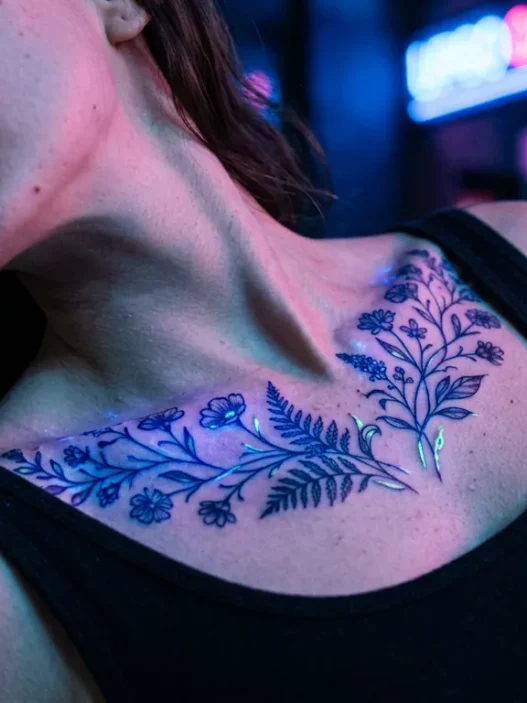


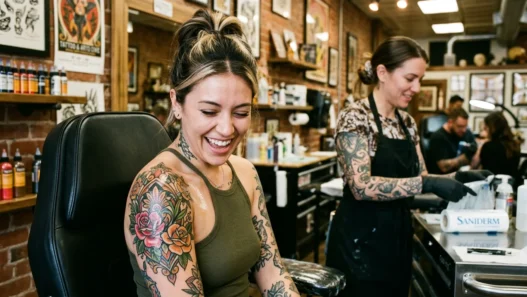


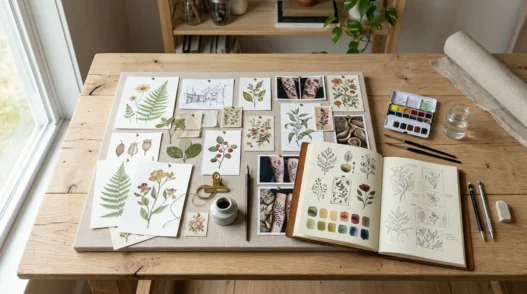
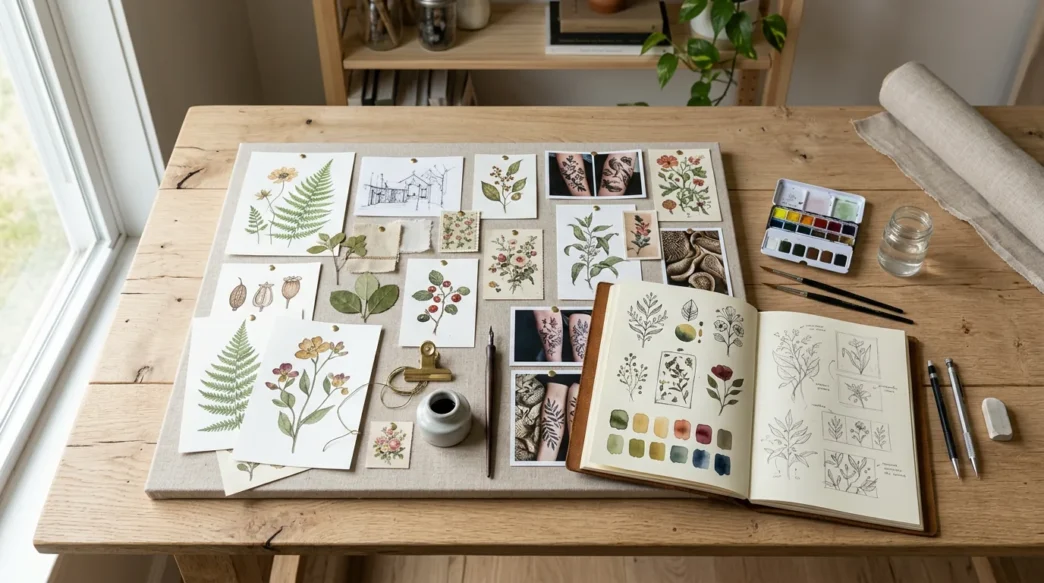
I want to be honest with you: I almost talked myself out of my watercolor tattoo three separate times. The style felt too risky, too expensive, too easy to mess up. I’d seen faded examples online that looked like someone had sneezed paint onto a forearm and I was terrified mine would end up like that. What I was missing — the thing nobody told me upfront — was that the entire process, from the first Pinterest save to the moment your healed ink is actually photograph-worthy, is a journey with very distinct phases. Each one matters. Skip or rush one, and you feel it in the result.
This guide is the one I wish I’d had. I’ve organised everything by phase so you can see the full picture before you commit to a single thing.
Tools, Timeline, and Budget Overview
Before we get into the phases, here’s a fast snapshot of what you’re actually signing up for. Watercolor tattoos are not a spontaneous walk-in situation — they reward planning.
Timeline: Budget roughly 6–10 weeks from your first research session to sitting in the chair, then another 4–6 weeks for full healing. If your artist has a long waitlist (and the good ones always do), add 2–4 months on top.
Budget: A quality watercolor tattoo from a specialist typically runs £150–£400 for a medium piece in the UK, or $180–$500 in the US. I know that sounds like a lot. It is a lot. And it’s worth every cent when you see what a skilled artist can do with pigment and negative space. Budget for a tip too — 15–20% is standard and genuinely appreciated.
What you’ll need across all phases:
- A curated reference folder (Pinterest board, saved Instagram posts, screenshots)
- Access to a specialist watercolor tattoo artist — not just any tattoo artist
- A written list of your questions for the consultation
- Fragrance-free soap and unscented moisturiser for aftercare
- Tattoo-specific sunscreen (SPF 50+ mineral formula) for long-term maintenance
- Loose, breathable clothing to wear on session day
- Snacks and a water bottle — seriously, don’t skip this
- A touch-up fund set aside (more on that in Phase 4)
Phase 1: Researching and Wishlisting
This phase is where most people move too fast, and it costs them later. You can’t walk into a consultation with a vague “I want something floral and kind of painterly” and expect your artist to read your mind. The more specific your reference folder, the better your result.
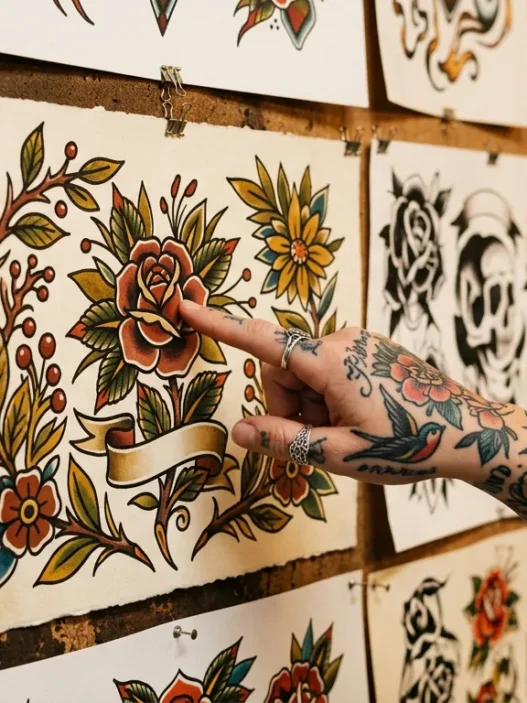
Start by saving a lot more images than you think you need. Then narrow them down. What you’re looking for isn’t just pretty tattoos — you’re trying to identify what specific elements you keep gravitating toward. Is it the loose ink-bleed edges? The way some artists use a white highlight to simulate paper texture? A particular palette — dusty mauves, saturated teals, warm ochres? Get specific.
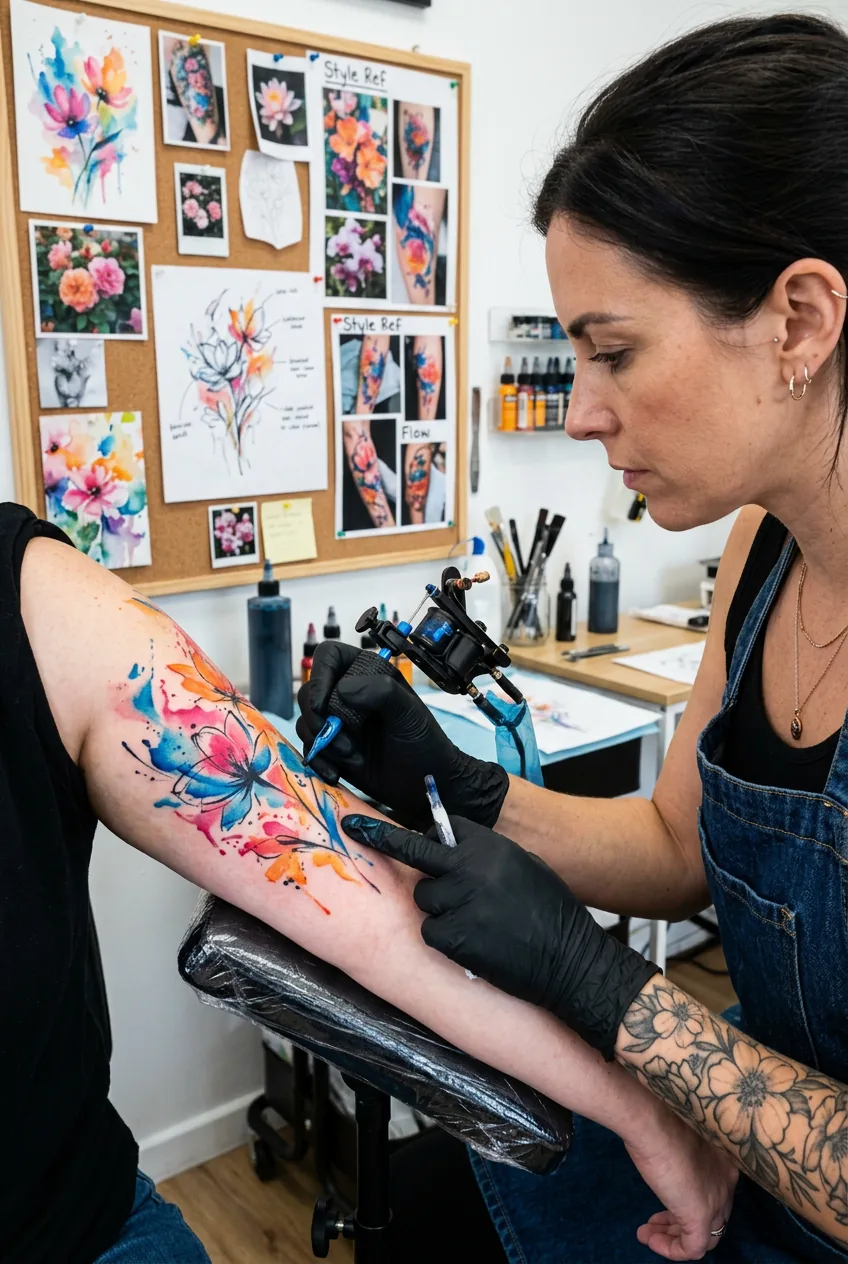
Watercolor as a tattoo style is genuinely broad. Some artists work in dreamy, barely-there washes. Others create bold, saturated explosions of pigment with zero black outline — which, by the way, tends to fade faster without that anchor. Some combine a crisp black linework base with watercolor splashes on top, which gives the piece structure and longevity. Knowing which version you want before the consultation saves you from that awkward moment where you and your artist are picturing completely different tattoos.
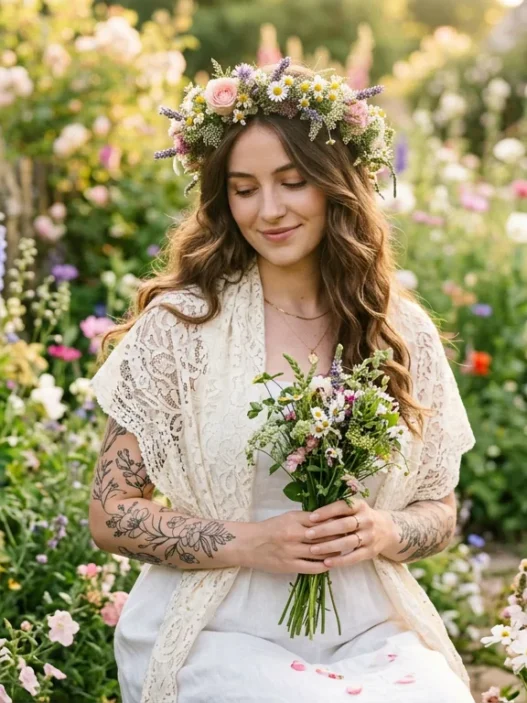
Common subjects that work beautifully in this style: botanicals (peonies, wildflowers, eucalyptus sprigs), birds, abstract color bursts, and delicate animal portraits. If you’re drawn to floral tattoos, watercolor is honestly one of the most gorgeous ways to interpret them — the style mimics the soft, layered quality of real petals better than almost any other technique.
Placement research happens here too. The area you choose affects the design — a flowing piece works differently on a forearm than on a ribcage. Size matters for color retention, since very small watercolor details tend to blur over time. Think about visibility, pain tolerance for that area, and how the design will move with your body. If you’re considering something delicate, looking at wrist tattoos specifically can give you a realistic sense of scale and how the style translates to that placement.
Now — find your artist. This is the most important research you’ll do. Watercolor tattooing is a specialty. Not every tattooist can do it well, and commissioning one who can’t is how you end up with that sad, faded smear I mentioned earlier. Browse portfolios specifically for healed watercolor work. Fresh ink always looks incredible. Healed ink tells the truth. Ask your artist how watercolor tattoos age before you decide anything — the answer should factor into your design choices.
The tattoo artists directory on this site is a great starting point for finding specialists in specific styles, including watercolor. Instagram is also invaluable — search by style hashtag and look at who the community respects. When you find an artist whose healed portfolio genuinely excites you, that’s your person.
Phase 2: The Consultation
The consultation is not a formality. It is half of your tattoo. I can’t stress this enough.
This is where you and your artist figure out whether your vision is technically feasible, how to adapt it to your body, and whether you two actually communicate well. That last part is underrated. You need to feel comfortable saying “actually, can we make the blue a bit softer?” without feeling like you’re being difficult. If the energy feels wrong in the consultation, trust that.
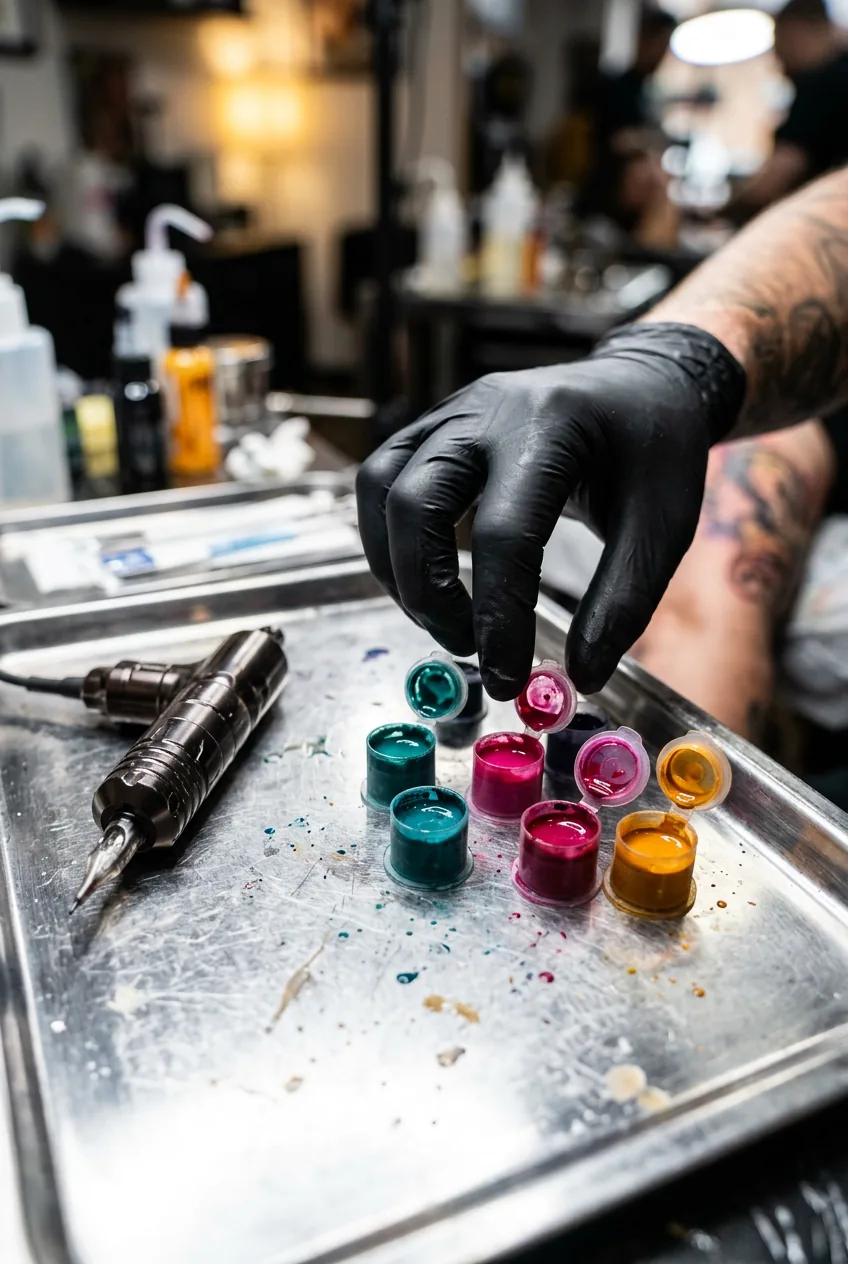
Come prepared. Bring your curated references — printed out or organized in an album on your phone, not a chaotic camera roll you have to scroll through while they wait. Explain what you love about each reference and, just as importantly, what you don’t love. “I like the color palette here but not the outline style” is incredibly useful information.
Questions worth asking your artist at this stage:
- Do you recommend a black linework base for this design, or will it work without one?
- What’s your honest assessment of how this will hold up in five years?
- How do you approach color mixing for this palette on my skin tone?
- Will I need a touch-up, and if so, when would you schedule it?
- What aftercare do you specifically recommend for your watercolor work?
Your artist may suggest modifications to your design — a slightly larger scale, a different placement, simplifying a fiddly detail that won’t read well once healed. Listen to these suggestions seriously. They’re not trying to change your vision; they’re protecting it. The ones who push back on impractical requests are usually the ones who actually care about how your tattoo looks in ten years.
The mistake I made: I went into my consultation with twenty references and no real edit. My artist spent fifteen minutes trying to figure out what I actually wanted while I second-guessed everything out loud. It wasted her time and my session deposit. Narrow your references to five or fewer — the ones that genuinely represent your vision — before you walk in.
At the end of a good consultation, you should have agreed on a rough design concept, confirmed placement and approximate size, discussed your color direction, and paid your deposit. You’ll typically see the finalised design on the day of your appointment, not before — most artists work this way to prevent their designs from being copied. That can feel nerve-wracking, but it’s standard and worth understanding what to expect at a tattoo consultation if you’ve never been through the process before.
Phase 3: The Session
Session day. This is the one everyone fixates on, and honestly? It’s the most manageable phase once you’re actually in it. The preparation and the healing are harder. The session itself is just you, your artist, and a lot of trust.
Show up having eaten a real meal — not a coffee and half a granola bar. Your blood sugar needs to stay stable. Wear something you don’t mind potentially getting ink on, and make sure the area being tattooed is easily accessible without you having to contort yourself. If it’s your ribcage, a wrap dress or loose button-front is a gift to your future self.
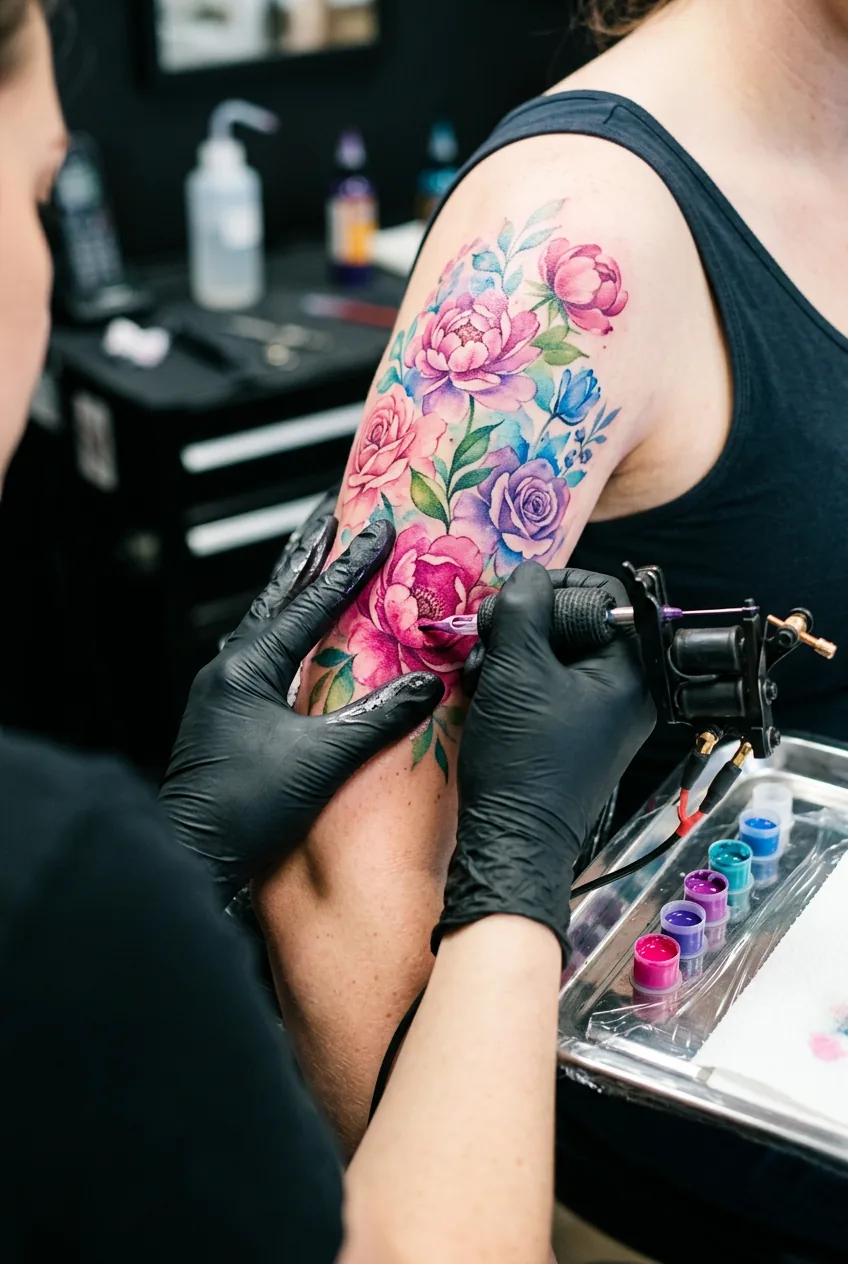
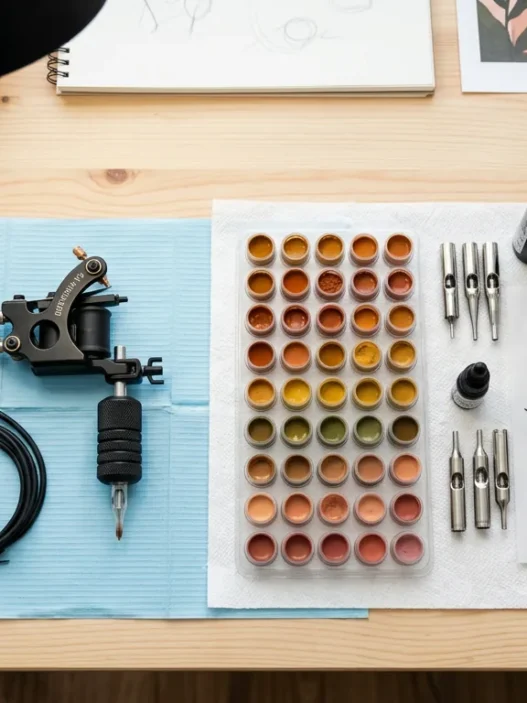
The watercolor process itself looks different from other tattooing. There’s less of the dense, methodical fill you see with traditional or blackwork styles. Your artist will likely work in thin, layered passes — building up pigment gradually, using diluted ink to create those soft, graduated washes. The needle work is often lighter and faster in certain areas, heavier where they want the color to saturate. Watch the image in the photo here — see how the pigment caps are right there at the artist’s side? That rapid switching between colors is characteristic of watercolor work. It’s almost like watching someone paint.
If your design includes a black linework base, that typically goes in first. The color layers come after. The linework anchors everything and is what gives the finished piece that crisp-illustration quality even as the color bleeds softly around it.
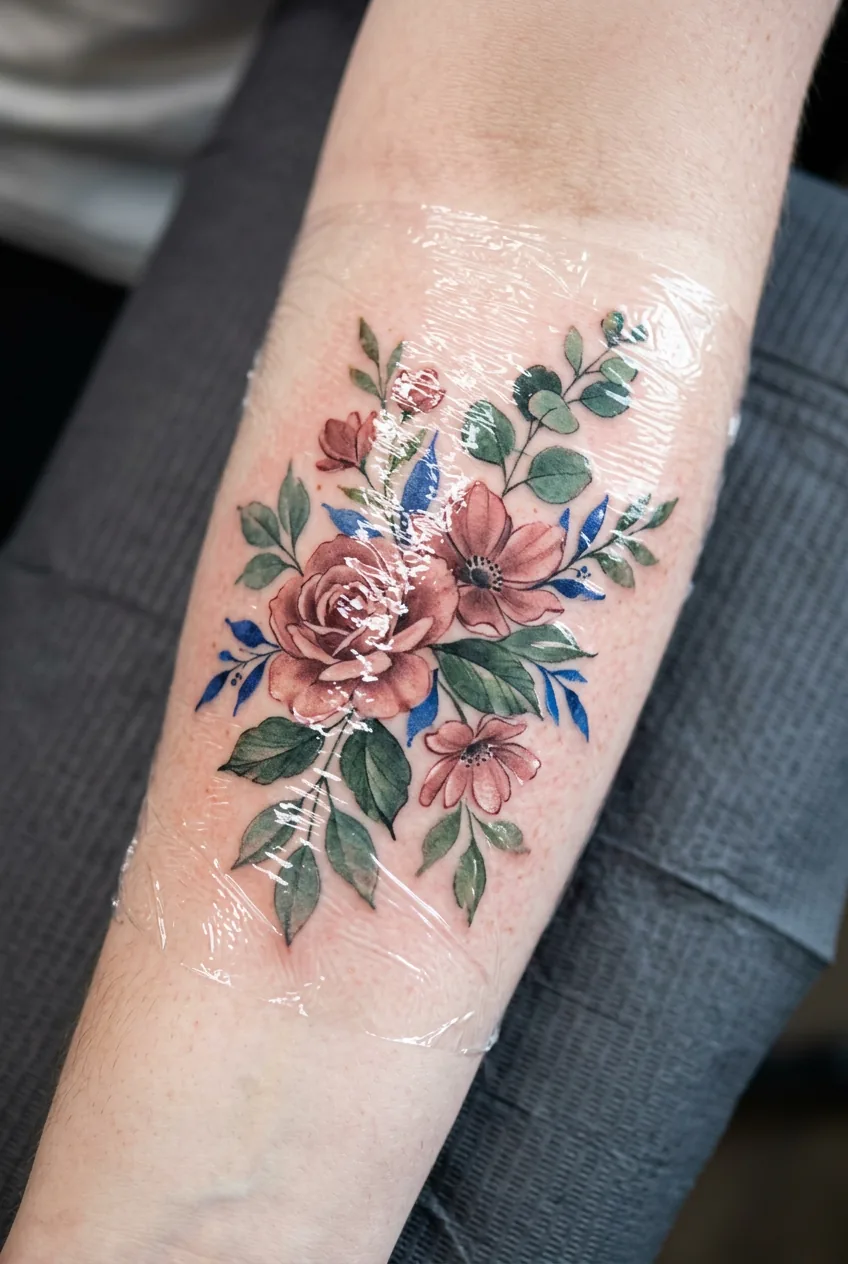
Pain-wise, watercolor tattooing isn’t necessarily gentler than other styles — it depends entirely on placement and your personal threshold. Bony areas (ribs, wrist, spine, collarbone) are more intense. Fleshy areas (outer thigh, upper arm) tend to be more manageable. If you’re going long, communicate with your artist. Taking a break is completely normal and not a sign of weakness.
The moment your artist finishes and you see it for the first time — wrapped in cling film, shiny with ink and plasma — is one of those genuinely strange experiences. It looks both better and different than you imagined. Try not to form your final opinion in that moment. Fresh ink always looks slightly different from healed ink, especially with watercolor, where the colors will settle and soften over the following weeks.
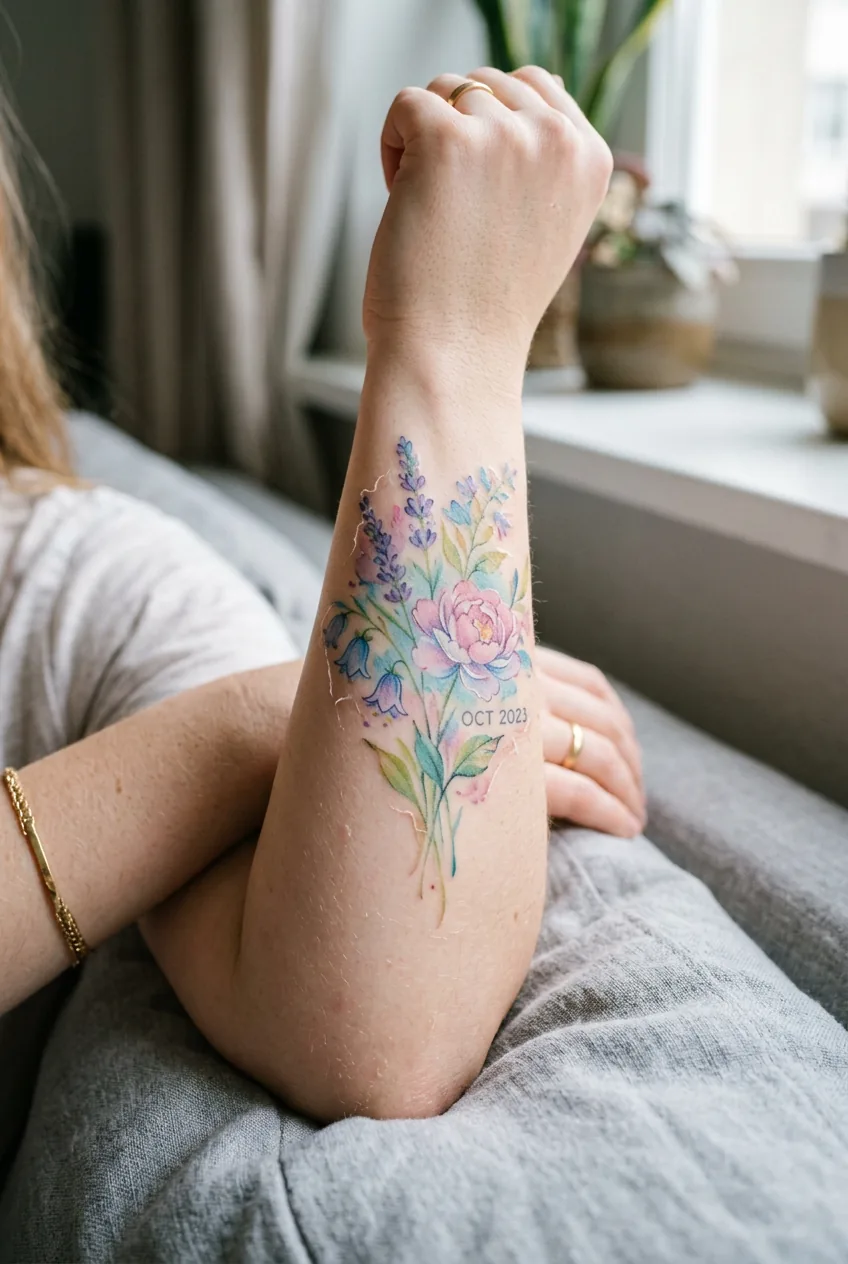
See the Layering Technique in Real Time
Phase 4: Healing and Beyond
Here’s the phase most people underestimate, and it’s genuinely the one that determines whether your watercolor tattoo stays beautiful for years or starts looking tired within two. Healing a watercolor piece requires a bit more attention than healing a simpler blackwork design, because the diluted pigments used in the washes are more vulnerable during the recovery window.
The first 48–72 hours are the most important. Keep the area clean — wash gently with fragrance-free soap twice a day, pat dry (never rub), and apply a thin layer of unscented, non-comedogenic moisturiser. If your artist used a second-skin bandage (like Saniderm or Dermalize), follow their specific instructions for removal timing — usually 3–5 days. Do not peel it early just because it looks messy underneath. It’s supposed to look like that.
The peeling stage — usually days 5–10 — is where people panic. The colors look dull, patchy, and wrong. You’ll think something has gone terribly wrong. It almost certainly hasn’t. The top layer of skin is shedding and taking the surface ink with it. Underneath, the settled pigment is still there. Do not pick. Do not scratch. Do not even look at it too hard with worried eyes. Just moisturise and wait.
Sun protection is not optional with watercolor tattoos — it’s the single biggest factor in longevity. UV breaks down pigment faster than anything else, and watercolor work (which tends to use lighter, more diluted inks) is especially susceptible. Once fully healed, apply SPF 50+ mineral sunscreen over the area every single time it’s exposed. Every time. This is why sun protection matters for tattoos more than just advice — it’s the difference between a vibrant piece and a washed-out one within a few years.
Plan for a touch-up. This is not a sign that something went wrong — it’s simply the nature of watercolor work. The style uses thinner ink layers that occasionally need refreshing, especially in the first year. Most artists who specialise in this style actually schedule a follow-up 3–6 months after the initial session. Budget for it upfront so it doesn’t feel like an unwelcome surprise.
Long-term, keep the skin moisturised and stay out of harsh sun when you can. That’s genuinely most of it. A well-healed, well-cared-for watercolor tattoo in 2026 — with improved ink formulations — can hold up beautifully for years. The ones I’ve seen fade badly are almost always a combination of poor artist technique and zero sun protection. Get both right and you’re in good shape.
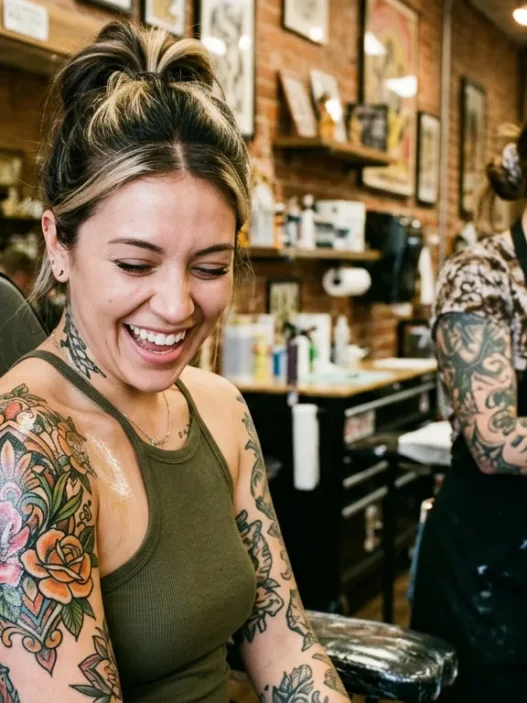
If you’re already tattooed and want to layer your watercolor piece into an existing collection, think about how the softness of the style contrasts with harder styles nearby. A watercolor piece next to crisp minimalist tattoos can look absolutely stunning — the contrast in visual weight is actually part of the appeal. It works. I’d encourage you not to be afraid of mixing styles intentionally.
Questions I Get About This
Do watercolor tattoos always need a black outline to last?
Not always, but it genuinely helps. A black linework base gives the design structure and slows color migration over time — without it, softer pigments can blur at the edges as the skin ages. Some artists are skilled enough to create outline-free designs that hold up well, but this depends heavily on technique, ink quality, and your skin type. It’s worth discussing honestly with your specific artist rather than assuming either way.
Can I get a watercolor tattoo on darker skin tones?
Yes — but the color palette needs to be chosen thoughtfully. Lighter, pastel washes that pop on fair skin may not read the same way on deeper tones. A good watercolor specialist will adjust their palette accordingly, often working with richer, more saturated pigments and stronger contrast. Always look at an artist’s portfolio for healed work on skin tones similar to yours before booking.
How long does a watercolor tattoo take to heal completely?
The surface heals in about 2–3 weeks — that’s when the peeling and flaking stops. But the deeper skin layers take 2–3 months to fully settle, and the colors will continue to clarify and deepen slightly during that time. I’d say four months is when you’re truly seeing your healed tattoo in its final form.
Is watercolor tattooing more painful than other styles?
It varies by placement and individual pain tolerance, not really by style. The technique itself doesn’t inherently hurt more or less than linework or shading. What does affect discomfort is session length — watercolor pieces with lots of color coverage can take longer, which adds up over time. Stay fed, stay hydrated, and take breaks when you need them.
My watercolor piece — a loose, botanical cluster on my upper arm — is genuinely one of my best decisions. It looked exactly like a painting had been pressed into my skin, and two years on, with consistent SPF and a single touch-up at the four-month mark, it still stops people mid-conversation. The whole process felt daunting before I understood the phases. Once I did? It was just a matter of working through each one properly. You’ve got this.