


I used to think getting a custom drawn tattoo was as simple as walking into a shop and asking for something “pretty.” Three years and two disappointing tattoos later, I realized I needed an actual process. The difference between my rushed first attempts and my latest custom piece is night and day — and it all came down to understanding how to properly collaborate with an artist to create something truly unique.
Your Complete Draw Tattoo Roadmap
- Step 1: Define Your Vision and Gather References
- Step 2: Choose an Artist Who Specializes in Drawing Style
- Step 3: Book Your Consultation and Discuss the Sketch
- Step 4: Review and Refine Your Custom Drawing
- Step 5: Prepare for Your Tattoo Session
- Step 6: The Drawing Process During Your Session
- Step 7: Aftercare for Your Fresh Line Work
- Step 8: Document Your Healed Tattoo
What You’ll Need
Before you start this process, gather these essentials. Trust me — having everything ready saves so much back-and-forth with your artist.
- Reference images (at least 3-5 different angles or styles)
- A clear budget range ($200-$2000+ depending on size and complexity)
- Placement photos of your chosen body area
- A notebook for design notes and ideas
- Questions list for your consultation
- Aftercare supplies (fragrance-free lotion, antibacterial soap)
- Time flexibility — custom work can’t be rushed
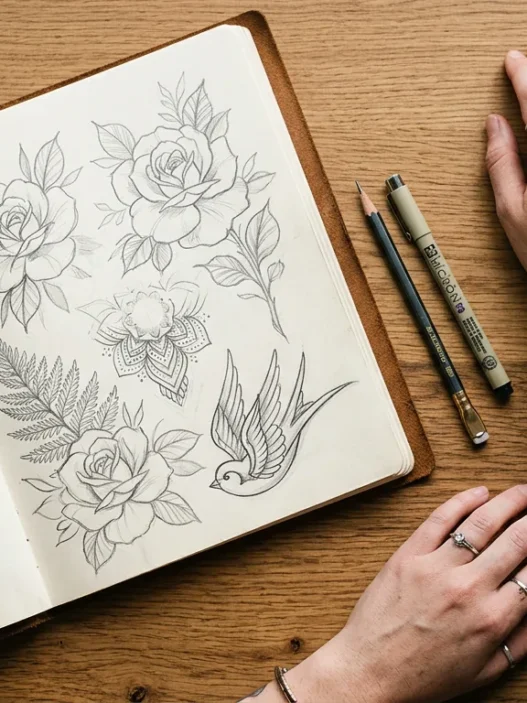
Step 1: Define Your Vision and Gather References
This is where most people go wrong. You can’t just tell an artist “I want something floral” and expect magic. I learned this the hard way when my first tattoo ended up looking nothing like what I had in my head.
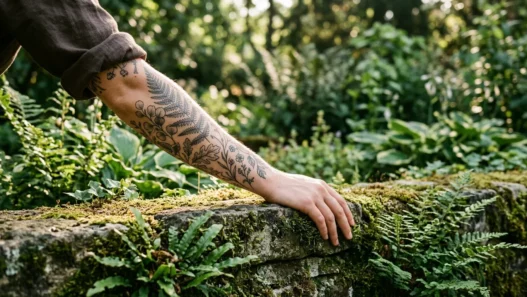
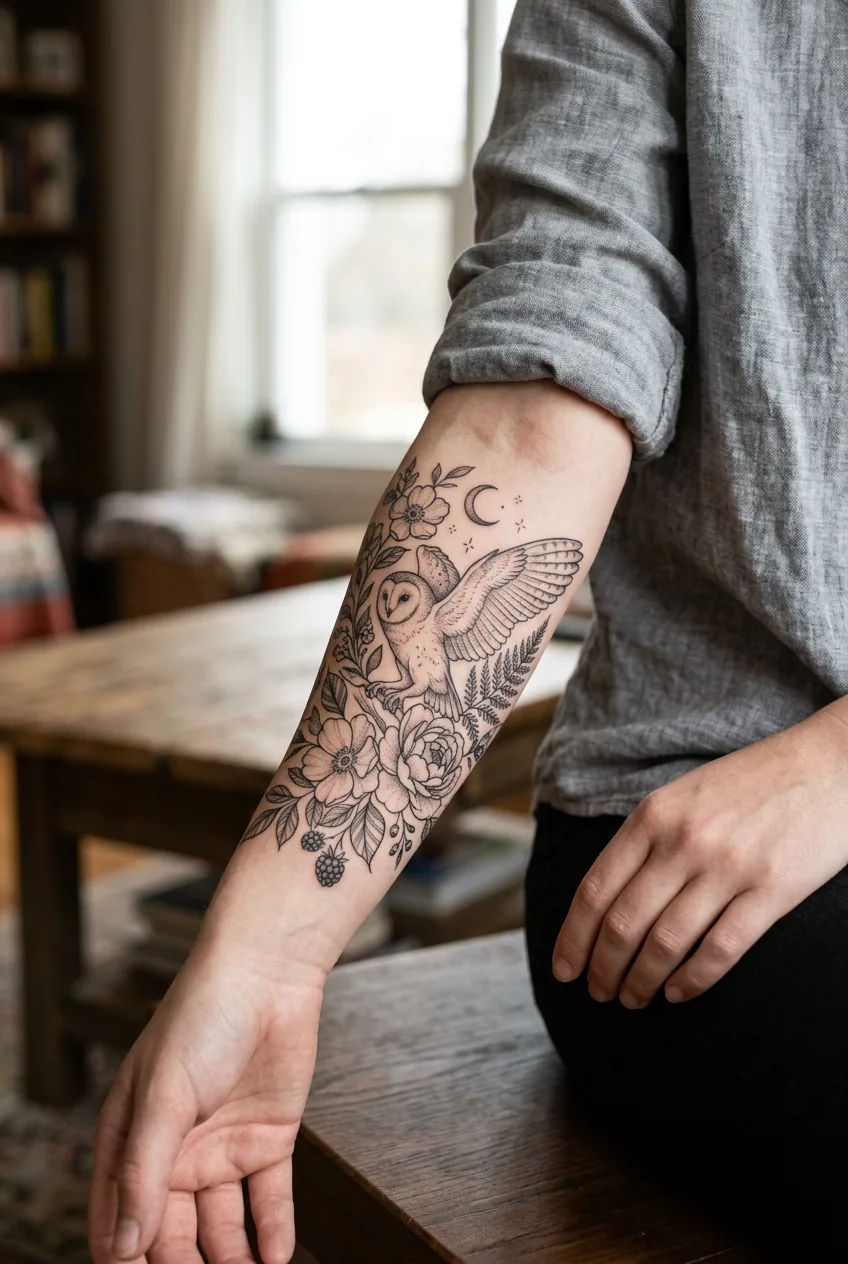
Start by creating a mood board. I use Pinterest, but you could use Instagram saves or even a physical folder. Look for drawn tattoo styles that speak to you — minimalist tattoo ideas can be incredibly powerful when executed with the right line work.
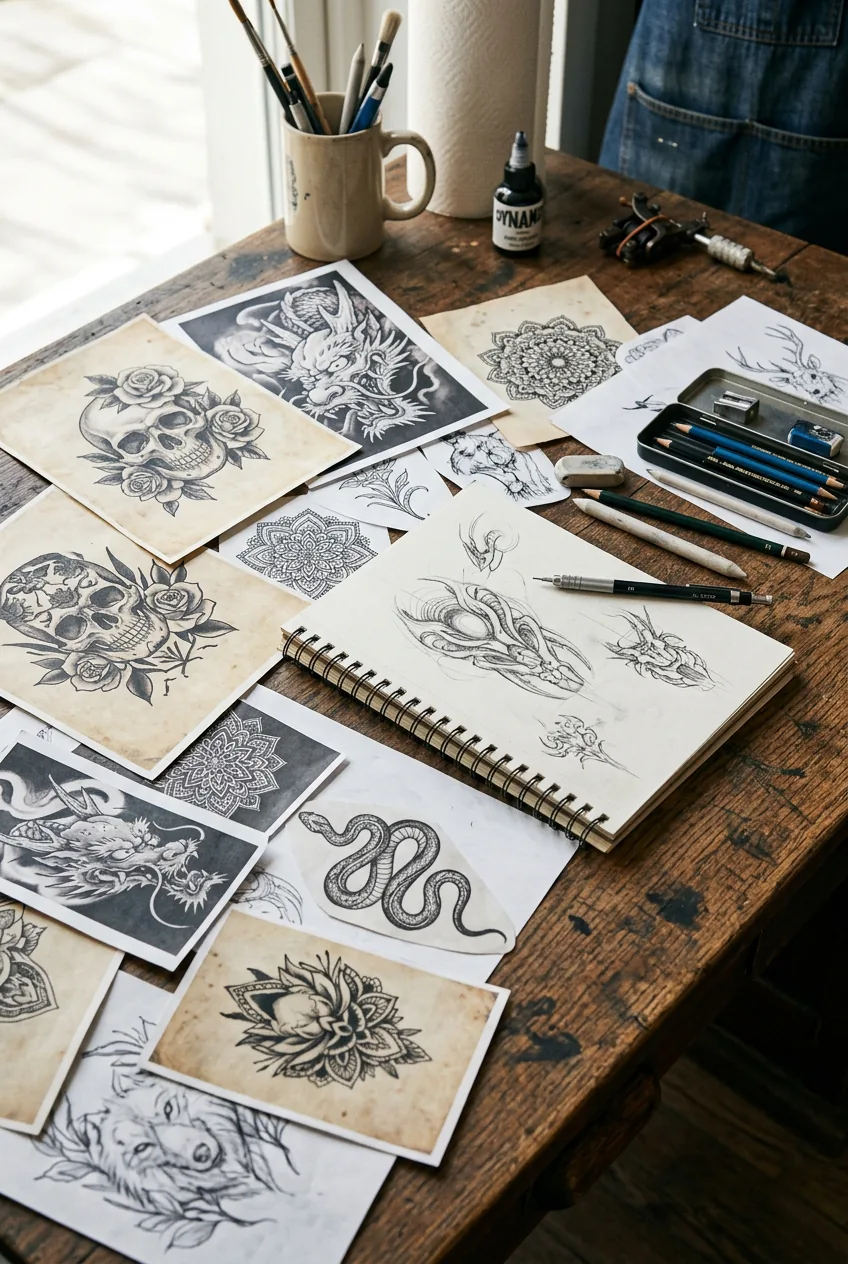
Pay attention to line weight, shading style, and overall composition. Are you drawn to bold, thick outlines or delicate fine lines? Do you prefer realistic sketchy effects or more stylized illustrations? Write these preferences down.
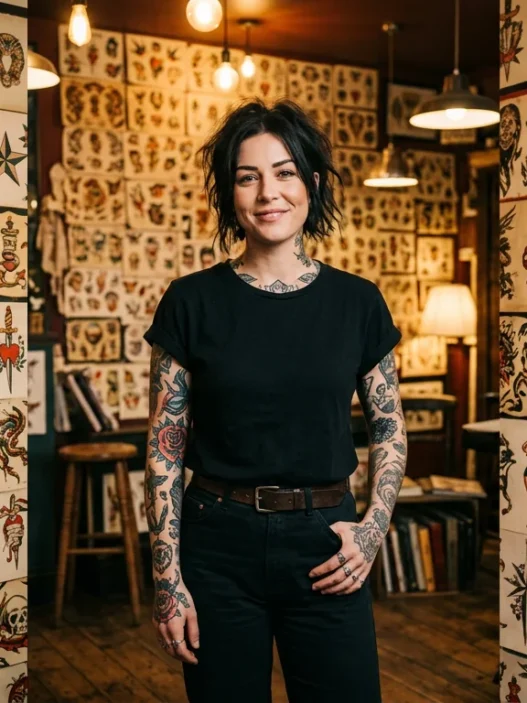
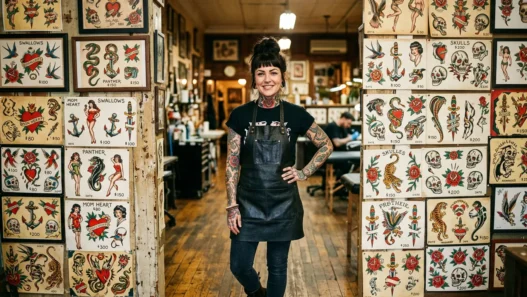
Step 2: Choose an Artist Who Specializes in Drawing Style
Not every tattoo artist excels at drawn-style work. Some are amazing with realism, others with traditional — but the sketchy, hand-drawn aesthetic requires specific skills.
I spent weeks researching artists in my area, looking specifically at their portfolio sections for drawn or illustrative work. Portfolio examples show you exactly what an artist can deliver.
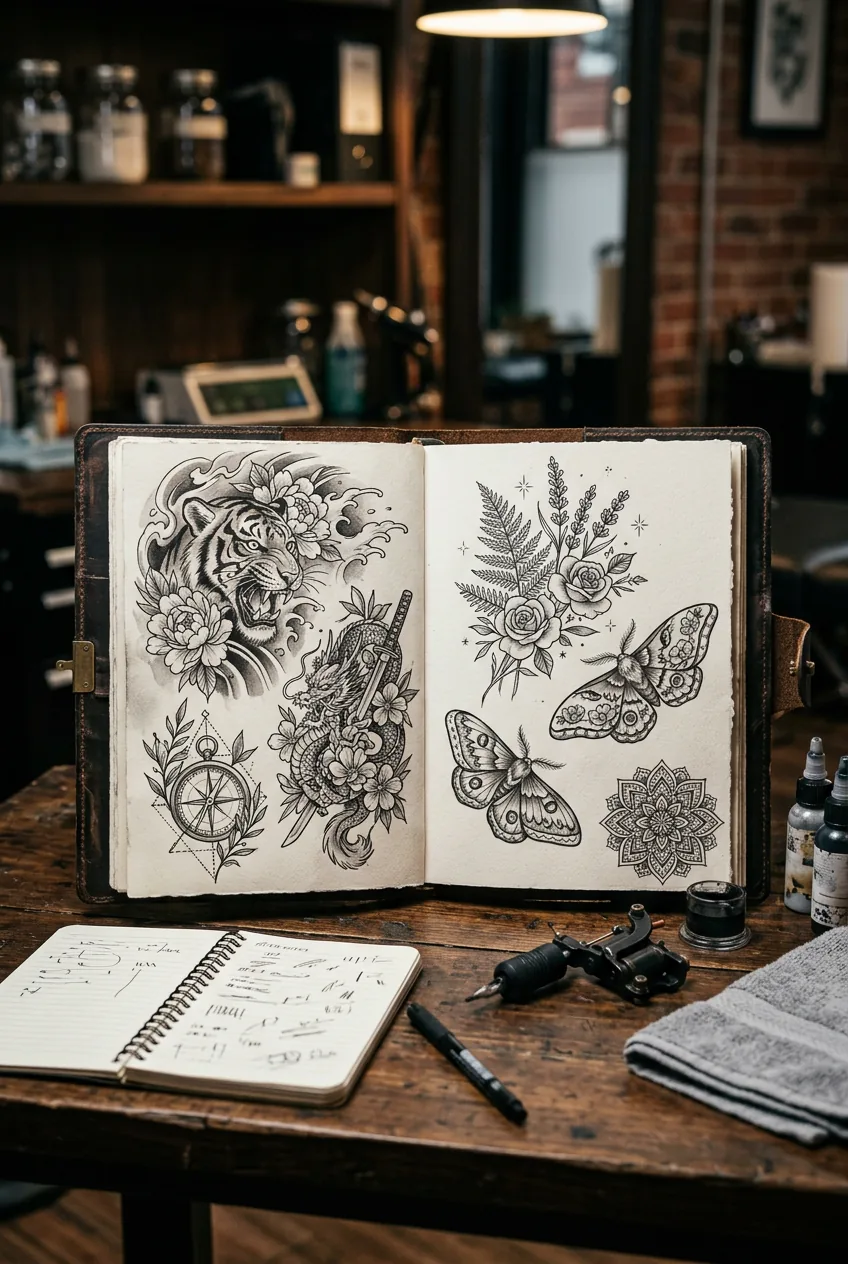
Look for artists who regularly post process videos of their drawing work. You want someone who sketches directly on skin or transfers detailed drawings — not someone who relies heavily on stencils for everything.
Step 3: Book Your Consultation and Discuss the Sketch
Most reputable artists charge for consultations — usually $50-100 that goes toward your final tattoo cost. This isn’t a red flag; it’s actually a good sign that they take custom work seriously.
During this meeting, show your references and explain what specifically appeals to you about each image. Don’t just hand over photos and say “something like this.” Point out elements: “I love how loose these lines feel” or “this shading technique is exactly what I want.”
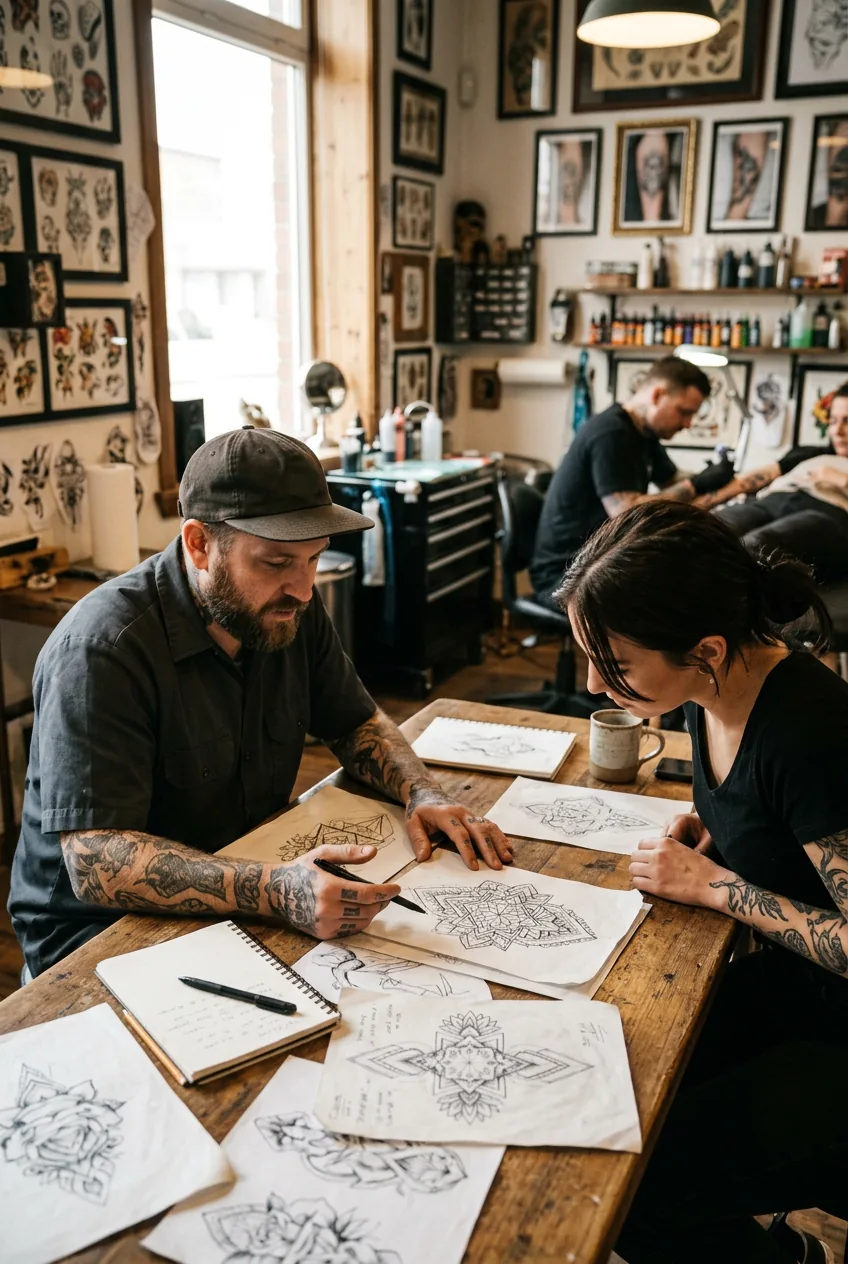
Discuss placement thoroughly. Where you put a drawn tattoo affects how the lines will age and how the design should be proportioned. Your artist should take photos of the placement area and maybe even sketch directly on your skin to test positioning.
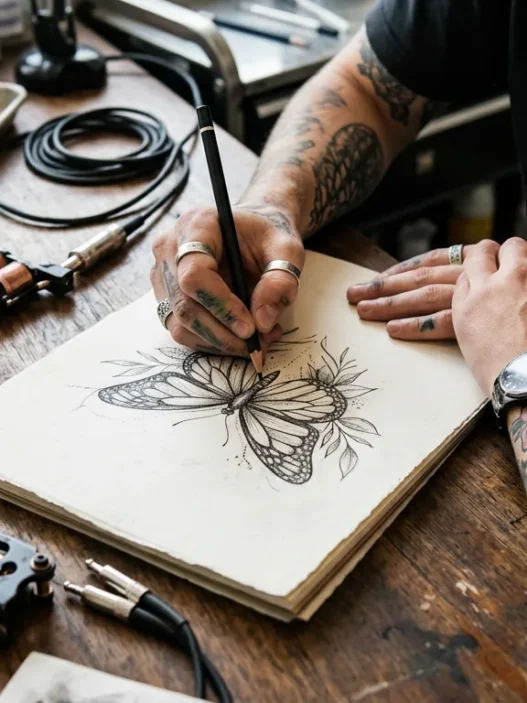
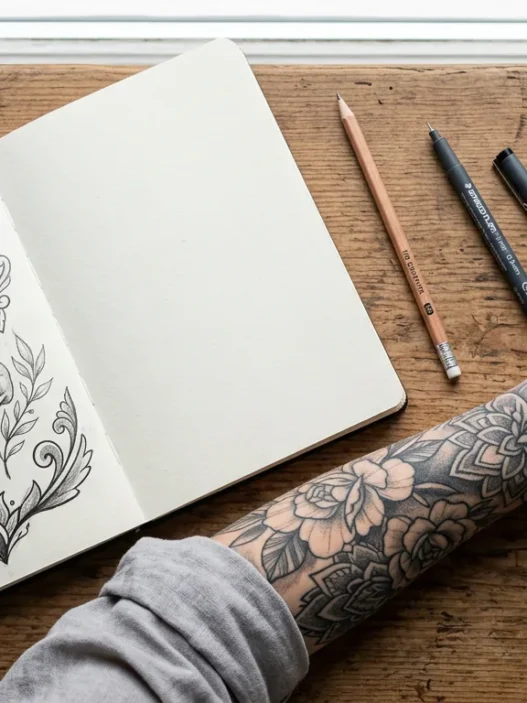
Step 4: Review and Refine Your Custom Drawing
Here’s where patience pays off. A good artist won’t show up on tattoo day with a hastily drawn design. They’ll either email you the sketch beforehand or have you come in for a drawing review session.
I made the mistake of saying “looks great!” to the first sketch I saw, even though something felt off about the proportions. Three revision requests later, I learned to speak up immediately when something doesn’t feel right. Your gut is usually correct.
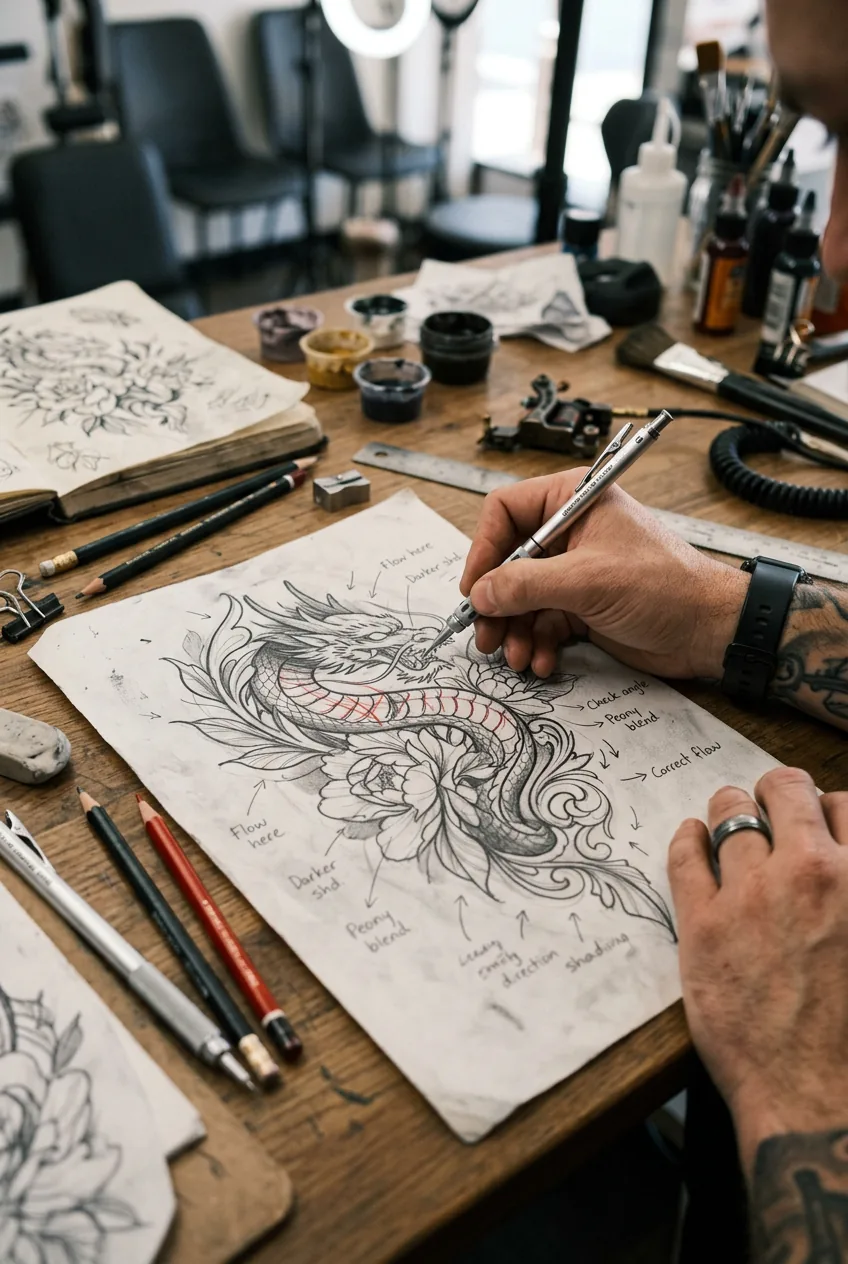
Ask for specific changes confidently. “Can we make these lines thicker?” “Could this element be moved slightly higher?” “I’d love more texture in this area.” Remember, you’re paying for custom work — use that investment to get exactly what you want.
Step 5: Prepare for Your Tattoo Session
The night before your session, get proper sleep and eat a substantial meal beforehand. Drawn tattoos often take longer than simple designs because there’s more detail work involved.
Wear clothing that gives easy access to your tattoo area but won’t interfere with the artist’s workspace. If you’re getting an arm piece, don’t wear a tight long-sleeved shirt that you’ll struggle to remove.
Bring entertainment — downloaded music, podcasts, or audiobooks. Drawing-style tattoos require concentration from your artist, so this isn’t the time for constant conversation.
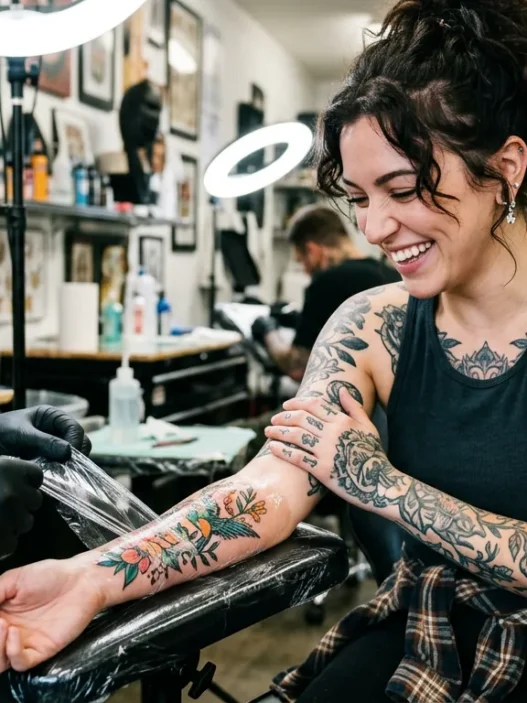
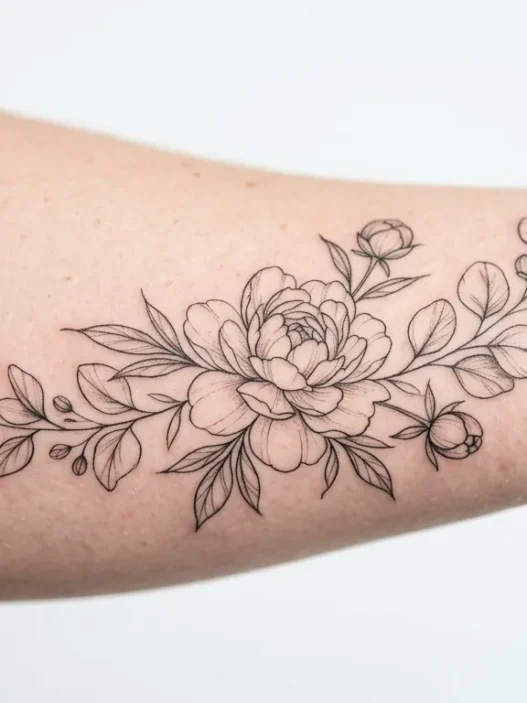
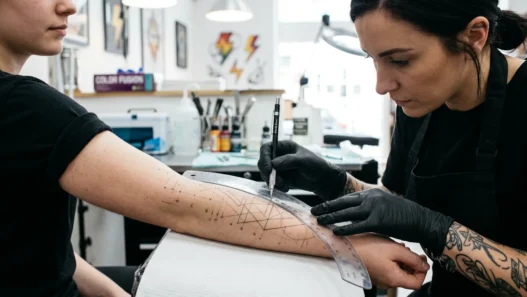
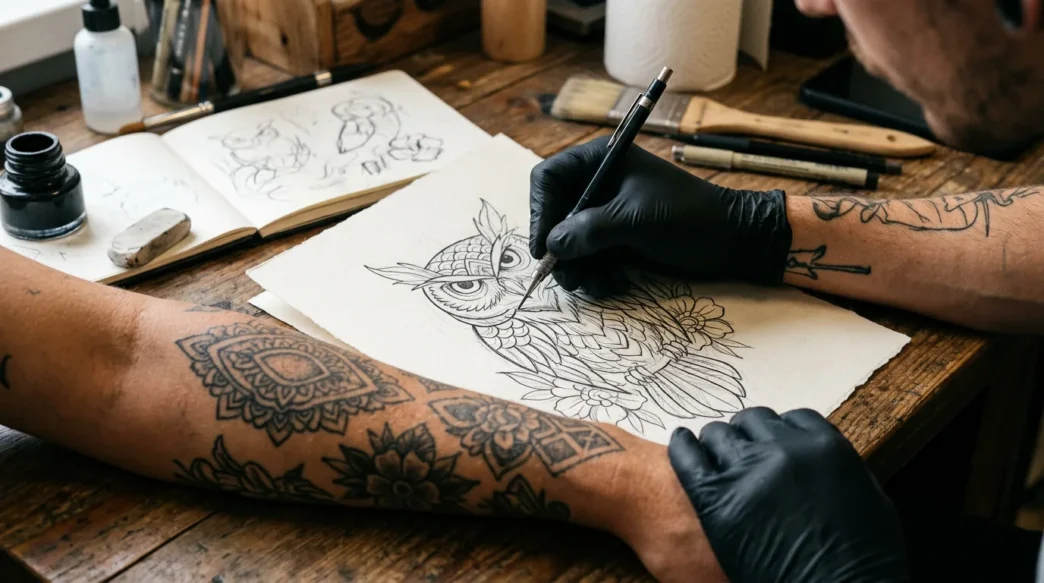
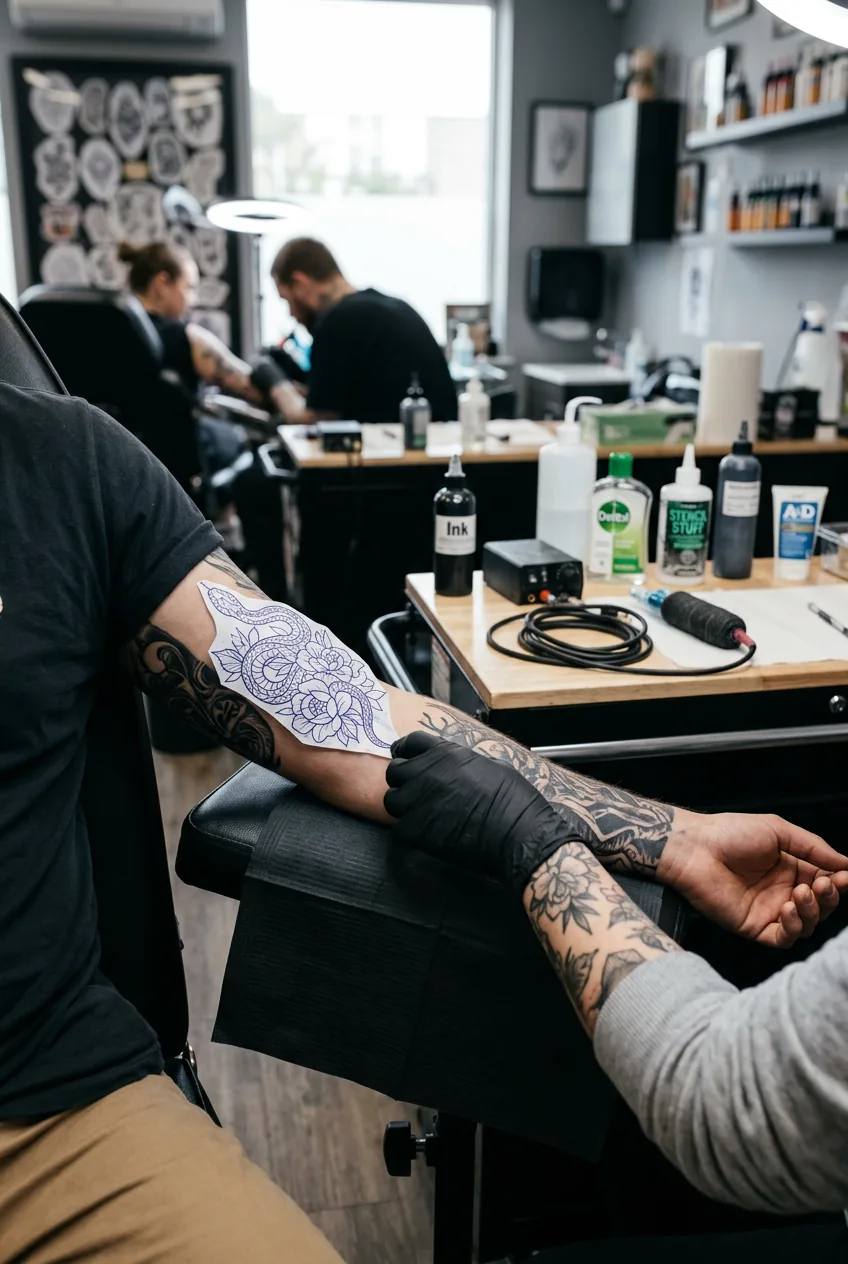
Step 6: The Drawing Process During Your Session
This is the magic moment. Watch how your artist applies the stencil (if using one) or begins drawing directly. Many drawing-style artists will do additional sketching work right on your skin to get the flow perfect.
Don’t be surprised if your artist makes small adjustments during the process. The way ink flows in skin is different from how pencil moves on paper, so some lines might need to be modified for better healing and aging.
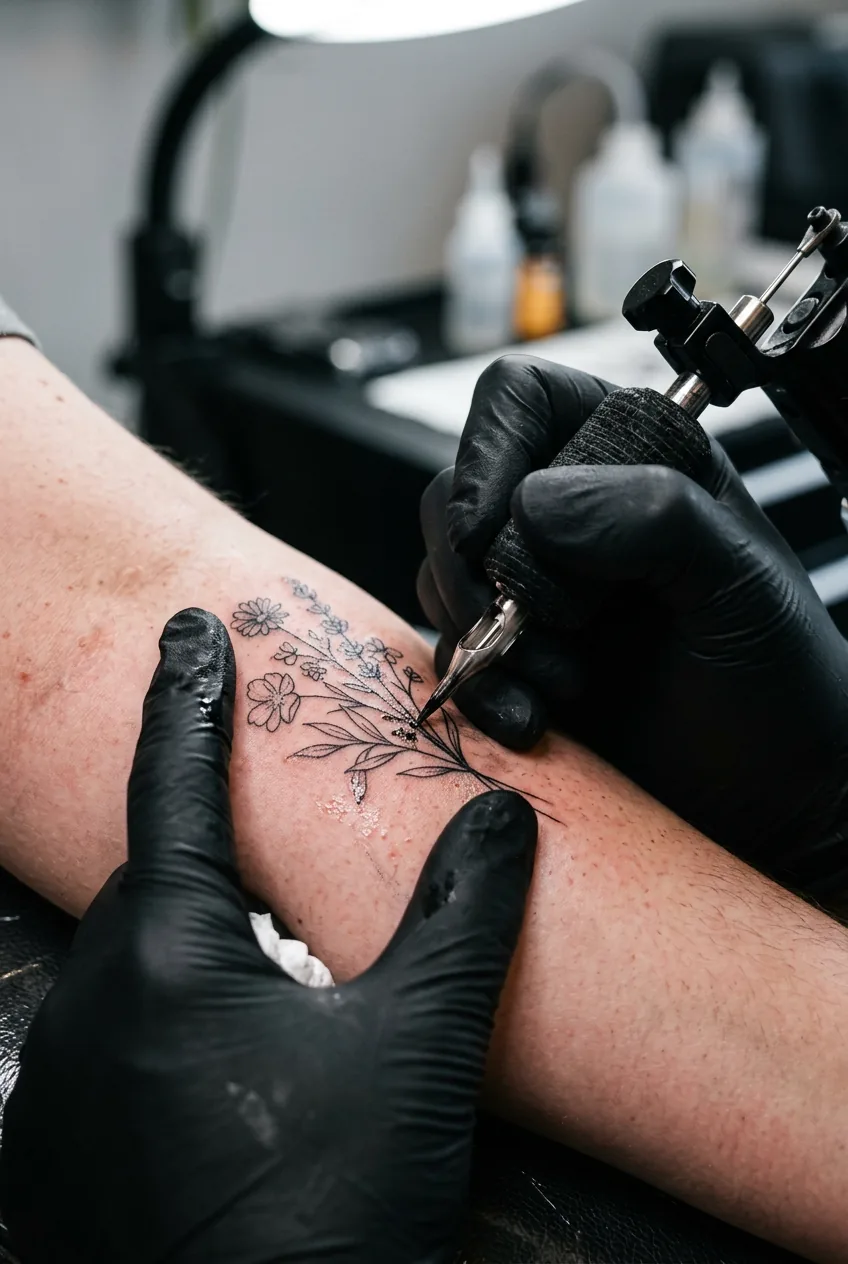
Different tattoo styles require different needle techniques, and drawn work often involves a lot of single needle line work followed by shading passes. The process can be meditative to watch once you settle in.
Watch the Line Work Technique
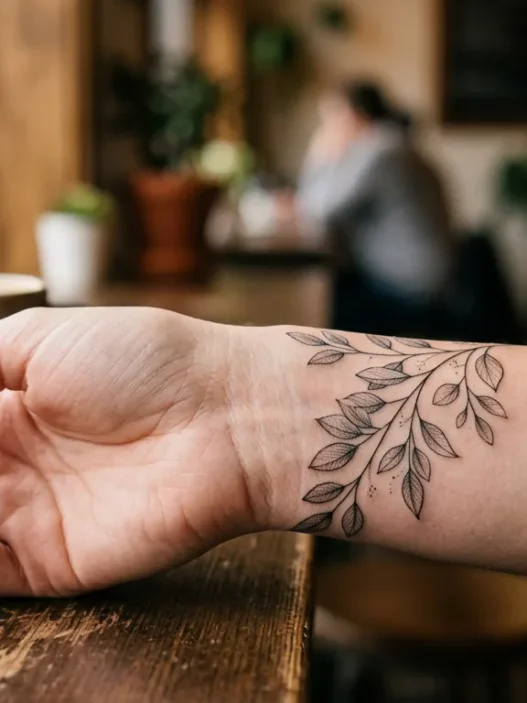
Step 7: Aftercare for Your Fresh Line Work
Line-heavy tattoos like drawn designs need extra careful aftercare. Those fine details can blur if not properly cared for during healing.
Keep the area clean with fragrance-free antibacterial soap, but don’t over-wash. I wash mine twice daily — morning and evening — with lukewarm water and gentle patting dry.
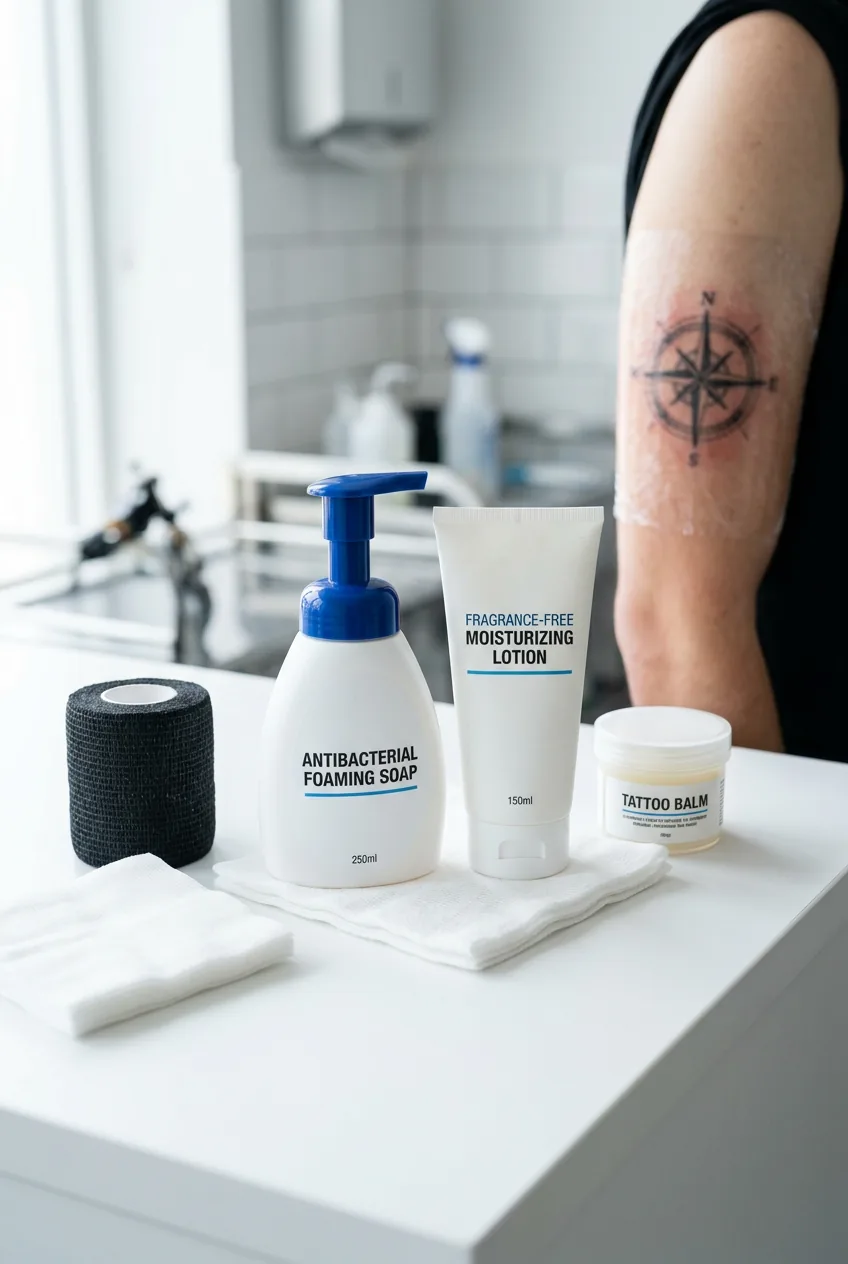
Apply a thin layer of fragrance-free lotion when the tattoo feels tight or dry, but don’t smother it. Over-moisturizing can actually cause problems with fine line work.
Avoid tight clothing over the tattoo for the first week. Those delicate lines need room to breathe and heal without fabric constantly rubbing against them.
Step 8: Document Your Healed Tattoo
Once your tattoo is fully healed (usually 3-4 weeks), take high-quality photos from multiple angles. This documentation serves several purposes beyond just having pretty pictures.
First, you’ll want to show your artist the healed result. Most artists love seeing how their work settles and ages — and they appreciate the feedback for future similar projects.
Second, these photos become invaluable if you ever want to add to the tattoo or get complementary pieces. Your artist can reference how the lines healed and match that style perfectly.
Questions I Get About This Process
How long does the entire process take from consultation to healed tattoo?
Typically 6-10 weeks total. The design phase alone can take 1-3 weeks if you request revisions, then you need to factor in the artist’s booking schedule and 3-4 weeks healing time.
Can I bring my own drawing for the artist to tattoo?
Most artists prefer to create their own version based on your concept. Drawings made for paper don’t always translate well to skin, so they’ll usually redraw it in a tattoo-appropriate style.
Do drawn-style tattoos age differently than other styles?
Fine line work can fade slightly over time, but quality drawn tattoos age beautifully when done by skilled artists. The key is choosing an artist who understands how different line weights will settle in your skin.
Should I tip my artist after getting a custom drawn piece?
Yes, 15-20% is standard for custom work. If your artist spent extra time perfecting the drawing or made multiple revisions cheerfully, consider the higher end of that range.
Following this process gave me the most beautiful, personal tattoo I’ve ever gotten. The difference between rushing into a tattoo and taking time to collaborate properly with an artist is honestly stunning. My latest piece gets compliments constantly, and I love explaining that it’s completely custom — drawn specifically for my body and my vision.